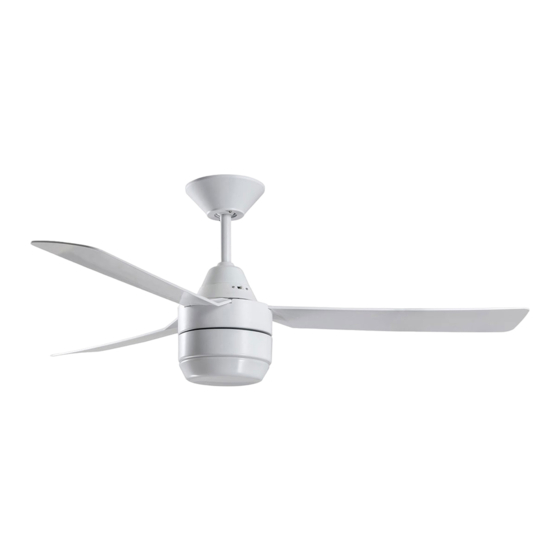
Bayside CALYPSO Installation, Operation, Maintenance & Warranty Information
Hide thumbs
Also See for CALYPSO:
Subscribe to Our Youtube Channel
Summary of Contents for Bayside CALYPSO
- Page 1 BAYSIDE CALYPSO CEILING FAN INSTALLATION OPERATION MAINTENANCE WARRANTY INFORMATION CAUTION READ INSTRUCTIONS CAREFULLY FOR SAFE INSTALLATION AND FAN OPERATION. V2.0 EN -WS- Published on 09. 2017...
-
Page 2: Safety Precautions
Calypso Installation Instructions THANK YOU FOR PURCHASING Thank you for purchasing this quality Bayside product. To ensure correct function and safety, please read and save all instructions before using the product. SAFETY PRECAUTIONS In Europe: This appliance can be used by children aged from 8 years and above and persons with... - Page 3 Calypso Installation Instructions all-pole safety switch at the switchboard, then this is considered to be an all-pole disconnection to the ceiling fan electrical circuit, meeting the requirements of clause 7.12.2 of AS/NZS 60335.1. A single-pole switch on the active of the receiver input of remote control must also be included in the wiring, and located the same room as the ceiling fan.
-
Page 4: Before Installation
Calypso Installation Instructions BEFORE INSTALLATION Unpack your ceiling fan carefully. Remove all parts and hardware. Examine all parts, you should have the following: Fig. 1 Fan without light Fan with light Mounting bracket x 1 Mounting bracket x 1 Pre-assembled fan motor, down rod and canopy... -
Page 5: Installing The Mounting Bracket
Calypso Installation Instructions INSTALLING THE MOUNTING BRACKET The ceiling fan must be installed in a location so that the blades are spaced 300mm from the tip of the blade to the nearest objects or walls. Secure the hanging bracket to the ceiling joist or structure that is capable of carrying a load of at least 30kg, with two long screws provided. -
Page 6: Hanging The Fan
Calypso Installation Instructions HANGING THE FAN Lift the fan assembly onto the mounting bracket. Ensure the registration slot (A) of the hanger ball is positioned on the stopper (B) of the mounting bracket (C) to prevent the fan from rotating when in operation. -
Page 7: Electrical Wiring Diagram
Calypso Installation Instructions ELECTRICAL WIRING DIAGRAM WARNING: FOR YOUR SAFETY ALL ELECTRICAL CONNECTIONS MUST BE UNDERTAKEN BY A LICENSED ELECTRICIAN. NOTE: AN ADDITIONAL ALL POLE DISCONNECTION SWITCH MUST BE INCLUDED IN THE FIXED WIRING. NOTE: Wiring diagram includes the light kit wiring. The light wiring diagram and switch is omitted when no light kit is used with the ceiling fan. -
Page 8: Finishing The Installation
Calypso Installation Instructions 2/ Remote with plugs Fig. 9 FINISHING THE INSTALLATION After completing the electrical connection at the mounting bracket terminal block, connect the ceiling fan wiring via the quick connector plug. Cover the mounting bracket with the canopy. Ensure all electrical wiring is tucked inside the canopy and that the wires are not damaged during this step. -
Page 9: Using Your Ceiling Fan
Calypso Installation Instructions USING YOUR CEILING FAN FAN WALL CONTROL Turn on the power and check the operation of the fan. • OFF Position – Fan off • 3rd Position – Low fan speed • 2nd Position – Medium fan speed •... -
Page 10: After Installation
Calypso Installation Instructions AFTER INSTALLATION WOBBLE: NOTE: ceiling fans tend to move during operation due to the fact that they are mounted on a rubber grommet. If the fan was mounted rigidly to the ceiling it would cause excessive vibration. Movement of a few centimetres is quite acceptable and DOES NOT suggest any problem. - Page 11 Every Bayside ceiling fan is thoroughly inspected and tested before being released for sale. In addition to any warranty rights or conditions under statutory regulations, Lucci warrants all of its ceiling fans against defective workmanship and faulty materials with an in-home warranty period of twenty four (24) months from the date of purchase.
- Page 12 Calypso Installation Instructions CEILING FAN WARRANTY INFORMATION LUCCI WARRANTY HOTLINE- 1800 602 243 Complete and retain this form for your personal records and warranty purposes. NAME………………………………………………………………………………… ADDRESS…………………………………………………………………………… ……………………………………………………POSTCODE…………………… MODEL NUMBER…………………………………………………………………… (PO# + DATECODE Sticker here) PO NUMBER or DATECODE ………………………………………………………...


Need help?
Do you have a question about the CALYPSO and is the answer not in the manual?
Questions and answers