
Related Manuals for POOLiN EOC06


Summary of Contents for POOLiN EOC06
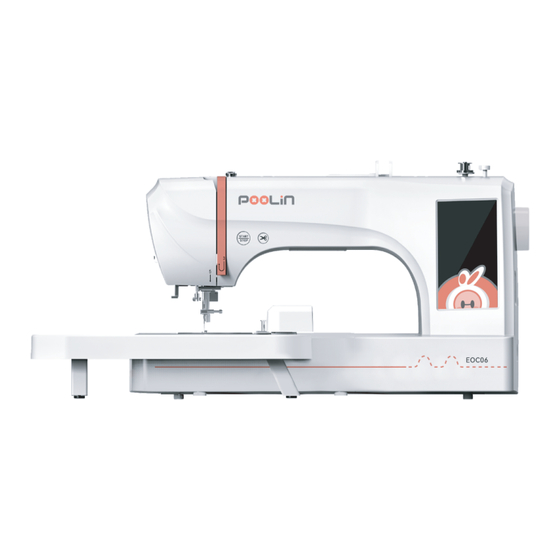
- Page 1 Quick Guide EOC06 It is recommended that beginners to test refer to the Quick Guide first, and any questions please feel free to contact us.
-
Page 2: Safety Instructions
Safety Instructions 1 1 1 Security Please safely use power, follow operating procedures to avoid needle breaking. Environment Place the machine in a dry environment and keep it away from children. Voltage The machine supports wide voltage input, the voltage range is 110V to 240V. Before threading and installing the embroidery frame, please ensure the machine is in the following state:... -
Page 3: Accessories List
Accessories list Buckle Connection Hoop 140*140 Hoop 200*200 Hoop 200*280 Bobbin Tweezers Stylus Scissors Seam Ripper/Brush Screwdriver User manual An envelope Quick guide Needles Power cable Pin cap Wrench Buckles Wire Rack Tips: Please refer to the teaching video named "Unboxing" in USB. -
Page 4: Threading The Machine
Threading the machine Raise the needle to the highest Raise the presser foot lever Lift up the spool pin position Place the thread spool Slide the spool cap Thread through the guide hook Pass the thread through the Wind the thread on the guide Wind the thread on the guide thread guide cover hook... - Page 5 Threading the machine Pass the thread through the Pass the thread through the Thread through the hook spring thread take-up lever Pull the loop of the thread Lower the needle threader lever Cut the thread through needle eye When the needle threader doesn’t work, please manually pass the...
-
Page 6: Install The Bobbin
Install the bobbin Remove the bobbin cover and the used bobbin Place the bobbin counterclockwise Clamp the cover on the left side Follow the arrow to wrap the bobbin thread Press the cover Cut off the excess thread Tips: We have prepared a pre-wound bobbin, which is installed inside the machine. -
Page 7: Install The Frame
Install the frame Loosen the screw Install the backing and fabric Clamp the frame Remove the frame Install the embroidery frame on Gently stretch the fabric Tighten the screw the guide rail Tips: 1.For better installation, loosen the screws first. 2.Please place a layer of backing under the fabric. - Page 8 Start up Plug in Press the switch button...
- Page 9 Choose the pattern Click built-in pattern Choose a pattern...
- Page 10 Config the pattern Click Config Choose the color Choose the corresponding frame...
- Page 11 Start embroidery Click Emb Click Trace, confirm embroidery range Click READY Lower the presser foot, click the Start/Stop button on machine...
- Page 12 After completing the above tests, you can start your own diy embroidery journey. If you encounter any problems, you can check the user manual or feel free to contact us at any time. Poolinservice@richword.com +8618900635078 POOLIN Users Group POOLIN Sewing Machine...
Need help?
Do you have a question about the EOC06 and is the answer not in the manual?
Questions and answers
Cómo puedo pasar mis archivos a la máquina
Bobbins size?
Where can I purchase extra embroidery hoops?
How do you put the arm back in its original position