Table of Contents
Advertisement
Quick Links
Advertisement
Table of Contents

Related Manuals for Claro WHISPER AC


Summary of Contents for Claro WHISPER AC
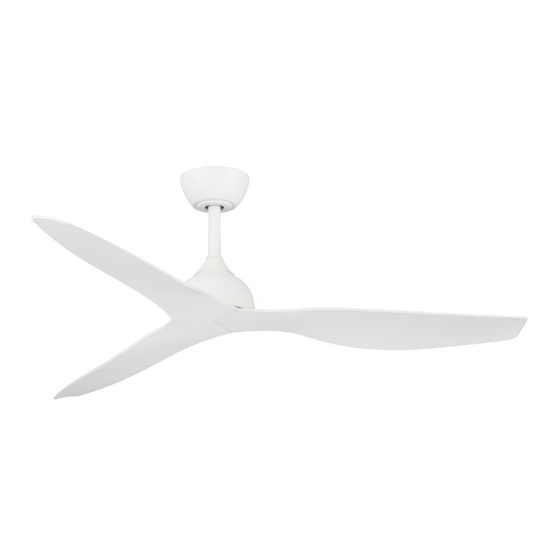
- Page 1 WHISPER AC Installation Manual VER 1.2...
-
Page 2: Important Safeguards
CEILING FAN INSTRUCTION BOOKLET Thank you for purchasing your Claro Whisper AC Ceiling Fan. Please read all instructions carefully before assembly and use. IMPORTANT SAFEGUARDS: Read all instructions carefully, even if you feel you are quite familiar with this type of appliance. When... -
Page 3: Important Note
18. The replacement of parts of the safety suspension system device shall be performed by the manufacturer, its service agent or suitably qualified persons. 19. If it is necessary to replace the live or neutral brushes to ensure operation of the motor then both brushes and the earth brush shall be replaced at the same time. - Page 4 PREPARATION: 1. Unpack your ceiling fan carefully, then remove all parts and components, and lay on a cloth or soft surface to avoid damage. DO NOT lay the motor housing on its side as the housing may get damaged. 2. Before commencing installation, check that all parts are included. NOTE: You may need to remove all foam packaging material to ensure there are no missing parts.
-
Page 5: Installation And Assembly
INSTALLATION AND ASSEMBLY: CAUTION! Before installing the fan make sure you have turned OFF the electricity supply. SELECTING A LOCATION: 1. Choose a location for mounting the fan where the blades will have at least 2.1 metres of clearance from the floor. 2. -
Page 8: Electrical Connections
ELECTRICAL CONNECTIONS: Ensure the power is OFF when installing this fan. INSTALLATION STEPS: Ensure the power is OFF when installing this fan. 1. Remove 6 screws and plate washer from downrod holder. 2. Remove 6 blade screws from the motor housing. 3. - Page 9 Remove cotter-pin and cross-pin from the bottom of This fan comes with two rod options for the downrod. At the top of the rod loosen the two set installation - 125mm and 250mm. screws and remove ball pin. Ensure all pieces are Select a rod to install (ensuring your fan is above carefully put aside.
- Page 10 10. Snuggle the coupling cover down onto the top 11. Put the decorative ring and canopy of the motor housing. Put the canopy through through the downrod. the downrod. CAUTION: DO NOT remove rubber gasket on top of the coupling cover. 12.
- Page 11 14. Remove the decorative ring from the 15. Place the canopy over the bracket, align canopy (if attached). the canopy holes with the screws and tighten. Clip it in to secure it onto the canopy. MODELS WITH LIGHT a. Take off 3 screws on light kit fixing plate. b.
-
Page 12: Care And Cleaning
CARE & CLEANING: • Periodic cleaning (approximately every 6 months) of your ceiling fan is the only maintenance required. • Use a soft brush or lint free cloth to avoid scratching the finish. Please turn off electricity when you do so. •... -
Page 13: Troubleshooting
TROUBLESHOOTING: Trouble Possible Cause Suggested Remedy Fans does not start. Loose wire connections or plugs Check wire connections and ensure plugs are to fan/receiver positively connected No power goes into the fan Check RCD/Switch board and wiring on premises Fan keeps beeping, but Loose wire connections or plugs Check wire connections and ensure plugs are will not start. - Page 14 NOTES:...
- Page 15 NOTES:...
Need help?
Do you have a question about the WHISPER AC and is the answer not in the manual?
Questions and answers