Advertisement
Quick Links
GOLBAL PROCUREMENT AND MARKETING LIMITED
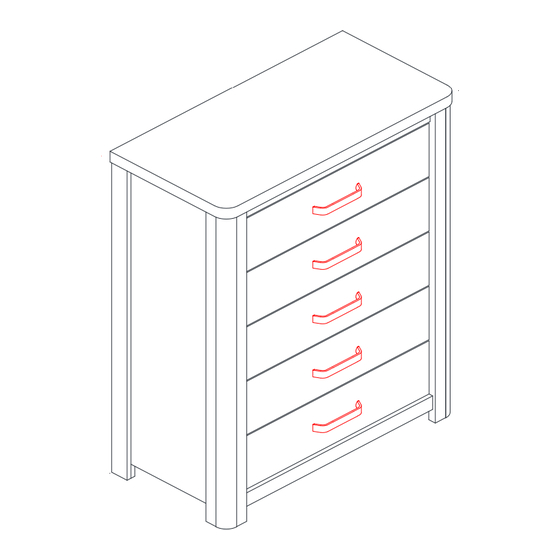
HUNTINGDON 5 DRAWERS CHEST
Assembly instruction- Please keep for future reference
Dimensions
No.People
Width:
90 cm
Depth:
45 cm
Height:
11.95 cm
Important-Please read these instructions fully before starting assembly
If you need help or have damaged or missing parts, please email aftersales@gpmfurniture.co.uk
Assembly Time
CHTHUN5DW
35mins
(approx)
OW#
1
CHTHUN5DW
Advertisement

Related Manuals for GPM HUNTINGDON CHTHUN5DW


Summary of Contents for GPM HUNTINGDON CHTHUN5DW
- Page 1 GOLBAL PROCUREMENT AND MARKETING LIMITED HUNTINGDON 5 DRAWERS CHEST Assembly instruction- Please keep for future reference CHTHUN5DW Dimensions No.People Assembly Time Width: 90 cm CHTHUN5DW 35mins Depth: 45 cm (approx) Height: 11.95 cm Important-Please read these instructions fully before starting assembly If you need help or have damaged or missing parts, please email aftersales@gpmfurniture.co.uk...
- Page 2 If you are unhappy with the product and wish to return it, please following the retailer’s return procedure...
- Page 3 Components - Panels If you have damaged or missing components, email aftersales@gpmfurniture.co.uk Please check that you have all the components listed below before constructing your item. Thickness Part No Description (mm) Top panel 40 mm Side Left panel 40 mm Side Right panel 40 mm Front Frame panel...
-
Page 4: Components - Fixings
Components - Fixings If you have damaged or missing components, email aftersales@gpmfurniture.co.uk Please check that you have all the components listed below before constructing your item. Note: The quantities below are the correct amount to complete the assembly. In some cases more fittings may be supplied than HARDWARE MINICAM 16MM X 34 MINIFIX 16MM X 34... - Page 5 Assembly Instructions If you have damaged or missing components, email aftersales@gpmfurniture.co.uk Step 1 Insert Dowel (D) to parts as shown. Dowel (D) follow holes. Step 2 Fix Minifix (A) to parts as shown. Minifix (A) follow holes.
- Page 6 Step 3 TIGHTEN LOCK ARROW FIX THE MINICAM B AND M INIFIX A TO THE HOLE AS SHO WN Fix panel (4) to panel (2 & 3). Tighten minifix attached, using Minicam (B) with Allen Key (C). Step 4 PLASTIC STOPPER INSERT IN HOLE 4a.
- Page 7 Step 5 5b. Fix panel (6) to panel (8). Tighten minifix attached, using Minicam (B) with Allen Key (C). 5a. Attach panel (5) to Top panel (1) using CSK (O). ARROW TIG HTEN LOCK FIX THE MINICAM B AND MINIFIX A TO TH E HOLE AS SHOWN Step 6...
- Page 8 Step 7 7a. Fix panel (1) to side panel (2 & 3). Tighten minifix attached, using ARROW Minicam (B) with Allen Key (C). TIG HTEN LOCK FIX THE MINICAM 7b. Tap Nail Leg (E) to bottom panel (2 & 3) B AND MINIFIX A TO THE HOLE AS SH OW N...
- Page 9 Step 9 5c. Attach panel (15) to Drawer back panel (14). Secure the drawer back panel (14) with CSK (N). 5a. Attach Drawer slide (P) to drawer side panel (12 & 13). 5b. Attach panel (12,13 & 15) to front panel (11). Tighten Minifix (A) using Minicam (B).
Need help?
Do you have a question about the HUNTINGDON CHTHUN5DW and is the answer not in the manual?
Questions and answers