Advertisement
Quick Links
Advertisement

Related Manuals for GPM PHOENIX CHTPHO6BK


Summary of Contents for GPM PHOENIX CHTPHO6BK
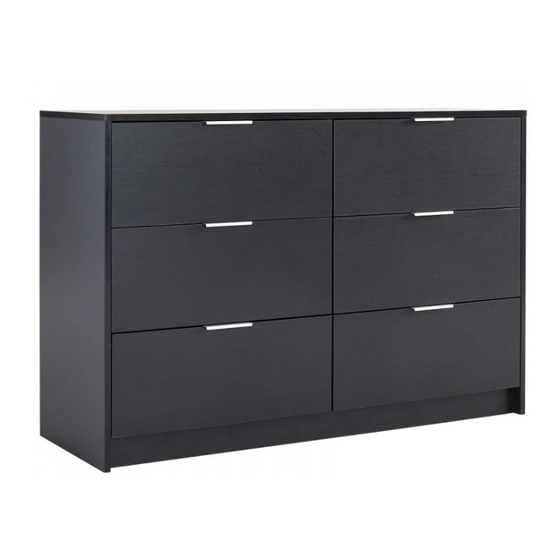
- Page 1 PHOENIX 6 DRAWER WIDE CHEST...
- Page 3 If you have damaged or missing components, Components - Panels email: aftersales@gpmfurniture.co.uk Please check that you have all the components listed below before constructing your item. Thickness Description Part No (mm) Top Panel 15 mm Bottom Panel 15 mm Left Side Panel 15 mm Right Side Panel 15 mm...
-
Page 4: Components - Fixings
If you have damaged or missing components, Components - Fixings email: aftersales@gpmfurniture.co.uk Please check that you have all the components listed below before constructing your item. Note: The quantities below are the correct amount to complete the assembly. In some cases more may be supplied than are required. - Page 5 If you have damaged or missing components, Assembly Instructions aftersales@gpmfurniture.co.uk email: Step 1 Attach drawer slide rail & to Panel boards & with screw onto the specific pre-drilled pilot holes as shown below. (CL) (CR) M3x12mm X 36 Drawer Slide X 6 Drawer Slide X 6...
- Page 6 Step 2 Insert cam bolt into corresponding holes in part & as shown. Cam Bolt M6x35mm X 22...
- Page 7 Step 3 Insert cam locks to parts .Attach part as shown. Turn cam locks clockwise to tighten. Cam Lock M15x10mm X 4 Step 4 Insert wooden dowels into part as shown. Add cam locks into part as shown and attach part Turn cam locks clockwise to tighten.
- Page 8 Step 5 Insert wooden dowels into part as shown. Attach part to part using screws as shown M4x35mm X 2 Dowel M6x30mm X 2 Step 6 Insert wooden dowels into part as shown. shown and attach part to assembled unit.Turn cam locks clockwise to tighten. Cam Lock M15x10mm X 5 Dowel M6x30mm X 3...
- Page 9 Step 7 Insert wooden dowels into part as shown. shown and attach part to assembled unit.Turn cam locks clockwise to tighten. Cam Lock M15x10mm X 5 Dowel M6x30mm X 3 Step 8 Attach Leg pin as shown, using a small hammer Leg Pin X 5...
- Page 10 Step 9 Attach part to assembled unit. Turn cam locks clockwise to tighten. Cam Lock M15x10mm X 6 Dowel M6x30mm X 6...
- Page 11 Step10 to the back of chest,with nail using a small hammer. Attach back board Fix the middle with screws Attach Anti tipping kit with at the back ofthe chest as shown. Nail X 26 Backboard screws X 4 M3.5x14mm X 4 Bracket X 2...
- Page 12 Step 11 Attach parts to part by using screws as shown. M4x35mm X 30 Step 12 Slide part into available slots of parts as shown.
- Page 13 Step 13 Insert cam bolt into corresponding holes in parts as shown. Fix handle to part using screw , as shown.Do not use an electric screwdriver, do not use force during the rotation of the accessories, otherwise it may cause the board to crack 10 11 Cam Bolt M6x35mm X 30 M3x12mm X 12...
- Page 14 Step 15 to part and fix right inner drawer runner to part by using Fix left inner drawer runner screws as shown. 10 11 (DL) (DR) M3x12mm X 36 Drawer Slide X 6 Drawer Slide X 6 Step 16 Slide in drawers into the chest carcase frame with the drawer front panel marked.
- Page 15 Step 17 M4x35mm X Wall Plug X Bracket X Assembly complete...
Need help?
Do you have a question about the PHOENIX CHTPHO6BK and is the answer not in the manual?
Questions and answers