Sign In
Upload
Download
Table of Contents
Contents
Add to my manuals
Delete from my manuals
Share
URL of this page:
HTML Link:
Bookmark this page
Add
Manual will be automatically added to "My Manuals"
Print this page
×
Bookmark added
×
Added to my manuals
Manuals
Brands
Kyocera Manuals
Printer Accessories
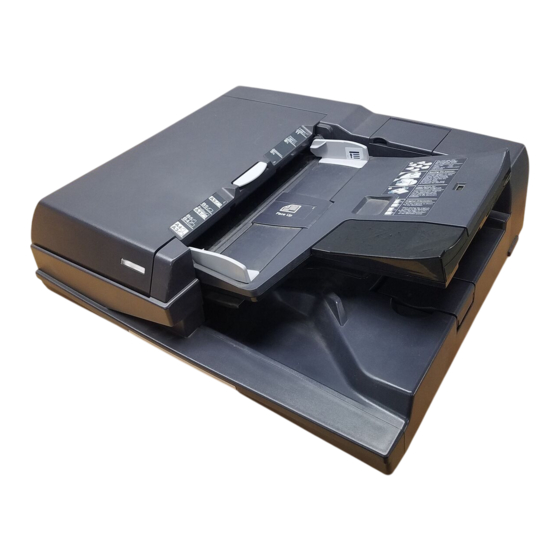
DP-770
Service manual
Kyocera DP-770 Service Manual
Hide thumbs
1
2
3
4
5
6
7
8
9
10
Table Of Contents
11
12
13
14
15
16
17
18
19
20
21
22
23
24
25
26
27
28
29
30
31
32
33
34
35
36
37
38
39
40
41
42
43
44
45
46
47
48
49
50
51
52
53
54
55
56
57
58
59
60
61
62
63
64
65
66
67
68
69
70
71
72
73
74
75
76
77
78
79
80
81
82
83
84
85
86
87
88
89
90
91
92
93
94
95
96
97
98
99
100
101
102
103
104
105
106
107
108
109
110
111
112
113
114
115
116
117
118
119
120
121
122
123
124
125
126
127
128
129
130
131
132
133
134
135
136
137
138
139
140
141
142
143
144
145
146
147
148
149
150
151
152
153
154
155
156
157
158
159
160
161
page
of
161
Go
/
161
Contents
Table of Contents
Bookmarks
Table of Contents
Revision History
Safety Precautions
Safety Warnings and Precautions
Installation Precautions
Precautions for Maintenance
Table of Contents
Specifications
Parts Names
Machine Cross Section
Installation Environment
Unpacking
Remove the Tapes and Pad
Maintenance Mode
Executing a Maintenance Item
Maintenance Mode Item List
Contents of Maintenance Mode Items
Event Log
Service Status Page
Controller Information
Engine Information
Send Information
Original Misfeed Detection
Original Misfeed Indication
Original Misfeed Detection Conditions
Self-Diagnosis
Self-Diagnostic Function
Self Diagnostic Codes
Electrical Problems
Mechanical Problems
Precautions for Assembly and Disassembly
Precautions
Assembly and Disassembly
Detaching and Refitting the DP Original Feed Belt and DP Forwarding Pulley
Detaching and Refitting the DP Separation Pulley
Image Adjustment
Adjusting the Angle of Leading Edge
Adjusting the Angle of Trailing Edge
Remarks on DP Main PWB Replacement
Original Feed Section
Original Conveying Section
Original Switchback/Eject Sections
Reverse Duplex Scanning Operation
Electrical Parts Layout
Pwbs
Switches and Sensors
Motors
Others
DP Main PWB
Appendixes
List of Maintenance Parts
Periodic Maintenance Procedures
Wiring Diagram
Installation Guide
Document Processor
Guide D'installation
Advertisement
Quick Links
Download this manual
DP-770(B)
SERVICE
MANUAL
Published in July 2016
3NVSM064
Rev.4
Table of
Contents
Previous
Page
Next
Page
1
2
3
4
5
Advertisement
Table of Contents
Need help?
Do you have a question about the DP-770 and is the answer not in the manual?
Ask a question
Questions and answers
Related Manuals for Kyocera DP-770
Printer Accessories Kyocera TASKalfa 400ci Operation Manual
Df-760/mt-720/bf-720/ph-5a operation guide (268 pages)
Printer Accessories Kyocera DP-670B Service Manual
(372 pages)
Printer Accessories Kyocera DF-420 Service Manual
Fax system (r) (296 pages)
Printer Accessories Kyocera DP-420 Service Manual
Fax system (r) (296 pages)
Printer Accessories Kyocera KM-3050 Operation Manual
Rev-1 (224 pages)
Printer Accessories Kyocera FS-7028M Instructions Manual
Duplexer for the kyocera laser printers (124 pages)
Printer Accessories Kyocera IB 21 User Manual
Duplexer for the kyocera laser printers (128 pages)
Printer Accessories Kyocera KM-C3225 Installation Manual
Document processor (20 pages)
Printer Accessories Kyocera FS 1920 - B/W Laser Printer Operation Manual
Pf-60/du-61/so-60 operation guide (30 pages)
Printer Accessories Kyocera TASKalfa 620 Operation Manual
Df-650 (b)/mt-1 (b)/bf-1 (b)/ph-4a operation guide (176 pages)
Printer Accessories Kyocera Mita DU-400 Operation Manual
Duplexer (20 pages)
Printer Accessories Kyocera DP-110 Service Manual
(62 pages)
Printer Accessories Kyocera mita DP-410 Service Manual
(56 pages)
Printer Accessories Kyocera DP-771 Service Manual
(161 pages)
Printer Accessories Kyocera DP-772 Service Manual
(161 pages)
Printer Accessories Kyocera DU-81 Service Manual
Duplex unit (23 pages)
This manual is also suitable for:
Dp-770b
Dp-771
Dp-772
Table of Contents
Print
Rename the bookmark
Delete bookmark?
Delete from my manuals?
Login
Sign In
OR
Sign in with Facebook
Sign in with Google
Upload manual
Upload from disk
Upload from URL


Need help?
Do you have a question about the DP-770 and is the answer not in the manual?
Questions and answers