
Related Manuals for Casio CLASSPAD


Summary of Contents for Casio CLASSPAD
- Page 1 For ClassPad 300/ClassPad 300 PLUS ClassPad Add-In Installer User’s Guide http://world.casio.com/edu/ http://classpad.net/...
- Page 2 ClassPad Add-In Installer The ClassPad Add-In Installer lets you install add-in software applications on your ClassPad. Add-in software applications let you add new functions and configure your ClassPad to your specific needs. Important! • Never disconnect the USB cable unless specifically instructed to do so. Doing so can cause the calculator to malfunction.
-
Page 3: Table Of Contents
Contents 1. Installing the ClassPad Add-In Installer ............E-3 To install the ClassPad Add-In Installer .............. E-3 2. Using the ClassPad Add-In Installer ............... E-5 To use the ClassPad Add-In Installer ..............E-5 To uninstall an add-in application ..............E-10 3. -
Page 4: Installing The Classpad Add-In Installer
1 Installing the ClassPad Add-In Installer To install the ClassPad Add-In Installer Double-click “setup” or “setup.exe”. . Click the [Next] button to advance to the next screen. Carefully read the terms and conditions of the license agreement. If you agree to the terms and conditions of the license agreement, click “I accept the terms…”, and... - Page 5 1 Installing the ClassPad Add-In Installer Perform either of the following two operations to specify the drive and folder where you want to install ClassPad Add-In Installer. • To use the default settings, simply click the [Next] button. • To specify a different folder, click the [Change...] button.
-
Page 6: Using The Classpad Add-In Installer
ClassPad and the computer. Conversely, clicking the [Cancel] button on your computer screen also cancels operation on your ClassPad. After you execute a cancel operation, it will take a few seconds for it to take effect. This is normal, and does not indicate malfunction. - Page 7 – [CASIO] – [ClassPad Add-In] – [ClassPad Add-In Installer]. • Since your ClassPad is not connected to the computer yet, the message “ClassPad - Not connected” will appear in the left pane. . Use the USB cable that comes with your ClassPad to connect it to the computer.
- Page 8 2 Using the ClassPad Add-In Installer b. Though a message appears to let you know that the software has not passed the “Windows Logo Test”, there is no need for concern. Simply click [Continue Anyway] and proceed with installation. c. Click [Finish].
- Page 9 • This starts installation of the add-in. • You can also use the following steps to install a single add-in application. (1) On the ClassPad Add-In Installer window, click [Add-In] and then [Application]. (2) On the file selection window that appears, click the file you want to install.
- Page 10 2 Using the ClassPad Add-In Installer . On your ClassPad, tap [OK]. . Click [File] – [Exit]. . Disconnect the ClassPad from your computer. 20031201...
-
Page 11: To Uninstall An Add-In Application
2 Using the ClassPad Add-In Installer To uninstall an add-in application . Perform steps 1 through 11 of the procedure under “To use the ClassPad Add-In Installer” on page E-5. . On the list of add-in applications in the right pane, click the one you want to uninstall. -
Page 12: Checking For Correct Add-In Installation
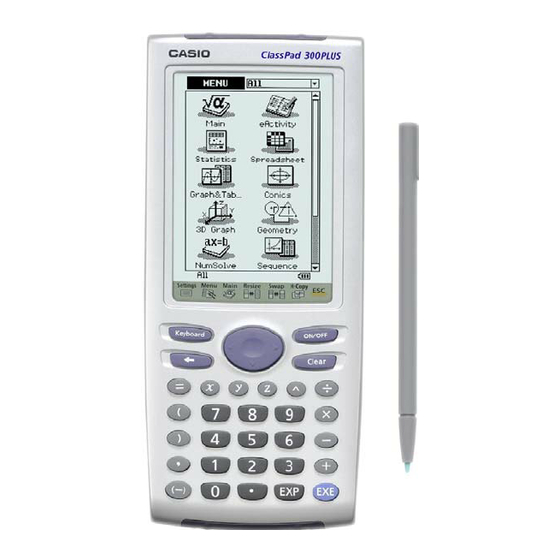
3 Checking for Correct Add-In Installation On your ClassPad, tap to display the application menu. Select “All” and confirm that the icon of the newly installed add-in appears on the display. E-11 20031201 20050601... -
Page 13: Installing Language Pack Add-In Software
ClassPad and the computer. Conversely, clicking the [Cancel] button on your computer screen also cancels operation on your ClassPad. After you execute a cancel operation, it will take a few seconds for it to take effect. This is normal, and does not indicate malfunction. - Page 14 – [CASIO] – [ClassPad Add-In] – [ClassPad Add-In Installer]. • Since your ClassPad is not connected to the computer yet, the message “ClassPad - Not connected” will appear in the left pane. . Use the USB cable that comes with your ClassPad to connect it to the computer.
- Page 15 “Windows Logo Test”, there is no need for concern. Simply click [Continue Anyway] and proceed with installation. c. Click [Finish]. . On your ClassPad, press the key. . Tap [OK]. . Tap [Link], [Install], and then [Add-In]. E-14...
- Page 16 4 Installing Language Pack Add-In Software . Select “Language” and then tap [OK]. . On the ClassPad Add-In Installer window, click [Add-In] and then [Language]. . Click the file you want to install, and then click [Open]. . Click [OK].
- Page 17 4 Installing Language Pack Add-In Software . On your ClassPad, tap [OK]. . Click [File] – [Exit]. . Disconnect the ClassPad from your computer. E-16 20031201...
- Page 18 CASIO COMPUTER CO., LTD. 6-2, Hon-machi 1-chome Shibuya-ku, Tokyo 151-8543, Japan SA0506-C...
Need help?
Do you have a question about the CLASSPAD and is the answer not in the manual?
Questions and answers