Table of Contents
Advertisement
Quick Links
Instructions for our MON790/16 and
MON745/17 monitors as used in our
premium PM60 and PM70 series Kits
Our MON790/16 and MON745/17 are made by the same factory and
share the same menu system. We have written this guide to help
navigate some of the options inside the menu system.
Please be aware that some of the menu systems are subject to
change (if you notice anything that differs then please let us know so
we can keep these instructions up to date).
Please keep this guide handy incase you ever find someone has been
playing with your monitor and changed all the settings.
1
Advertisement
Table of Contents

Related Manuals for REVCAMUK MON790/16


Summary of Contents for REVCAMUK MON790/16
- Page 1 MON745/17 monitors as used in our premium PM60 and PM70 series Kits Our MON790/16 and MON745/17 are made by the same factory and share the same menu system. We have written this guide to help navigate some of the options inside the menu system.
-
Page 2: Technical Specifications
Technical Specifications 7” Colour LCD screen Audio Output: 0.5W (requires camera with microphone) Loudspeaker: one 15x40mm round loudspeaker Power supply: 12V/24V Power Consumption: Approx. 4W (with no cameras attached to 6W with two cameras) Digital Screen Resolution: 800 x3(RGB)x480 Contrast: 500:1 Brightness: 400cd/m2 Viewing Angle: U: 50 degrees/ D: 60 degrees, R/L: 70 degrees Operating Temperature: -10C to +65C... -
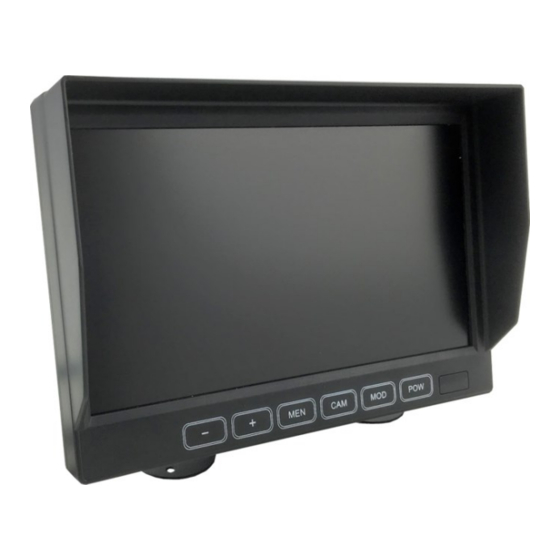
Page 3: Button Layout
Both monitors have touch sensitive buttons as opposed to physical push in buttons. We find these really responsive and easy to use. We have included a quick guide below to what each of the buttons do. MON790/16 Buttons: MON745/17 Buttons: - or Down Arrow = Down... -
Page 4: How To Use The Menu System
How to use the Menu System The menu system is easy to navigate through using the first three buttons on the monitor. To enter the menu sys- tem press the Menu button. You will now see the options as seen in the image to the right. -
Page 5: Video Sub Menu
Mirroring Sub Menu This function will only be used by a few people with a specific need, 99% of our customers can ignore it. If for example you have a camera you wish to cancel mirror image on to use as a normal view camera looking to the side then you can use this menu to do so. - Page 6 The first adjustment will allow you to move the batch of guidelines along the vertical axis, the image below shows the max adjustment up and down of the guidelines. Tip: We find holding the up or down button will move it quicker than pressing individually lots of times.
-
Page 7: Mode Button
This button will change channel between the two available inputs. If you have no camera in one of the inputs you will get a blue screen come up with the words “no signal” written on it. MON790/16 Standard Butterfly Mount When using the standard mount, there is only one posi- tion you can secure the monitor. - Page 8 Optional Brackets for both monitors Both monitors have rear channels to allow for alternative brackets.
Need help?
Do you have a question about the MON790/16 and is the answer not in the manual?
Questions and answers