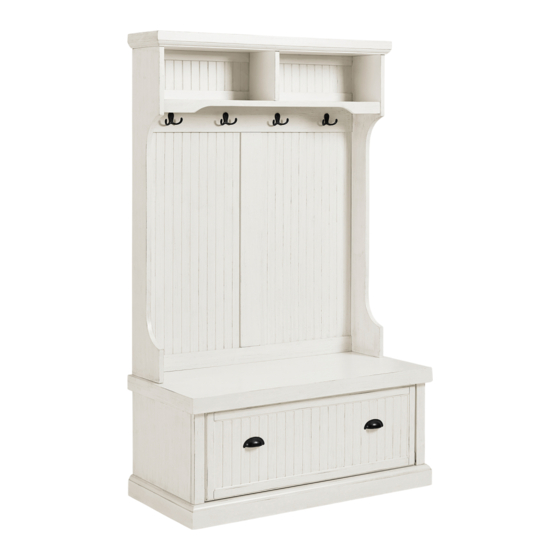
Summary of Contents for Crosley Furniture CF6006
- Page 2 Upper Right Panel Upper Left Panel 1 PC 1 PC Lower Left Panel Lower Right Panel...
- Page 3 40 PCS (Extra 1) 4 PCS (Extra 1) 10 PCS (Extra 1) 8 PCS (Extra 1) 18 PCS (Extra 1) 30 PCS (Extra 1) 18 PCS (Extra 1) 18 PCS (Extra 1) 2 PCS (Extra 1) ADDITIONAL TOOLS (Not Provided) Note: It is not recommended to use power tools during assembly Note: Wood dowels are intended for alignment.
- Page 5 Lay upper right panel (part C) on a soft surface such as carpet as shown. Attach assembled unit (parts D & G) and back upper rail (part F) to upper right panel (part C) using wood dowels (part #7), and lock the hardware. Attach bottom rail (part H) to upper right panel (part C) and lock the hardware.
- Page 7 Attach upper left panel (part B) to assembled unit (parts D, F, G, H, J & K) using wood dowels (part #7) then lock the hardware.
- Page 8 Attach top panel (part A) to assembled unit (parts B, C, E & F) using wood dowels (part #7), hex socket head bolts (part #1), spring washers (part #8), flat washers (part #9) and allen wrench (part #14). Attach seat panel (part L) to assembled unit (parts B, C & H) using wood dowels (part #7), hex socket head bolts (part #1), spring washers (part #8), flat washers (part #9) and allen wrench (part #14).
- Page 9 Attach lower panels (parts N & O) to seat panel (part L) using wood dowels (part #7), hex socket head bolts (part #1), spring washers (part #8), flat washers (part #9) and allen wrench (part #14). NOTE:DO NOT FULLY TIGHTEN BOLTS! Insert door (part Q) into lower panels (parts N &...
- Page 10 Step 12. Hold door (part Q) up as shown. lnsert middle vertical panel (part P2) using wood dowels (part #7) to seat panel (part L). Once the middle vertical panel (part P2) is in place, gently lay door (part Q) down as shown in step 1 Step 13.
- Page 11 Step 14. Attach bottom back panel (part R2) to base of assembled unit using screws (part #5) and Phillips head screwdriver. Fasten back upper rail (part F), back middle rail (part G), back partition rail (part I) and bottom rail (part H) to upper back panel (part J) and middle back panels (part K) using screws (part #5) and Phillips head screwdriver.
- Page 12 Insert short screw (C) through washer (B) and safety wall strap (E) and screw into top panel (part A). Drill a 11/32" hole where you want to secure your unit . The hole should be at the same height as the hole in top panel (part A). Tap wall anchor (A) into the hole.


Need help?
Do you have a question about the CF6006 and is the answer not in the manual?
Questions and answers