
Related Manuals for TRENDnet TV-IP600W


Summary of Contents for TRENDnet TV-IP600W
- Page 1 Quick Installation Guide TV-IP600 TV-IP600W H/W: V1...
- Page 2 Table of Contents Table of Contents English ....................... 1 1. Before You Start ................. 2. Hardware Installation and Configuration ..........Troubleshooting ..................Version 03.25.2009...
-
Page 3: English
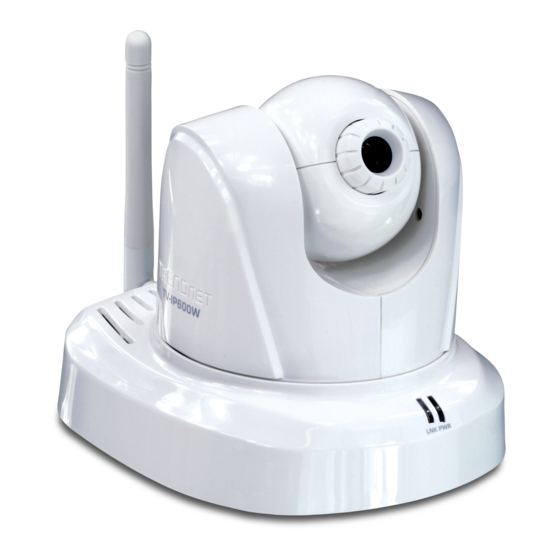
1. Before You Start Package Contents TV-IP600/TV-IP600W Utility CD-ROM Multi-Language Quick Installation Guide 1 x 2dbi Detachable Antenna RJ-45 Cable Mounting Kit AC Power Adapter (5V, 2.5A) System Requirements 10/100Mbps Ethernet Adapter CD-ROM Drive CPU: 2GHz processor or above Memory: 256MB RAM or above / 512MB RAM or above (Windows Vista) VGA Resolution: 800 x 600 or above Web Brower: Internet Explorer (6.0 or higher) Wireless router or access point (TV-IP600W) - Page 4 Application Pan/Tilt/Zoom Internet Camera Server (TV-IP600) 300Mbps Wireless N Gigabit Router (TEW-639GR) Wireless Pan/Tilt/Zoom Wireless Pan/Tilt/Zoom Internet Camera Server Internet Camera Server (TV-IP600W) (TV-IP600W) Wireless Pan/Tilt/Zoom Internet Camera Server (TV-IP600W) Internet 300Mbps Wireless N Gigabit Router (TEW-639GR) Pan/Tilt/Zoom Internet Pan/Tilt/Zoom Internet Camera Server Camera Server (TV-IP600)
-
Page 5: Hardware Installation And Configuration
2. Hardware Installation and Configuration Note: 1. It is recommended that you configure the IP Camera from a wired computer. 2. If you would like to use IPViewPro 2.0 software, please install the software by clicking the Install IPView Pro 2.0 in the Autorun window and refer to the User's Guide on the CD for more information. - Page 6 5. Click Close. 6. Double click on the SetupWizard icon on your desktop. 7. Attach the antennas to the IP camera. 8. Connect a RJ-45 network cable from a Switch/Router to the Ethernet port on the IP Camera. 9. Connect the AC Power Adapter to the IP Camera and then to a power outlet.
- Page 7 11. Select the IP camera and click Next. 12. Enter your ID and password. Then click Next. By default: ID: admin Password: admin 13. If you would like to change the administrator password, click Change Password, enter a new password, retype the new password and then click Next.
- Page 8 16. Click Manually Setup Wireless and then click Next. 17. Select your wireless network from the Available AP dropdown list. If your wireless network does not appear, manually enter the SSID of your wireless network. If you have Encryption enabled, select the Authentication, select the Encryption and enter your Key.
- Page 9 21. Disconnect the RJ-45 cable and unplug the power. Then plug the power back in. Wait about 30 seconds while the IP Camera reboots. Then verify the PWR and LNK LEDs are on. Note: The TV-IP600W will not work wirelessly until you disconnect the Ethernet cable from the back of the camera.
- Page 10 Note: For detailed information regarding the TV-IP600/TV-IP600W configuration and advanced settings, please refer to the Troubleshooting section, User's Guide on the Utility CD-ROM, or TRENDnet's website at http://www.trendnet.com. Register Your Product To ensure the highest level of customer service and support, please take a moment to www.trendnet.com/register...
-
Page 11: Troubleshooting
Configuration. If you do not have a DHCP server on your network, the default IP address is 192.168.10.30. The default administrator ID and password is admin. If you still encounter problems or have any questions regarding the TV-IP600/TV-IP600W, please contact TRENDnet's Technical Support Department. - Page 12 Certifications This equipment has been tested and found to comply with FCC and CE Rules. Operation is subject to the following two conditions: (1) This device may not cause harmful interference. (2) This device must accept any interference received. Including interference that may cause undesired operation.
- Page 13 Product Warranty Registration Please take a moment to register your product online. Go to TRENDnet’s website at http://www.trendnet.com/register 20675 Manhattan Place Torrance, CA 90501 Copyright ©2009. All Rights Reserved. TRENDnet.
Need help?
Do you have a question about the TV-IP600W and is the answer not in the manual?
Questions and answers