Advertisement
Quick Links
Equipment and technical information
High Performance PC
This information sheet is part of the operating instructions. Read the operating instructions carefully and in full. This information sheet does not replace the operating instructions. Read the chapter entitled "Safety" in the operating instructions before you start and follow the detailed instructions for setup
and connection.
1. Package contents
Check whether all the items in the delivery are present. Contact us within 14 days after purchase if any items are missing. Always specify the serial num-
ber when making enquiries.
The following components are supplied with your PC:
• PC and connection cable
• Keyboard (optional)
• Mouse (optional)
• WLAN antennas (optional)
• Software package (OEM operating system; antivirus software) (optional)
• Documentation
DANGER!
Risk of choking and suffocation!
Packaging film can be swallowed or used improperly, creating a risk of choking and suffocation!
Keep packaging material such as plastic film or plastic bags away from children.
2. mportant information about the illustrations
Connectors marked with an asterisk* in the overview have dual assignment. The respective configuration is controlled via the software.
If the connectors are covered by a protective cap, these are not available in the respective configuration.
3. Overview of the connectors
POS
Description of components
1
On/off switch
Power supply (mains cable socket & mains switch
5
optional
)
11
USB 2.0-ports - optional
Audio input / Speaker RS (rear out)*
14
15
Headphones socket / Speaker FS (front out)*
Microphone socket / Speaker CC/SS (center/subwoofer
16
out)*
23
Display Port - optional
The rating label is located on the back of the device.
MSN 2007 2381
POS
Description of components
24
HDMI
connection
- optional
-
27
LAN network (RJ45)
30
WLAN antenna connection
- optional
40
USB 3.2 ports (Type-C) - optional
41
USB 3.2 ports (Type-A) - optional
52
Audio combi connection (mic-in, headphones)
Button for switching the RGB lighting of the built-in fans
Take a paperclip which has been bent upwards at the tip,
53
carefully insert this into the hole and briefly press the
button.
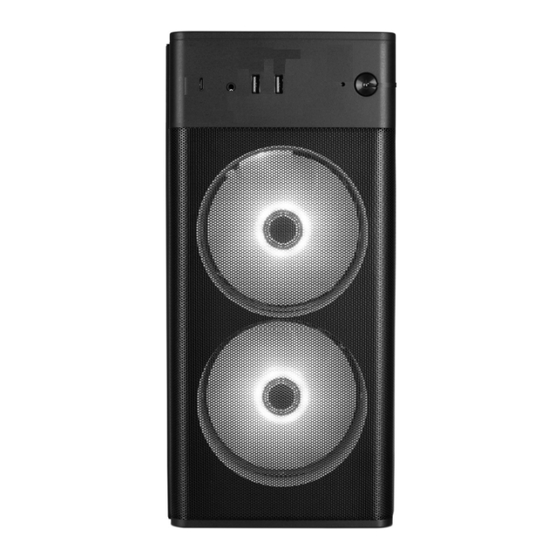
Front
1
53
41
40
1
52
Rear
24
40
23
41
11
27
16
14
15
30
24
23
5
images similar
Recon IW CT
Advertisement

Related Manuals for Medion erazer


Summary of Contents for Medion erazer
- Page 1 Equipment and technical information High Performance PC This information sheet is part of the operating instructions. Read the operating instructions carefully and in full. This information sheet does not replace the operating instructions. Read the chapter entitled “Safety” in the operating instructions before you start and follow the detailed instructions for setup and connection.
- Page 2 -40 °C to +65 °C Permissible humidity 20–80% (non-condensing) 5. Legal notice Distributed/Imported by: Medion AG Am Zehnthof 77 45307 Essen Germany This data sheet and the user manual are protected by copyright. Mechanical, electronic and any other forms of reproduction are prohibited without the written permission of the manufacturer.
Need help?
Do you have a question about the erazer and is the answer not in the manual?
Questions and answers