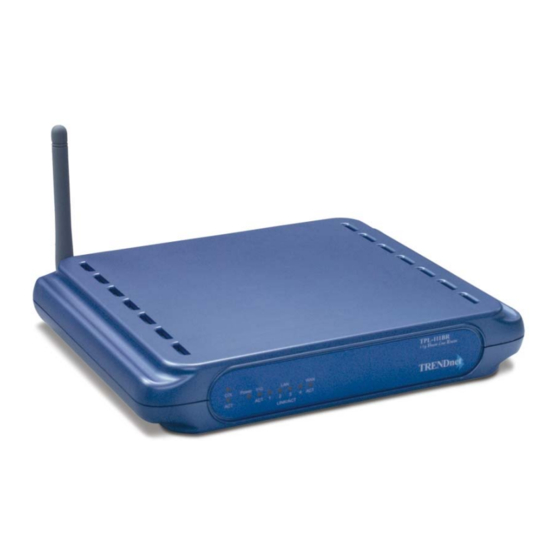
TRENDnet TPL-111BR User Manual
125mbps 802.11g wireless powerline router
Hide thumbs
Also See for TPL-111BR:
- Quick installation manual (19 pages) ,
- Frequently asked questions manual (10 pages) ,
- Specifications (2 pages)
Table of Contents
Advertisement
Quick Links
Advertisement
Table of Contents

Subscribe to Our Youtube Channel
Related Manuals for TRENDnet TPL-111BR


Summary of Contents for TRENDnet TPL-111BR
-
Page 2: Table Of Contents
Table of Contents INTRODUCTION ..................1 Purpose........................1 SET ROUTER....................1 Connect to TPL-111BR....................1 Configure the TCP/IP Settings of your PC..............2 BASIC &HOMEPLUG NETWORK KEY SETTING ........3 3.1 Basic setting.........................3 LAN SETTING ..................... 4 WAN SETTING.................... 5 ROUTER STATUS ..................6 FILTERS SETTING .................. -
Page 3: Introduction
2 SET ROUTER 2.1 Connect to TPL-111BR Connect one end of an Ethernet cable to the LAN port on the back of the TPL-111BR, and the other end to a standard port on a network device, for example, a PC. -
Page 4: Configure The Tcp/Ip Settings Of Your Pc
10. Click OK button in the TCP/IP Properties window to complete the PC configuration, and click Close or the OK button to close the Network window. 11. To link your PC together with TPL-111BR by plugging an Ethernet cable or making a Wireless connection. -
Page 5: Basic &Homeplug Network Key Setting
12. Open your web browser. Enter http://10.0.0.2 in the web browser’s address field, and press the Enter key. 13. A Login window will appear. Enter admin in the User Name field and enter admin in the Password field. 3 Basic &Homeplug network key setting 3.1 Basic setting 1. -
Page 6: Lan Setting
4 LAN setting 1. Set the LAN IP and subnet mask 2. Set the LAN DHCP server enable or disable 3. After setting press Apply to let the setting work... -
Page 7: Wan Setting
5 WAN SETTING 1. The WAN can set to DHCP client, static IP, PPPoE or Disabled 2. After setting ok, press Apply to let the setting work... -
Page 8: Router Status
6 Router Status Show the router status information... -
Page 9: Filters Setting
7 Filters Setting 1. Set LAN MAC filter to allow or deny. to use the router 2. After setting, press Apply to let the setting work... -
Page 10: Routing Setting
8 Routing setting 1. Set the router routing mode to RIPV1 or RIPV2 2. After setting, press Apply to let the setting work... -
Page 11: Wireless Setting
9 Wireless Setting 1. Set the wireless SSID, country, channel, etc. (Default SSID was “default”) 2. After setting, press Apply to let the setting work... -
Page 12: Powerline
10 Powerline 1. Set the Powerline network encryption key. -
Page 13: Security
11 Security 1. Set the router wireless security (802.1X, WEP, etc…) 2. After setting, press Apply to let the setting work... -
Page 14: Upgarde Firmware
12 Upgarde Firmware 1. Upgrade the router firmware 2. The router will auto reboot after upgraded... -
Page 15: Limited Warranty
Limited Warranty TRENDware warrants its products against defects in material and workmanship, under normal use and service, for the following lengths of time from the date of purchase. Powerline Products – 3 Years Warranty If a product does not operate as warranted above during the applicable warranty period, TRENDware shall, at its option and expense, repair the defective product or part, deliver to customer an equivalent product or part to replace the defective item, or refund to customer the purchase price paid for the defective product. - Page 16 TRENDWARE SHALL NOT BE LIABLE UNDER THIS WARRANTY IF ITS TESTING AND EXAMINATION DISCLOSE THAT THE ALLEGED DEFECT IN THE PRODUCT DOES NOT EXIST OR WAS CAUSED BY CUSTOMER’S OR ANY THIRD PERSON’S MISUSE, NEGLECT, IMPROPER INSTALLATION OR TESTING, UNAUTHORIZED ATTEMPTS TO REPAIR OR MODIFY, OR ANY OTHER CAUSE BEYOND THE RANGE OF THE INTENDED USE, OR BY ACCIDENT, FIRE, LIGHTNING, OR OTHER HAZARD.
Need help?
Do you have a question about the TPL-111BR and is the answer not in the manual?
Questions and answers