TRENDnet TEW-711BR User Manual
150mbps wireless n home router
Hide thumbs
Also See for TEW-711BR:
- User manual (62 pages) ,
- Quick installation manual (10 pages) ,
- Specifications (3 pages)
Table of Contents
Advertisement
Quick Links
Download this manual
See also:
User Manual
Advertisement
Table of Contents

Subscribe to Our Youtube Channel
Related Manuals for TRENDnet TEW-711BR


Summary of Contents for TRENDnet TEW-711BR
- Page 1 TEW-711BR Cover Page TRENDnet User’s Guide...
-
Page 2: Table Of Contents
How to allow/deny VPN connections through your router ........19 How to allow/deny multicast streaming ............... 20 How to identify your network on the Internet ............20 How to allow remote access to your router management page ......21 © Copyright 2011 TRENDnet. All Rights Reserved. -
Page 3: Product Overview
6x the speed and 3x the coverage of wireless g products. Quickly install the router and use it with TRENDnet wireless n adapters to receive the full benefits of wireless n speed and coverage. The latest in wireless encryption and a secure firewall protect your valuable data. -
Page 4: Rear Panel View
Caution: Use only the adapter that came with your router. On/Off Power Switch – Push your router On/Off push button power switch to turn your router “On” (Inner position) or “Off” (Outer position). © Copyright 2011 TRENDnet. All Rights Reserved. -
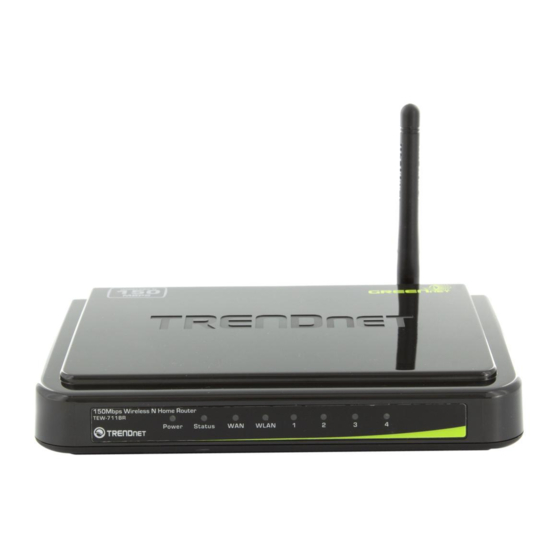
Page 5: Front Panel View
These LED indicators will be blinking green while data is transmitted or received through your router LAN ports. – Antenna The antenna broadcasts wireless signals to allow your wireless clients and wireless network devices to connect to your router. © Copyright 2011 TRENDnet. All Rights Reserved. -
Page 6: Side Panel View
WPS (Wi-Fi Protected Setup) – Push and hold this button for 3 connect to the router providing wireless access to the local network and seconds to activate WPS. The button LED is blinking blue when the Internet. WPS is activated. © Copyright 2011 TRENDnet. All Rights Reserved. -
Page 7: Basic Router Setup
How to set up a home network Autorun CD (Quick Installation Guide) 1. For a network that includes Internet access, you’ll need: Computers/devices with an Ethernet port (also called network port) or wireless networking capabilities © Copyright 2011 TRENDnet. All Rights Reserved. -
Page 8: Before You Install
4. PPPoE with a fixed IP address User Name: _________ User Name: _________ Password: ________________ Password: ________________ Verify Password: ________________ Verify Password: ________________ IP Address: ____. _____._____._____ (e.g. 215.24.24.129) IP Address: ____. _____._____._____ (e.g. 215.24.24.129) © Copyright 2011 TRENDnet. All Rights Reserved. -
Page 9: Installation
8. Verify that the following front panel LED indicators on your router: Power (Solid Green), Status (Blinking Green), LAN 1, 2, 3, or 4 (Solid/Blinking Green), WAN (Solid/Blinking Green), and WLAN (Blinking Green) © Copyright 2011 TRENDnet. All Rights Reserved. -
Page 10: Setup Wizard
“Verify Password” to confirm. This will change the password required to log into your router. Click Next. Note: Once you change the login password, it will be required every time you log into your router. © Copyright 2011 TRENDnet. All Rights Reserved. - Page 11 6. Click Next at the Set LAN connection and DHCP Server window. Note: If you are an advanced user, you can make LAN IP address interface and DHCP IP address range changes here. © Copyright 2011 TRENDnet. All Rights Reserved.
- Page 12 24) for information on configuring wireless security. 2. Once wireless security is enabled on your router, each wireless device connecting to your router must be configured with the same wireless security type and key. © Copyright 2011 TRENDnet. All Rights Reserved.
-
Page 13: How To Connect Additional Wired Devices To Your Network
(also called TCP/IP settings) are configured to obtain IP address settings automatically (also called dynamic IP address or DHCP) and to Obtain DNS Server address settings automatically. © Copyright 2011 TRENDnet. All Rights Reserved. -
Page 14: Advanced Router Setup
Note: If your ISP requires a host name to be specified, you can specify it under Main > LAN & DHCP Server, in the Host Name field. To save changes, click Apply at bottom of the page. © Copyright 2011 TRENDnet. All Rights Reserved. -
Page 15: How To Clone A Mac Address
MAC address, typically the procedure is to disconnect power from the modem for approximately one minute, then reconnect the power. For more details on this procedure, refer to your modem’s User Guide/Manual or contact your ISP. © Copyright 2011 TRENDnet. All Rights Reserved. -
Page 16: How To Set Your Router Date And Time
Next to Daylight Saving, set the annual range when daylight saving is activated. To save changes, click Apply. Note: NTP servers are used for computers and other network devices to synchronize time across network. © Copyright 2011 TRENDnet. All Rights Reserved. -
Page 17: How To Change Your Router Login Password
Accessing the router management page using the User account will restrict access to viewing only and will not allow any settings to be changed. Default User Name: user Default Password: user © Copyright 2011 TRENDnet. All Rights Reserved. -
Page 18: How To Change Your Router Ip Address
Log into your router management page (see “How to access your router management page” on page 11). 2. Click on Main, and click on LAN & DHCP Server. 3. Enter the router IP address settings. © Copyright 2011 TRENDnet. All Rights Reserved. -
Page 19: How To Set Up The Dhcp Server On Your Router
IP address lease with the DHCP server, otherwise, if there is no attempt to renew the lease, the DHCP server will reallocate the IP address to be assigned to another computer or device. © Copyright 2011 TRENDnet. All Rights Reserved. -
Page 20: How To Set Up Dhcp Reservation
Update – Saves changes to an existing reservation. address is required to be within the DHCP IP address range (Start IP & Delete – Removes an existing reservation. End IP). Cancel – Discards changes to existing reservation. © Copyright 2011 TRENDnet. All Rights Reserved. -
Page 21: How To Enable/Disable Upnp On Your Router
Internet. Note: It is recommended to leave these settings enabled. 4. To save changes, click Apply. 4. To save changes, click Apply. © Copyright 2011 TRENDnet. All Rights Reserved. -
Page 22: How To Allow/Deny Multicast Streaming
5. In the Server Address drop-down list, select the provider you selected, Note: It is recommended to leave this setting enabled. and enter your information in the fields. 4. To save changes, click Apply. 6. To save changes, click Apply. © Copyright 2011 TRENDnet. All Rights Reserved. -
Page 23: How To Expose A Device On Your Network To The Internet
5. Next to DMZ Host IP, enter the IP address you assigned to the computer or network device to expose to the Internet. 4. To save changes, click Apply. 6. To save changes, click Apply. © Copyright 2011 TRENDnet. All Rights Reserved. -
Page 24: How To Add Static Routes To Your Router
(e.g. LAN) Metric – Enter the metric or priority of the route. The metric range is 1-15, the lowest number 1 being the highest priority. (e.g. © Copyright 2011 TRENDnet. All Rights Reserved. -
Page 25: How To Enable Dynamic Routing On Your Router
Note: Configuring this feature assumes that you have some general 4. Click Apply to save the changes or click Cancel to discard the changes. networking knowledge. © Copyright 2011 TRENDnet. All Rights Reserved. -
Page 26: Wireless Networking
WPA2: Currently the most secure method of wireless security and required for 802.11n performance. Note: Check the specifications of your wireless network adapters and wireless appliances to verify the highest level of encryption supported. © Copyright 2011 TRENDnet. All Rights Reserved. -
Page 27: How To Secure Your Wireless Network
Key 1-4 – Choose a key index 1,2,3, or 4 and enter the key. Note: The Key Index # must also match when configuring wireless devices to connect to your wireless network. © Copyright 2011 TRENDnet. All Rights Reserved. - Page 28 It is recommended to configure the specific cipher type instead of choosing Auto. Passphrase – Enter the passphrase. Confirmed Passphrase – Re-enter the passphrase. Note: 8-63 alphanumeric characters (a,b,C,?,*, /,1,2, etc.) © Copyright 2011 TRENDnet. All Rights Reserved.
-
Page 29: How To Connect Wireless Devices Using Wps
WPS button will flash indicating that the WPS setup process has been activated on your router. (See “Side Panel View” on page For connecting additional WPS supported devices, repeat this process for each additional device. © Copyright 2011 TRENDnet. All Rights Reserved.
Need help?
Do you have a question about the TEW-711BR and is the answer not in the manual?
Questions and answers