Advertisement
Quick Links
Step 3: Wire striping.
Step 4: Pass all parts through the wire in the following order.
Step 5: Crimp the 2pin copper core on the green locker and tighten it.
Step 6: Screw all parts together and connect the water-proof 2pin connecter
to inverter meter port.
1
2
Green locker
Body
Red seal ring
Black seal ring
4
3
Locket
Body
Seal body
Nut
5
6
Tighten
5.3 DCS Installation(WIFI module)
1
2
5.4 DCS Installation(4G module)
press
1
2
A
press
B
3
4
5.5 DCS Installation(Ethernet module)
1
2
√
√
3
4
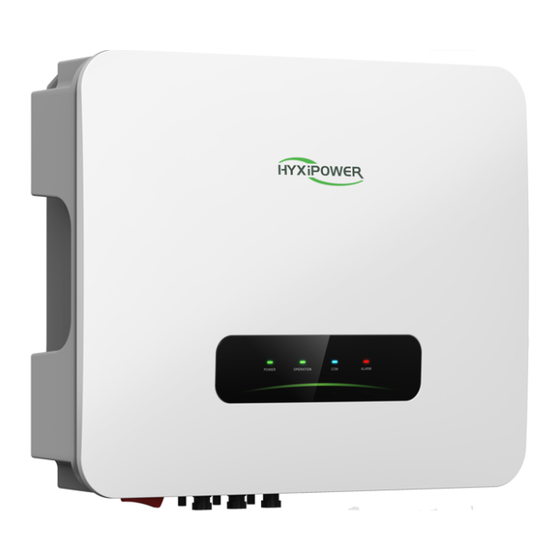
6. LED Indicator
6.1 LED Indicator Status Description
Status
Description
Indicator
ON
Inverter Powered ON
POWER
OFF
Inverter Powered OFF
ON
Grid Normal
Blink 1
Grid Abnormal
GRID
Blink 2
Grid Disconnected
ON
COM. Normal
Blink 1
Meter COM. Fault
COM
Blink 2
COM. Fault With BMS
OFF
Fault Both Meter & BMS
OFF
Normal
Inverter Internal Alarm
ALARM
Blink 1
Blink 2
Other Alarm
* 1 time flashing, interval 1.5 seconds; 2 times flashing, interval 0.2 seconds.
7. System Commissioning
7.1 Installing the App
Method 1
Method 2
Download the "HYXiPOWER
Scan the QR code and
APP" from the app store:
download the APP :
• App Store (IOS)
• Google Play
App Download
7.2 APP Quick Guide
For more information on using the HYXiPOWER APP, please scan the QR
code.
App Quick Guide
6.2.51.18.00001
QI_HYX-H8K-HS_Global_EN-Ver1.0-202401
Product information is subject to change without notice.
© 2023 Zhejiang Hyxi Technology Co., Ltd. All rights reserved.
QUICK
INSTALLATION
GUIDE
HYBRID
INVERTER
H3K/3K6/4K/4K6/5K/6K/8K-HS
www.hyxipower.com
Advertisement

Summary of Contents for HYXIPOWER H3K-HS
- Page 1 • App Store (IOS) • Google Play App Download 7.2 APP Quick Guide For more information on using the HYXiPOWER APP, please scan the QR code. Product information is subject to change without notice. www.hyxipower.com © 2023 Zhejiang Hyxi Technology Co., Ltd. All rights reserved.
- Page 2 3.2 Installation Steps 1. Packing List Step 1: Place the wall plate horizontally on the wall. press Step 2: Drill a hole about 70mm. Step 3: Install the wall plate using the expansion bolt assembly. Step 4: Secure the mounting plate with M6 screws. Rj45 water-proof press connector*4...


Need help?
Do you have a question about the H3K-HS and is the answer not in the manual?
Questions and answers