Advertisement
Table of Contents
- 1 Hardware Included
- 2 Section 1: Prepare Base Panel and Back Panel
- 3 Section 2: Attach Base Panel and Back Panel, Prepare Top Panel
- 4 Section 3: Attach Top Panel, Prepare End Supports
- 5 Section 4: Attach End Supports and Install Cam Locking Screws
- 6 Section 5: Attach Wall Cleat and Apply Cap Stickers
- Download this manual
i5 Industries Kai Line
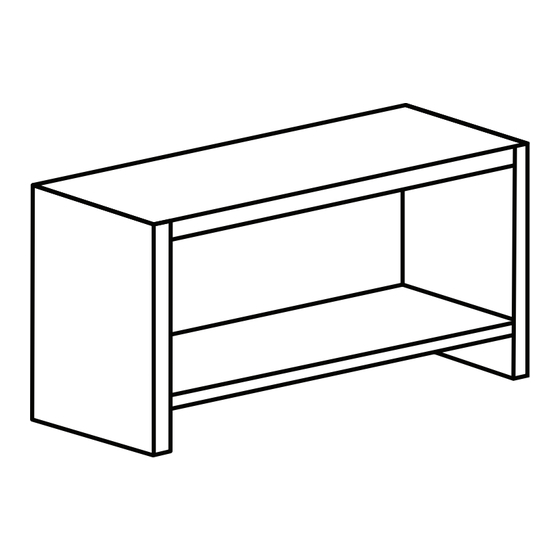
36" Wall Mounted Hutch
Max load capacity: XX lbs (XX kg)
Phillips #2
Required
Rubber Only
1
Product Codes
WH36.ESP
WH36.WHT
WH36.MAHO
WH36.WN
WH36.SG
Have a question or need help
with assembly? Reach out to us.
Monday - Friday
8:00 am - 5:00 pm CST
979.776.2100 Option 2.
i5industries.com
If you are missing parts or
discover defects and/or damage
while assembling this product,
you could be eligible for a
replacement free of charge. Feel
free to contact us or the store
you purchased this product
from to file a claim.
Watch Video Instructions
i5industries.com/assembly-instructions
© i5 Industries
Advertisement
Table of Contents

Related Manuals for i5 Industries Kai WH36.ESP


Summary of Contents for i5 Industries Kai WH36.ESP
- Page 1 Industries Kai Line Product Codes WH36.ESP WH36.WHT 36” Wall Mounted Hutch WH36.MAHO WH36.WN WH36.SG Have a question or need help with assembly? Reach out to us. Monday - Friday 8:00 am - 5:00 pm CST 979.776.2100 Option 2. Phillips #2 i5industries.com...
-
Page 2: Hardware Included
Parts & Hardware i5 Industries Kai 36” Wall Mounted Hutch Hardware Included Note: optional hardware is included in a separate bag to use for additional safety. Wood Screws 3 pieces Cams Cam Locking Screws Wooden Dowels 12 pieces 12 pieces... -
Page 3: Section 1: Prepare Base Panel And Back Panel
Section 1: Prepare Base Panel and Back Panel i5 Industries Kai 36” Wall Mounted Hutch Tip: Hole on the side of the cam aligns with the Ensure there is no debris in the holes before metal pin. Once pin is inserted, cam locking you begin. -
Page 4: Section 2: Attach Base Panel And Back Panel, Prepare Top Panel
Section 2: Attach Base Panel and Back Panel, Prepare Top Panel i5 Industries Kai 36” Wall Mounted Hutch Line the holes in the side edge of the base up Install cams in the back panel. Make sure the with the pins in the back panel and press hole in the cam is lined up with the hole on together. -
Page 5: Section 3: Attach Top Panel, Prepare End Supports
Section 3: Attach Top Panel, Prepare End Supports i5 Industries Kai 36” Wall Mounted Hutch Line the holes in the side edge of the back Install 2 metal pins into the pre-drilled panel up with the pins in the top panel and holes in the top panel. -
Page 6: Section 4: Attach End Supports And Install Cam Locking Screws
Section 4: Attach End Supports and Install Cam Locking Screws i5 Industries Kai 36” Wall Mounted Hutch Install cam locking screws in top panel. Line the metal pins and dowels up with the holes in the base, back, and top panels. Press together. -
Page 7: Section 5: Attach Wall Cleat And Apply Cap Stickers
Section 5: Attach Wall Cleat and Apply Cap Stickers i5 Industries Kai 36” Wall Mounted Hutch Secure hutch to wall with wood screws. Attach the wall cleat to the wall using hardware appropriate for your wall surface. Hang hutch so that it rests on wall cleat.
Need help?
Do you have a question about the Kai WH36.ESP and is the answer not in the manual?
Questions and answers