
Related Manuals for i5 Industries KAI CT120


Summary of Contents for i5 Industries KAI CT120
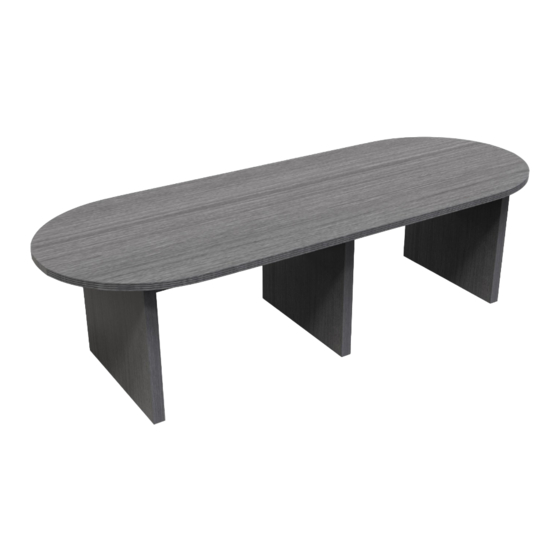
- Page 1 Scan Me to watch Assembly Instructions Assembly: Conference Table MODELS: CT120 120” Conference Table CT144 144” Conference Table...
- Page 2 INFORMATION 120”/144” CONFERENCE TABLE • Place all laminated parts on a clean and smooth surface such as a rug or carpet to avoid the parts from being scratched. • Check to be sure that you have all parts and hardware. •...
-
Page 3: Parts & Hardware
PARTS & HARDWARE 120”/144” CONFERENCE TABLE PART QTY. MODESTY PANEL END PANEL PART QTY. Metal Pin Cam Lock Set Screw Cap Sticker Adjustable Glide Wood Dowel Connecting Plate Draw Bolt Screw... -
Page 4: Hardware Installation
1. HARDWARE INSTALLATION 120”/144” CONFERENCE TABLE Assemble modesty panel with end panels. Place all hardware in its position. Take both end panels and push them into the modesty panel. Use the cam lock to lock the metal pin in place. 2X (F) 2X (A) Insert by... - Page 5 2. HARDWARE INSTALLATION 120”/144” CONFERENCE TABLE Flip base and place one side of the top of the base lining up the holes. Repeat for the other side of the top. Once both sides are on use (C) to secure the cams. Then use the draw bolts (I) to pull the 2 sides together to take away any gap in the center.
- Page 6 3. PUT ON CAP STICKERS 120”/144” CONFERENCE TABLE Note: Place cap stickers on any exposed holes. TWO PEOPLE ARE REQUIRED TO FLIP AND MOVE THIS MODEL 21X (D)
Need help?
Do you have a question about the KAI CT120 and is the answer not in the manual?
Questions and answers