Advertisement
Quick Links
Owner's Manual
WARNING:
Every user must read and follow instructions and safety precautions in
this manual. Failure to do so could result in serious injury. Save manual
for future reference.
AVERTISSEMENT!
Tous les utilisateurs doivent lire et suivre les directives et les consignes de
sécurité de ce manuel. Le non-respect de ces consignes pourrait entraîner
de graves blessures. Conservez le manuel pour référence ultérieure.
¡ADVERTENCIA!
Todo usuario debe leer y seguir las instrucciones y las precauciones de
seguridad de este manual. Si no lo hace, podría sufrir lesiones graves.
Guarde el manual para consultarlo en el futuro.
110043 V1 - 4/2022
Crown-Pro
Guide d'utilisation
Manual del propietario
™
www.kregtool.com
Advertisement

Subscribe to Our Youtube Channel
Related Manuals for Kreg Crown-Pro


Summary of Contents for Kreg Crown-Pro
- Page 1 Crown-Pro ™ Owner’s Manual Guide d’utilisation Manual del propietario WARNING: Every user must read and follow instructions and safety precautions in this manual. Failure to do so could result in serious injury. Save manual for future reference. AVERTISSEMENT! Tous les utilisateurs doivent lire et suivre les directives et les consignes de sécurité...
-
Page 2: Safety Precautions
Safety Precautions WARNING: • Always wear personal protective equipment certified as such, including safety glasses, hearing protection, and respiratory protection. • Before using a power tool with this product, read and follow the tool manufacturer’s instructions and safety precautions to reduce risk of serious injury from hazards such as fire, electric shock, or cutting blade. • Avoid awkward hand positions where a sudden slip could cause contact with the cutting blade. - Page 3 Kreg Info ™ Congratulations on choosing a Kreg Crown-Pro Be sure to read the instructions and the safety warnings completely before using this tool. In this instruction manual we will show you how to properly use your Kreg Crown Pro .
-
Page 4: Parts List
Parts List: A. Base x 1 B. Rubber Feet x 10 C. Height Extenders x 2 D. Small Bolts x 2 E. Small Matching Nuts x 2 I. Slide Guide x 1 F. Molding Platform x 1 J. Small Screws x 2 G. - Page 5 Assembly Slide Guide Fig. 1 Fig. 2 Fig. 3 Step 2. Add the 10 Rubber Feet (B) to the Base (A) for a solid hold on your work surface (Fig. 3). Connect the Molding Platform (F) to the Base (A) with the Large Bolt (G) (Fig.
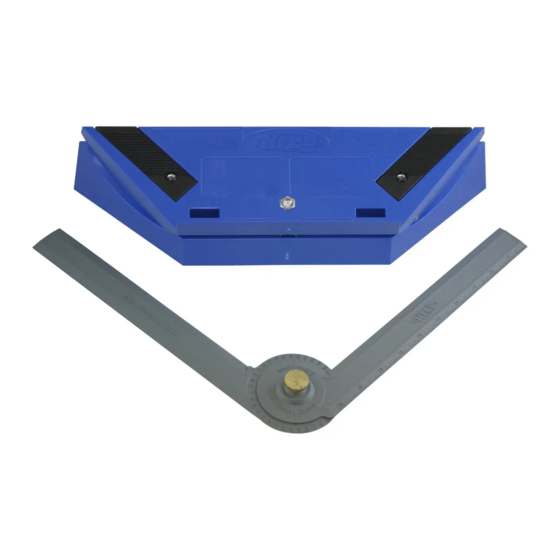
- Page 6 Step-by-Step 38° Bottom of Molding (against the wall) Find the spring angle of your molding using the included Angle Finder. A. There are three common spring angles (38°, 45°, and 52°). The spring angle is simply the angle at which the bottom of the molding intersects the wall.
- Page 7 Step-by-Step 38° Set your Crown-Pro to match the spring ™ angle using the adjustment nut on the back. A. Loosen the Plastic Thumb Nut (H) on the bottom of the Crown-Pro slightly so the angle can be set ™ on the Spring Scale (K). Set the scale to match your spring angle and re-tighten the nut.
- Page 8 Wall Outside Corner Determining the type of cut based on the corners of your walls. How you will position the Crown-Pro in relation to ™ your saw, and how you position your saw will be determined by what type of cut you will be making.
- Page 9 Step-by-Step 88° ÷ 2 = 44° 92° 88° 0° 90° Example “A” Example “B” Use the Angle Finder to calculate the necessary saw angle Before each corner cut you make, it’s important to find the angle of the wall before setting your saw. Often times your corner angle will be off by a few degrees, resulting in a gap between the molding if you don’t properly compensate with your saw.
- Page 10 Step-by-Step Prepare to make your cut Use the diagrams below to set your Crown-Pro based on your type of cut (Step 3) and set your saw angle based on your wall angle (Step 4) Right Inside Corner: • Position your Crown-Pro™...
- Page 11 Once the Crown-Pro and the miter saw have ™ been correctly set, it’s time to make your first cut. Before you set the molding in the Crown-Pro ™ you must first flip it 180°. This will make it so your molding is upside down (as shown). The bottom of your molding will actually be face-up in the Crown-Pro ™...
Need help?
Do you have a question about the Crown-Pro and is the answer not in the manual?
Questions and answers