Advertisement
Quick Links
What's in the Box
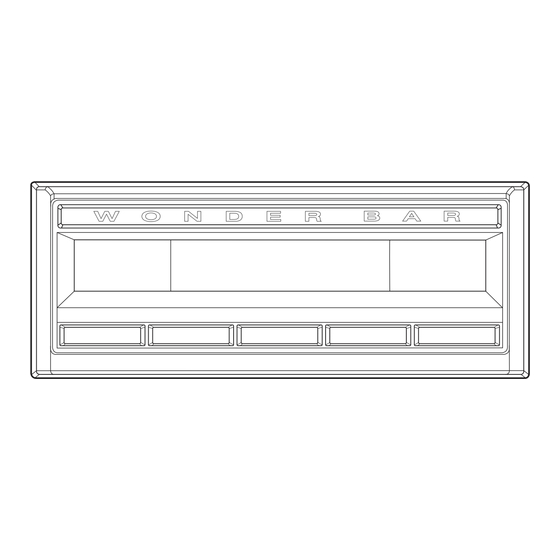
Wonder Bar I Radio Face
Shafts
A
(2)
x
Hardware
F
Radio Face Quick Start Guide
Installation
1
C
B
(4)
x
(6)
E
x
D
D
(8)
(8)
x
x
G
6
Tip:
Refer to the Installation and Assembly Manual on our website for more comprehensive instructions.
Modern Sound For Your Classic
tech@retromanufacturing.com | help.retromanufacturing.com
C
C
Plug the Wonder Bar I Face into the Radio Motor
and attach it with the four small screws(C) found
in the orange bag.
B
D
Secure control shafts with shaft
washers(D) and nuts(B), then
install the front and rear knobs.
G
F
2
Use the InfiniMount Spacers(G) and supplied
bolts(E) to attach the InfiniMount Brackets(F).
3
Insert control shafts(A).
A
B
5
Secure Radio Motor
with backstrap.
E
Connect control
4
shafts to Radio
Motor.
Advertisement

Summary of Contents for RetroSound WONDER BAR I
- Page 1 What’s in the Box Installation Wonder Bar I Radio Face Plug the Wonder Bar I Face into the Radio Motor Use the InfiniMount Spacers(G) and supplied and attach it with the four small screws(C) found bolts(E) to attach the InfiniMount Brackets(F).
- Page 2 ) until you see the EQ setting you’d like to adjust. Rotate the Left-Front Knob( ) to Wonder Bar I, but can be configured to function with other RetroSound Radio Faces with alternate adjust the setting. Press the Left-Front Knob( ) to move to the next item, and repeat to adjust control layouts.


Need help?
Do you have a question about the WONDER BAR I and is the answer not in the manual?
Questions and answers