Table of Contents
Advertisement
Quick Links
What's in the Box
A
B
C
I
Hardware
G
K
(2)
x
(4)
(6)
x
x
DIN KIT
N
O
3
Slide the DIN Kit brackets
up to meet the back of the
faceplate and attach them to
the Radio Motor with the small
machine screws and lock
washers. (2 screws per side)
4
J
M
I
D
5
E
L
M
F
Secure the shafts to the Radio Face with a
washer and shaft nut using a deep-well socket.
DO NOT OVER TIGHTEN. Finish the assembly
by adding the front and rear knobs on each side.
(2)
x
D
L
M
J
(2)
(2)
(4)
x
x
x
P
K
H
N
Place one spacer sleeve
on each shaft and secure it
with a shaft nut.
Add a U shaped bracket(J)
J
to each shaft and slide the
shafts into the Radio Face
M
from behind.
I
D
Connect the Control Shafts
on each side to the Radio
Motor.
L
M
tech@retromanufacturing.com | help.retromanufacturing.com
Installation
1
B
C
(2)
x
To create the Radio Face,
E
plug the ribbon cable from
the push-buttons into the
display.
(2)
x
F
2
A
Included in the
Radio Motor Box
H
Carefully remove the film from the back side of
(4)
x
the faceplate and adhesive strips on the display.
6
H
K
E
F
Using a screwdriver, push down the tabs on all four sides of the DIN Sleeve
that align with the dash to secure it into the dash opening. You will not need to
use all of the tabs, only those that align with your dash.
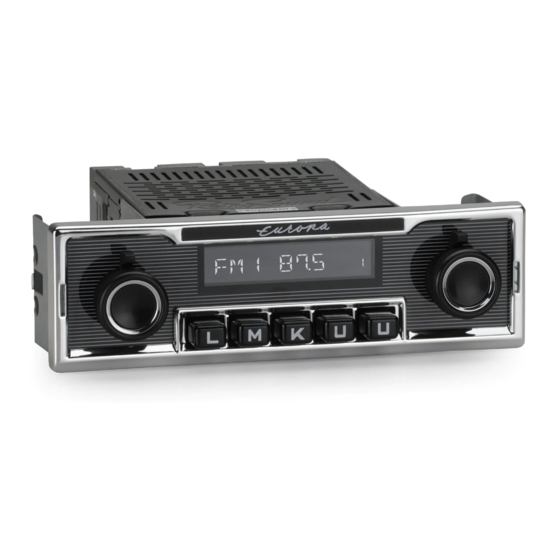
Modern Sound For Your Classic
Quick Start Guide
G
Plug the ribbon cable from the
Radio Motor into the display.
B
Insert the DIN Sleeve into your dash opening.
G
Attach the Radio Face (display
and push-buttons) to the Radio
Motor using the six small screws
from the orange bag found in
your Radio Face box.
PERFORM
THESE STEPS
IN A DUST
FREE AREA
FOR BEST
RESULTS
Place the faceplate onto
Radio Face. Be sure the
faceplate and Radio Face
are properly aligned then
press firmly to attach.
P
Advertisement
Table of Contents

Subscribe to Our Youtube Channel
Related Manuals for RetroSound Europa


Summary of Contents for RetroSound Europa
- Page 1 Quick Start Guide Installation What’s in the Box To create the Radio Face, plug the ribbon cable from the push-buttons into the display. Attach the Radio Face (display and push-buttons) to the Radio Motor using the six small screws from the orange bag found in your Radio Face box.
- Page 2 Quick Start Guide Once the Radio is mounted correctly, install the backstrap to the rear of the radio. Follow the installation instructions included with your Radio Motor. Before inserting the assembled radio into the DIN Sleeve, turn the unit on to test that all connections are correct and the radio is operating as expected.
Need help?
Do you have a question about the Europa and is the answer not in the manual?
Questions and answers