Advertisement
Quick Links
1
Technical drawing
Technische tekening
Dessin technique
Technische Zeichnung
Flush the pipes, even in new installations.
Spoel de leidingen, zelfs in nieuwe installaties.
Rincer les tuyaux, même dans les nouvelles
installations.
Spülen Sie die Rohre auch in neue Anlagen.
Be careful. Hard contact can damage the surface
layer. Damage to the surface resulting from
incorrect or careless manipulation is not covered
by the warranty
Wees voorzichtig. Hard contact kan de
oppervlakte laag beschadigen. Beschadigingen
van het oppervlak die het gevolg zijn van
verkeerde of onvoorzichtige manipulatie vallen
niet onder de garantie
Faites attention. Un contact dur peut
endommager la couche de surface. Les
dommages à la surface résultant d'une
manipulation incorrecte ou imprudente ne sont
pas couverts par la garantie
Achtung. Harter Kontakt kann die
Oberflächenschicht beschädigen. Schäden
an der Oberfläche, die durch falsche oder
unachtsame Manipulationen entstehen, fallen
nicht unter die Garantie
Ø 58
G
"
1/2
10
Ø 30
12,5
G
"
1/2
Ø 300
ROUND regendouche + douchearm
ROUND douche de pluie + bras de douche
Tools
2
Parts list
Lijst van onderdelen
Liste des piéces
Teile
B
A
C
Installation guide
Montageanleitung
Installatiegids
Guide d'installation
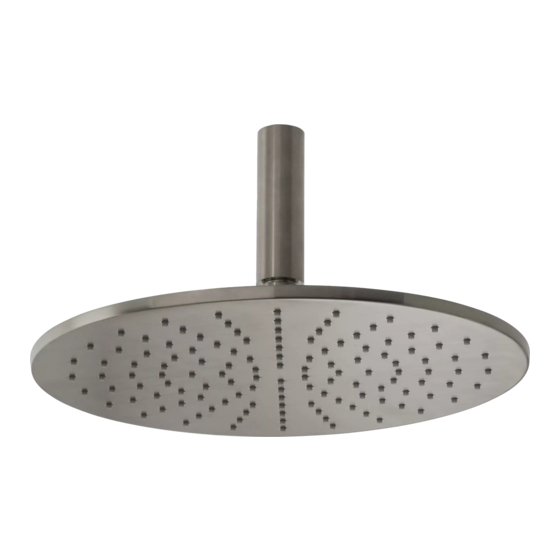
ROUND rainshower + shower arm
ROUND Regendusche + Duscharm
schroefdraadafdichting
étanchéité des raccords
thread Sealant
Gewindeabdichtung
71015_INSTALL_INT_ver2020.1.2
Advertisement

Summary of Contents for Blaufoss ROUND rainshower + shower arm
- Page 1 Installation guide Montageanleitung Installatiegids Guide d’installation ROUND rainshower + shower arm ROUND regendouche + douchearm ROUND douche de pluie + bras de douche ROUND Regendusche + Duscharm Flush the pipes, even in new installations. Spoel de leidingen, zelfs in nieuwe installaties.
- Page 2 Pre installation Pré installatie Pré installation + min. 15 cm Vorinstallation + min. 15 cm Flush the pipes, even in new installations Spoel de leidingen, zelfs in nieuwe installaties 5° Vider les tuyaux, même dans les nouvelles installation Spülen Sie die Rohre, sogar in neue Anlagen Installation Installatie...
- Page 3 Maintenance advice Onderhoudsadvies Conseils d’entretien Pfliege NL - Spoel na elk gebruik van uw kraan of douche met zuiver water en droog daarna af met een zachte doek. Reinig uw kraanwerk wekelijks met water en milde zeep of reinigings- middel op basis van citroenzuur. Bij gebruik van een spray altijd eerst op een zachte doek aanbrengen en niet direct op de kraan of douche. Gebruik het reinigingsmiddel steeds zoals voorgeschreven op de verpakking.


Need help?
Do you have a question about the ROUND rainshower + shower arm and is the answer not in the manual?
Questions and answers
My blaufoss square 300 always drips. Even when the 3-way valve (rainshower/handshower) is manipulated slightly eitherway, de crane never completely shuts. Is there a valve inside I need to thighten or anyhting else I can do to make the shower stop dripping constantly
The provided context does not contain specific troubleshooting steps for fixing a dripping Blaufoss ROUND rainshower when the 3-way valve does not completely shut off. However, general steps to address this issue include:
1. Check for Debris: Flush the pipes to remove any dirt or debris that may be preventing the valve from sealing properly.
2. Inspect the Valve: Disassemble and check the 3-way valve for wear, damage, or mineral buildup.
3. Clean the Valve: Use a mild citric acid-based cleaner to remove limescale and rinse thoroughly with clean water.
4. Replace Seals or Cartridge: If the valve or seals are damaged, replace them to restore proper function.
5. Check Installation: Ensure the valve is correctly installed and tightened to prevent leaks.
If the issue persists, consult the product manual or contact the manufacturer for further assistance.
This answer is automatically generated