Table of Contents
Advertisement
Quick Links
0
Parts list
Lijst van onderdelen
Liste des piéces
Teile
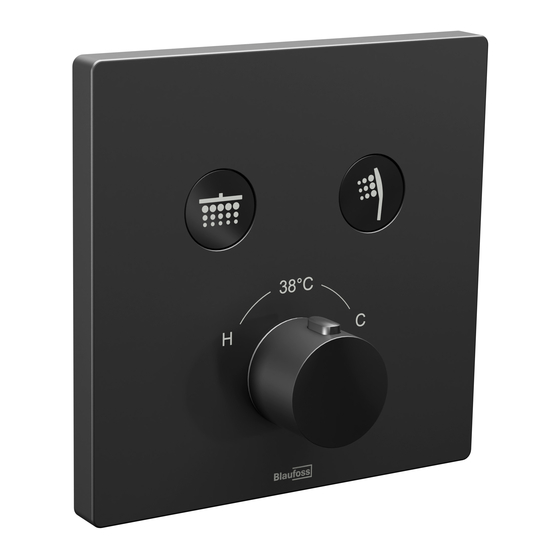
SWITCH-LINE - themostatic built-in shower mixer
SWITCH-LINE - thermostatische inbouw douchekraan
SWITCH-LINE - thermostat de douche encastré
SWITCH-LINE - Unterputz Thermostat-Duscharmatur
170
Be careful. Hard contact can damage the surface layer. Damage to the
surface resulting from incorrect or careless manipulation is not covered
by the warranty
Wees voorzichtig. Hard contact kan de oppervlakte laag beschadigen.
Beschadigingen van het oppervlak die het gevolg zijn van verkeerde of
onvoorzichtige manipulatie vallen niet onder de garantie
Faites attention. Un contact dur peut endommager la couche de
surface. Les dommages à la surface résultant d'une manipulation
incorrecte ou imprudente ne sont pas couverts par la garantie
Achtung. Harter Kontakt kann die Oberflächenschicht beschädigen.
Schäden an der Oberfläche, die durch falsche oder unachtsame
Manipulationen entstehen, fallen nicht unter die Garantie
Installation guide
Montageanleitung
Installatiegids
Guide d'installation
14
30
201378_INSTALL_INT_ver2024.1.2
Advertisement
Table of Contents

Related Manuals for Blaufoss SWITCH-LINE


Summary of Contents for Blaufoss SWITCH-LINE
- Page 1 Installation guide Montageanleitung Installatiegids Guide d’installation SWITCH-LINE - themostatic built-in shower mixer SWITCH-LINE - thermostatische inbouw douchekraan SWITCH-LINE - thermostat de douche encastré SWITCH-LINE - Unterputz Thermostat-Duscharmatur Be careful. Hard contact can damage the surface layer. Damage to the surface resulting from incorrect or careless manipulation is not covered by the warranty Wees voorzichtig.
- Page 2 Installation Smartbox Installatie Smartbox installation Smartbox Installation Smartbox Installation depth - Installatiediepte - Profondeur de montage - Einbautiefe The maximum thickness of the wall finish: water prooflayer, tile adhesive and tiles, is limited by the length of the plastic body. 1 4 0 With ultra-thin wall finishes (polyconcrete, etc.), the faucet housing must be installed deeper in the wall in order to obtain a waterproof finish.
- Page 3 Flush the pipes, even in new installations. Spoel de leidingen, zelfs in nieuwe installaties. Rincer les tuyaux, même dans les nouvelles instal- lations. Spülen Sie die Rohre auch in neue Anlagen. Shut the water supply off Sluit de watertoevoer af Couper l’alimentation de l’eau Die Wasserversorgung abgeschaltet...
- Page 4 CHECK FOR LEAKS CONTROLEER OP LEK- KAGE TEST DE FUITE Close outlets! DICHTHEISPRÜFUNG Max. 24h! Apply a waterproof plaster Breng een waterdichte pleister aan Appliquer une plâtre imperméable à l’eau Setzen einer wasserdichten gips...
- Page 5 Installation mixer Installatie mengkraan installation mélangeur Installation Mischer click ! Shut the water supply off Sluit de watertoevoer af Couper l’alimentation de l’eau Die Wasserversorgung abgeschaltet...
- Page 6 TEST ADJUST - INSTELLEN - RÉGLER - EINSTELLEN...
- Page 7 Maintenance advice Onderhoudsadvies Conseils d’entretien Pfliege EN - Rinse your faucet with clean water after each use to prevent skin and hair care products, such as shampoo, hair coloring, shower gel and liquid soap, to cause damage. Drying your faucet with a clean, soft cloth after each use will keep it free of limescale for much longer. Clean your coloured faucet with water and mild soap only.
Need help?
Do you have a question about the SWITCH-LINE and is the answer not in the manual?
Questions and answers