Advertisement
Available languages
Available languages
Quick Links
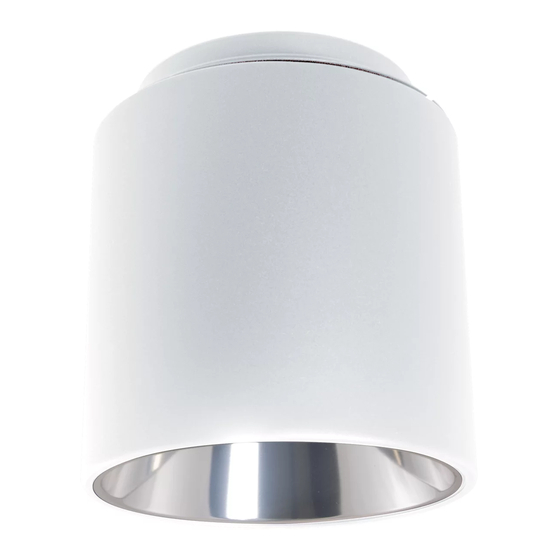
IB520100ML
Installation Instructions – Conduit Cutout Canopy for
Surface Mounted J-Box
Directives d'installation – Couvercle de découpe de
conduit pour boîte de jonction à montage en surface
Instrucciones de instalación – Cubierta de resguardo de
conducto recortada para caja de derivación montada en
superficie
Risk of Fire, Electrical Shock, Cuts or other Casualty Hazards- Installation and maintenance of this
product must be performed by a qualified electrician. This product must be installed in accordance
with the applicable installation code by a person familiar with the construction and operation of
the product and hazards involved.
Risk of Fire and Electric Shock- Make certain power is OFF before starting installation or
attempting any maintenance. Disconnect power at fuse or circuit breaker.
Risk of Fire- Minimum 90°C supply conductors.
Risk of Burn- Disconnect power and allow fixture to cool before handling or servicing.
Risk of Personal Injury- Due to sharp edges, handle with care.
Failure to comply with these instructions may result in death, serious bodily injury and property
damage.
DISCLAIMER OF LIABILITY: Cooper Lighting Solutions assumes no liability for damages or losses of any kind
that may arise from the improper, careless, or negligent installation, handling or use of this product.
IMPORTANT: Read carefully before installing fixture. Retain for future reference.
NOTICE: Fixture may become damaged and/or unstable if not installed properly.
Note: Specifications and dimensions subject to change without notice.
Note: This fixture should be supported by main runners or other structure that is capable of supporting fixture
weight of 40 Ibs.
ATTENTION Receiving Department: Note actual fixture description of any shortage or noticeable damage on
delivery receipt. File claim for common carrier (LTL) directly with carrier. Claims for concealed damage must be
filed within 15 days of delivery. All damaged material, complete with original packing must be retained.
WARNING
PORTFOLIO
INS #
TM
Advertisement

Related Manuals for Cooper PORTFOLIO LSRS8B


Summary of Contents for Cooper PORTFOLIO LSRS8B
- Page 1 Failure to comply with these instructions may result in death, serious bodily injury and property damage. DISCLAIMER OF LIABILITY: Cooper Lighting Solutions assumes no liability for damages or losses of any kind that may arise from the improper, careless, or negligent installation, handling or use of this product.
- Page 2 Align slots of the Conduit cutout canopy with the screw holes of the J-Box supplied (by others) and connect them with two #8-32 screws. (Figure 2) Figure 2. #8-32 Flat J-Box Head Screw Conduit Cutout Canopy #8-32 Pan Head Screw (2) Cooper Lighting Solutions IB520100ML Installation instructions...
- Page 3 This gasket is not for wet location. Wet location is not available with conduit canopy. Apply silicone grease to gasket to help in installing canopy to cylinder. 10. Follow steps above to connect canopy to cylinder. Cooper Lighting Solutions IB520100ML Installation instructions...
- Page 4 13. Install modules and trim per instructions provided with Incoming Pendant Wires the housing. Mounting Nuts Black to Black White to White Green to Green Mounting Use 3 Wire Nuts Bracket 0-10V Only Gray to Gray Purple to Purple Cooper Lighting Solutions IB520100ML Installation instructions...
-
Page 5: Montage En Surface
La désobéissance aux instructions suivantes représente un risque de blessures graves ou mortelles et de dommages matériels. EXONÉRATION DE RESPONSABILITÉ : Cooper Lighting Solutions n’assume aucune responsabilité pour les dommages ou pertes de toute nature pouvant découler d’une installation inappropriée, imprudente ou négligente et d’une mauvaise manipulation ou utilisation de ce produit. - Page 6 (par d’autres) et raccordez-les avec deux vis no 8-32 (Figure 2). Vis à tête Figure 2. plate n° 8-32 Boite de jonction Découpe de couvercle de conduit Vis à tête cylindrique large n° 8-32 (2) Cooper Lighting Solutions IB520100ML Instructions d’installation...
- Page 7 Appliquez de la graisse de silicone sur le joint d’étanchéité pour aider à installer le couvercle sur le cylindre. 10. Suivez les étapes ci-dessus pour connecter le couvercle au cylindre. Cooper Lighting Solutions IB520100ML Instructions d’installation...
- Page 8 12. Faites glisser le couvercle sur le support pivotant et fixez- le en le tournant pour enclencher les oreilles du support pivotant (Figure 8). 13. Installez les modules et la garniture selon les instructions fournies avec le boitier. Cooper Lighting Solutions IB520100ML Instructions d’installation...
- Page 9 El incumplimiento de estas instrucciones puede ocasionar la muerte, lesiones corporales graves y daños a la propiedad. RENUNCIA DE RESPONSABILIDAD: Cooper Lighting Solutions no asume ninguna responsabilidad por daños o pérdidas de ningún tipo que puedan surgir por la instalación, manipulación o uso inadecuado, descuidado o negligente de este producto.
- Page 10 (de otras marcas) y conéctelos con dos tornillos N.º 8-32. (Figura 2) Tornillo de cabeza plana N.º 8-32 Figura 2. Caja de derivación Cubierta de resguardo de conducto recortada Tornillos de cabeza pan N.º 8-32 (2) Cooper Lighting Solutions IB520100ML Instrucciones de instalación...
- Page 11 Aplique grasa de silicona a la junta para asistir en la instalación de la cubierta de resguardo en el cilindro. 10. Siga los pasos anteriores para conectar la cubierta de resguardo al cilindro. Cooper Lighting Solutions IB520100ML Instrucciones de instalación...
- Page 12 12. Deslice la cubierta de resguardo sobre el soporte giratorio violeta y asegúrela haciéndola girar para fijar las lengüetas en el soporte giratorio. (Figura 8) 13. Instale los módulos y la moldura según las instrucciones incluidas con el alojamiento. Cooper Lighting Solutions IB520100ML Instrucciones de instalación...
- Page 13 Garantías y Limitación de Responsabilidad Visite www.cooperlighting.com/LightingWarrantyTerms para conocer nuestros términos y condiciones. Cooper Lighting Solutions 1121 Highway 74 South Peachtree City, GA 30269 P: 770-486-4800 Cooper Lighting Solutions is a www.cooperlighting.com registered trademark. All trademarks are property Canada Sales of their respective owners.
Need help?
Do you have a question about the PORTFOLIO LSRS8B and is the answer not in the manual?
Questions and answers