Table of Contents
Advertisement
Quick Links
Advertisement
Table of Contents

Subscribe to Our Youtube Channel
Related Manuals for Tool Shed TSDP20


Summary of Contents for Tool Shed TSDP20
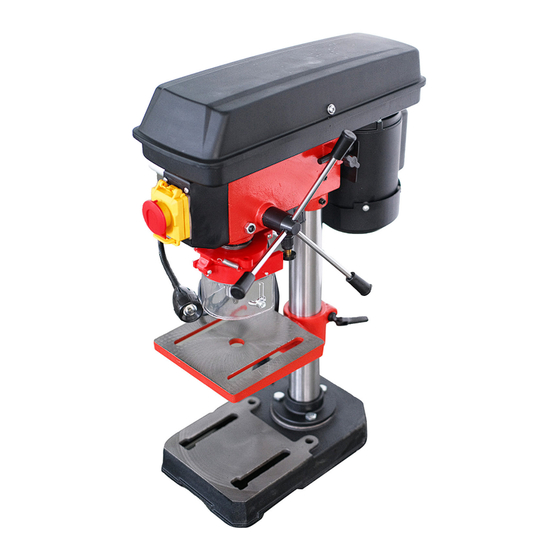
- Page 1 DRILL PRESS 13MM BENCH MOUNT 1/2HP TSDP20 www.thetoolshed.co.nz...
-
Page 2: Table Of Contents
TABLE OF CONTENTS PRODUCT DETAILS Product Details ToolShed Drill Press 13mm Bench Mount Product Model 1/2hp Specifications Product Identification Product Code TSDP20 Safety Guidelines Assembly Operation Maintenance Exploded Parts List DISTRIBUTED BY: Thank You Note: For the purchase of this ToolShed product. We try our hardest to supply customers like you This manual is for your reference only. -
Page 3: Specifications
OPERATION MANUAL OPERATION MANUAL SPECIFICATIONS PRODUCT IDENTIFICATION Voltage 230V | 50/60Hz Power Output 350 Watts Maximum Drilling Diameter 13mm Ø Chuck Capacity 1.5–13mm Spindle Travel 50mm Number of Spindle Speeds No Load Speed 620–2620 / 740–3140 RPM Spindle Taper Spindle-Column Distance 105mm Spindle-Table Distance 220mm... -
Page 4: Safety Guidelines
OPERATION MANUAL OPERATION MANUAL SAFETY GUIDELINES SAFETY GUIDELINES Electrical Safety Power Tool & Machinery Use & from moving parts in the machine, or they WARNING could become caught therein. Care • DO NOT use the power tool or machinery • Always remain alert and DO NOT operate in rainy conditions or wet areas where the •... - Page 5 OPERATION MANUAL OPERATION MANUAL SAFETY GUIDELINES SAFETY GUIDELINES • • Service Drill Press Specific Safety Ensure the drill is properly fastened. If the Keep the working surface clean to the work- drill isn’t securely anchored, it could shift or piece being worked. Sharp-edged drilling •...
-
Page 6: Assembly
OPERATION MANUAL OPERATION MANUAL ASSEMBLY ASSEMBLY Installing the Column Assembly Installing the Machine Head Installing the Drill Chuck Installing the Guard to the Base • • • Place the machine head onto the column Open the jaws of the drill chuck as wide as Loose the three screws on the support of assembly. -
Page 7: Operation
OPERATION MANUAL OPERATION MANUAL OPERATION OPERATION Mounting the Machine Removing & Installing Drill Bits Using the ON/OFF Switch Adjusting the Work Table • • • During operation of the machine, there may Use only the chuck key provided by the To save energy, only switch the machine on The work table can be raised or lowered on be instances where the machine could tip over,... - Page 8 OPERATION MANUAL OPERATION MANUAL OPERATION OPERATION • Tilting the Work Table Release the belt tension by loosening the tension locking knob located on the side of • The work table can be tilted to the left or the machine head. right by loosening the pivot bolt mounted •...
- Page 9 OPERATION MANUAL OPERATION MANUAL OPERATION OPERATION Drilling Holes to Specified Operating the Machine be allowed to return to the upper position is reached. • Depths slowly. Do not let go of the handles after the Once the desired drilling depth is reached, •...
-
Page 10: Maintenance
OPERATION MANUAL OPERATION MANUAL MAINTENANCE TROUBLESHOOTING • • Before cleaning or performing any mainte- Avoid using solvents when cleaning plastic FAULT POSSIBLE CAUSE SUGGESTED SOLUTION nance, you must ensure the tool is switched parts. Most plastics are susceptible to off and disconnected from the power supply. damage from various types of commercial Incorrect belt tension Adjust belt tension. -
Page 11: Exploded Parts List
TSDP20 EXPLODED VIEW & PARTS LIST EXPLODED PARTS LIST 10 11 12 55 56 58 59 Base Cushion Pad Pulley Of Spindle Spindle Sleeve Base Collar Bolt Circlip O-Ring Washer X5 Spring Bush Key Chuck Spring Washer X3 Cable Gland X2...
Need help?
Do you have a question about the TSDP20 and is the answer not in the manual?
Questions and answers