Honeywell QUIETSET HY-108 Series Owner's Manual
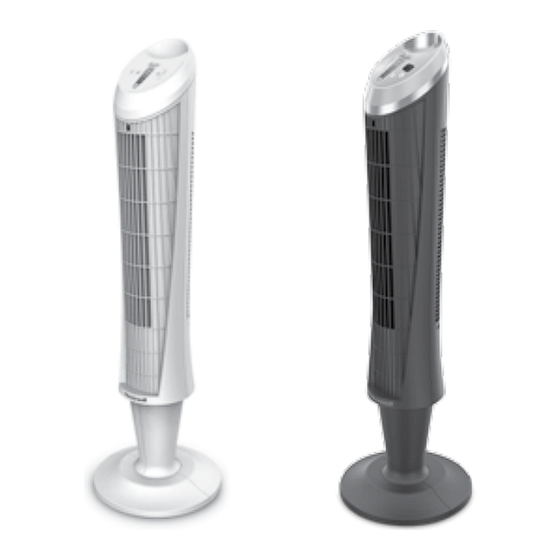
Whole room tower fan
Hide thumbs
Also See for QUIETSET HY-108 Series:
- Owner's manual (15 pages) ,
- Owner's manual (15 pages)
Advertisement
Quick Links
Owner's Manual
IMPORTANT SAFETY
INSTRUCTIONS
READ AND SAVE THESE SAFETY
INSTRUCTIONS BEFORE USING
THIS FAN
When using electrical appliances,
basic precautions should always
be followed to reduce the risk of
fire, electric shock, and injury to
persons, including the following:
FOR US MODELS ONLY – This product
employs overload protection (fuse). A blown
fuse indicates an overload or short-circuit
situation. If the fuse blows, unplug the product
from the outlet. Replace the fuse as per the
user servicing instructions (follow product
marking for proper fuse rating) and check
the product. If the replacement fuse blows,
a short-circuit may be present and the
product should be discarded or returned to an
authorized service facility for examination and/
or repair.
1.
Use this fan only as described in this
manual. Other use not recommended as
it may cause fire, electric shock or injury
to persons.
2.
This product is intended for household
use ONLY and not for commercial,
industrial or outdoor use.
3.
To protect against electric shock, do not
The Honeywell trademark is used by Kaz, Inc. under license from Honeywell International Inc.
Honeywell International Inc. makes no representation or warranties with respect to this product.
QUIETSET
WHOLE ROOM TOWER FAN
HY-105 Series
HY-108 Series
place fan in window, immerse unit, plug
or cord in water or spray with liquids.
4.
This appliance has a polarized plug
(one blade is wider than the other). To
reduce the risk of shock, this plug is
intended to fit only one way in a polarized
outlet. If the plug does not fit fully in the
outlet, reverse the plug. If it still does
not fit, contact a qualified electrician.
DO NOT attempt to defeat this safety
feature.
5.
Close supervision is necessary when any
appliance is used by or near children.
6.
Turn the fan OFF and unplug the fan from
the outlet when not in use, when moving
the fan from one location to another and
before cleaning.
7.
To disconnect the fan, first turn the unit
OFF, grip the plug and pull it from the wall
outlet. Never pull the plug by the cord.
8.
Do not operate the fan in the presence of
explosive and/or flammable fumes.
9.
Do not place the fan or any parts near
an open flame, cooking or other heating
appliance.
10. Do not operate the fan with a
damaged cord or plug or if the product
malfunctions, is dropped
or damaged in any manner
(see warranty).
11. Avoid contact with moving fan parts.
12. The use of attachments not
recommended by the manufacturer may
be hazardous.
13. Place the fan on a dry level surface.
14. Do not hang or mount fan on a wall
or ceiling.
15. Do not operate if the fan housing is
damaged.
™
Advertisement

Related Manuals for Honeywell QUIETSET HY-108 Series


Summary of Contents for Honeywell QUIETSET HY-108 Series
- Page 1 15. Do not operate if the fan housing is To protect against electric shock, do not damaged. The Honeywell trademark is used by Kaz, Inc. under license from Honeywell International Inc. Honeywell International Inc. makes no representation or warranties with respect to this product.
-
Page 2: User Servicing Instructions
16. A loose fit between the AC outlet 18. Do not run fan cord under carpeting. Do (receptacle) and plug may cause not cover cord with throw rugs, runners, overheating and a distortion of the plug. or similar coverings. Do not route cord Contact a qualified electrician to replace under furniture or appliances. - Page 3 ASSEMBLY INSTRUCTIONS A. Pedestal Assembly Fig. 1 • L ine up the left and right pedestal assembly and firmly snap together (Fig. 1). B. Base Assembly • A lign the two portions of the circular base and snap together by gently pushing the 4 extrusions (Fig. 2, Item A) into the adjacent Pedestal Assembly circles of the connecting piece (Fig. 2, Item B). Fig. 2 C. Securing the Pedestal to the Base Extrusions • A lign the 3 screw holes on bottom of pedestal with the 3 holes in the base such that the power cord holder is at the rear of the unit . (Fig. 3) • S ecure the base assembly to the pedestal by inserting and Base Assembly tightening the 3 screws in the 3 holes located on the bottom Fig. 3 of the base (Fig. 4). D.
- Page 4 ASSEMBLY INSTRUCTIONS REMOTE CONTROL BATTERY INSTALLATION/ Fig. 8 REPLACEMENT INSTRUCTIONS A. Remove battery door by sliding downward in direction of arrow. B. Insert 2 AAA batteries into the remote following the directional guides in the recessed slots (Fig. 8). Batteries are included. C. R eplace battery door by sliding upward opposite of arrow direction until door snaps in place. NOTE: DO NOT MIX OLD AND NEW BATTERIES. DO NOT MIX ALKALINE, STANDARD (CARBON-ZINC) OR RECHARGEABLE (NICKEL-CADMIUM) BATTERIES. SEE RECYCLERS IN YOUR AREA FOR PROPER DISPOSAL OF BATTERIES. HY-105 SERIES FAN OPERATION FAN OPERATION FAN OPERATION On/Off Model HY-105 To turn fan on, press the Power button ( ) located on the left side of the control panel. Speed Control The fan will automatically start on “Sleep” speed when initially turned on. To adjust the speed up or down, press the Fan Speed button ( ) repeatedly to increase level.
- Page 5 HY-105 SERIES REMOTE CONTROL OPERATION On/Off Press the Power button ( ) once to turn the fan on. Press the Power button a second time to turn the fan off. Speed Control The fan will automatically start on “Sleep” speed when initially turned on. To adjust the speed up or down, press the Fan Speed button ( ) repeatedly to increase level Oscillation Fig. 9 To activate the Oscillation feature, press the Oscillation button ( ) once. Press the Oscillation button again to turn the Oscillation feature off. Remote Control Storage The remote control may be stored in the recessed area located behind the controls when it is not in use (Fig. 9). HY-108 SERIES FAN OPERATION On/Off Model HY-108 To turn fan on, press the Power button ( ) located on the left side of the control panel.
- Page 6 HY-108 SERIES FAN OPERATION CONTINUED Temperature Model HY-108C in Canada Only A. Press and hold the Temperature Control Button ( ) to enter temperature mode. B. C urrent room temperature is displayed for 3 seconds, then display begins to flash at 1 second intervals. If temperature is not selected, unit will revert back to “speed mode” after 10 seconds. C. P ress the temperature button repeatedly to increase the temperature by one degree intervals starting from room temperature. You will have to cycle through 90° to get back to the 60° point. (This is the minimum.) *For Canada the temperature cycle range is 15°C to 30°C D. O nce the desired temperature is selected, the fan will revert back to room temperature display.
- Page 7 Free Manuals Download Website h p://myh66.com h p://usermanuals.us h p://www.somanuals.com h p://www.4manuals.cc h p://www.manual-lib.com h p://www.404manual.com h p://www.luxmanual.com h p://aubethermostatmanual.com Golf course search by state h p://golfingnear.com Email search by domain h p://emailbydomain.com Auto manuals search h p://auto.somanuals.com TV manuals search h p://tv.somanuals.com...
Need help?
Do you have a question about the QUIETSET HY-108 Series and is the answer not in the manual?
Questions and answers