Advertisement
Assembly Instructions and User's Manual
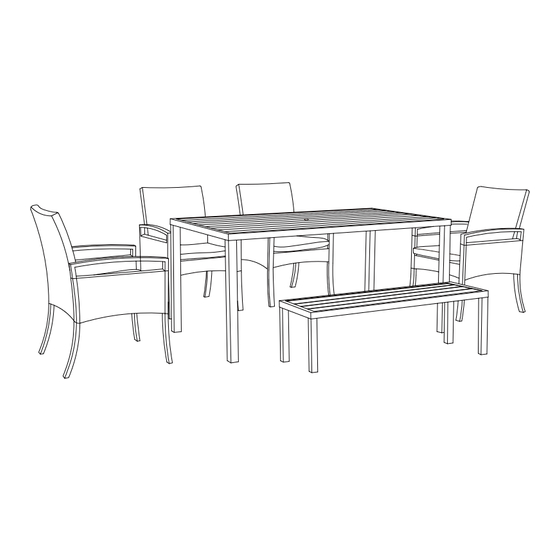
6 Piece Dining Set with Wicker
and Faux Wood
Style # 177270
Please keep this instruction manual for future reference
Customer Service: (888) 922-2336
7:00 am to 5:00 pm CST (daily)
Live Chat at: www.academy.com
Email: customerservice@academy.com
Questions, problems, missing parts? Before returning to the store,
call Customer Service
(Made in China)
Advertisement
Table of Contents

Related Manuals for Mosaic 177270


Summary of Contents for Mosaic 177270
- Page 1 Assembly Instructions and User's Manual 6 Piece Dining Set with Wicker and Faux Wood Style # 177270 Please keep this instruction manual for future reference Customer Service: (888) 922-2336 7:00 am to 5:00 pm CST (daily) Live Chat at: www.academy.com Email: customerservice@academy.com...
-
Page 2: Table Of Contents
Table of Contents Warnings ................2 Tools and Parts ………...…………………………………..3-5 Assembly Instructions ............6-15 Care and Maintenance ............16 Warranty Information ............16 Note: Before beginning assembly of product, make sure all parts are present. Compare parts with package content list. If any part is missing or damaged do not attempt to assemble the unit. -
Page 3: Warnings
Warnings WARNING: Please keep children out of assembly area during assembly. WARNING: Do not stand or put heavy things on furniture. CAUTION: Use furniture on the ground only. IMPORTANT: Please check the tightness of the bolts every 90 days. NOTE: Sharp objects will cause damage of furniture. READ ALL INSTRUCTIONS BEFORE USE To reduce the risk of injury to persons: 1. -
Page 4: Tools And Parts
Parts List (Dining Chair) Description Picture Back Seat Armrest (Left) Armrest (Right) Seat cushion Hardware List (Dining Chair) Description Picture Wrench PVC Bolt Cover Steel Washer M6X20MM Bolt M6X30MM Bolt Page 3 of 16... - Page 5 Parts List (Table) Description Picture Table Top Table Leg Stability Bar Umbrella Hole Cover Hardware List (Table) Description Picture Nut Wrench Washer Spring Washer M8 Nut Foot cap Page 4 of 16...
- Page 6 Parts List (Bench) Description Picture Bench Seat Bench Leg Stability Bar Hardware List (Bench) Description Picture Nut Wrench Washer Spring Washer M8 Nut Foot cap Page 5 of 16...
-
Page 7: Assembly Instructions
Assembly Instructions (Dining Chair) Step 1: IMPORTANT: Do not fully tighten bolts until all bolts are fastened. Place Armrest (C1) on its side on a flat smooth surface. Then attach Seat (B1) to (C1) with hardware Bolt (EE1) and Steel Washer (CC1) using Wrench (AA1) . - Page 8 Assembly Instructions (Dining Chair) Step 3: IMPORTANT: Do not fully tighten bolts until all bolts are fastened. Attach Back (A1) to Armrest (C1) & (D1) below Seat (B1) with hardware Bolt (EE1), Bolt (CC1) using Wrench (AA1) . Step 4: Attach Back (A1) to upper Armrest (C1) &...
- Page 9 Assembly Instructions (Dining Chair) Step 5: Fully tighten all bolts & screws. Turn the chair upright. Place Seat Cushion (E1) on the chair. Repeat the above steps for the remaining chairs. Page 8 of 16...
- Page 10 Assembly Instructions (Table) Step 6: IMPORTANT: Do not fully tighten bolts until all bolts are fastened. Place the Table Top (A2) upside down on a flat, smooth surface. Align Stability Bars (C2) to four corners of Table Top (A2) and screw them into Table Top (A2) in clockwise direction.
- Page 11 Assembly Instructions (Table) Step 7: Insert Table Legs (B2) over Stability Bars (C2) and secure in place with hardware DD2, CC2 and BB2 using Nut Wrench (AA2). Fully tighten all the bolts once all of them are in place. Page 10 of 16...
- Page 12 Assembly Instructions (Table) Step 8: Insert Foot Cap (EE2) into legs. Step 9: Turn the table upright and adjust screws on feet to level/stabilize table. IMPORTANT: If you plan to set up an umbrella in the center of the table, please always have an umbrella base ready first.
- Page 13 Assembly Instructions (Table) Step 10: If not using an umbrella, place umbrella hole cover over umbrella hole. Page 12 of 16...
- Page 14 Assembly Instructions (Bench) Step 11: IMPORTANT: Do not fully tighten bolts until all bolts are fastened. Place the Bench Seat (A3) upside down on a flat, smooth surface. Align Stability Bars (C3) to four corners of Bench Rim (A3) and screw them into Bench Rim (A3) in clockwise direction.
- Page 15 Assembly Instructions (Bench) Step 12: Insert Bench Legs (B3) over Stability Bars (C3) and secure in place with hardware DD3, CC3 and BB3 using Nut Wrench (AA3) Fully tighten all the bolts once all of them are in place. Page 14 of 16...
- Page 16 Assembly Instructions (Bench) Step 13: Insert Foot Cap (EE3) into legs. Step 14: Turn the table upright and adjust screws on feet to level/stabilize bench. Level the table with foot adjustor if necessary. Page 15 of 16...
-
Page 17: Care And Maintenance
In addition, purchased parts are not covered under this warranty. We reserve the right to make substitutions with similar merchan- dise, if the model in question is no longer in production. SP-JW-177270-ADMY-23001 Page 16 of 16...
Need help?
Do you have a question about the 177270 and is the answer not in the manual?
Questions and answers