Advertisement
Quick Links
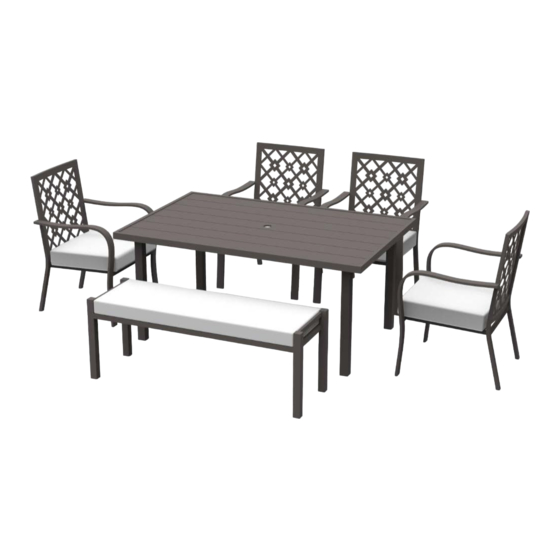
Assembly Instructions & User's
Manual
Beringer 6 Piece Dining Set
164256
Please keep this instruction manual for future reference
Customer Service: (888) 922-2336
7:00 am to 12:00 am CST (daily)
Live Chat at: www.academy.com
Email: customerservice@academy.com
----------------------OR--------------------
(877) 579-1550 8:30am to 5:30pm Monday thru Friday, EST
(Made in China)
Advertisement

Related Manuals for Mosaic Beringer 164256


Summary of Contents for Mosaic Beringer 164256
- Page 1 Assembly Instructions & User’s Manual Beringer 6 Piece Dining Set 164256 Please keep this instruction manual for future reference Customer Service: (888) 922-2336 7:00 am to 12:00 am CST (daily) Live Chat at: www.academy.com Email: customerservice@academy.com ----------------------OR-------------------- (877) 579-1550 8:30am to 5:30pm Monday thru Friday, EST (Made in China)
-
Page 2: Table Of Contents
Table of Contents Warnings………………………………………………………………..… 2 Parts List ……………………………………………………………..… 3 Assembly Instructions-Bench………………………………...….….. 4-6 Assembly Instructions-Table………………………………...….….. 7-8 Care and Maintenance……………………………………………...…. 9 Warranty Information………………..…….........10 Note: Before beginning assembly of product, make sure all parts are present. Compare parts with package content list and contents on next page. If any part is missing or damaged do not attempt to assemble the unit. -
Page 3: Warnings
Warnings • Please do not exceed the weight limitations o Weight Limit Table: 300 Lbs o Weight Limit Chair: 300 Lbs o Weight Limit Bench: 250 Lbs per seat • Keep all children and pets away from assembly area • DO NOT stand or allow children to stand on the assembled product •... -
Page 4: Parts List
Parts List Page 3 of 10... -
Page 5: Assembly Instructions-Bench
Assembly Instructions-Bench Step 1: Align the steel panel(C and D) to the leg (B). Step 2: Secure the steel panel(C and D) to the leg(B) with washers (DD) and bolts (BB) using the allen key (EE). Page 4 of 10... - Page 6 Assembly Instructions-Bench Step 3: Turn over the seat panel, align the leg(B) to the seat(A). Step 4: (1)Secure the leg(B) to the seat(A) with washers (DD) and bolts (BB) using the allen key (EE). (2)Fully tighten all bolts (BB) once all bolts (BB) are in place.
- Page 7 Assembly Instructions-Bench Step 5: (1)Secure the leg(B) to the seat(A) with washers (DD) and bolts (CC) using the allen key (EE). (2)Fully tighten all bolts (CC) once all bolts (CC) are in place. Cover all bolts with bolt caps (AA). Step 6: Turn the table upright, fasten the seat cushion and seat tube with tie.
-
Page 8: Assembly Instructions-Table
Assembly Instructions-Table Step 1: Turn over the table top, align the table leg(G) to the table top(F). Step 2: (1)Secure the table leg(G) to the table top(F) with washers (DD) and bolts (BB) using the allen key (EE). (2)Fully tighten all bolts (BB) once all bolts (BB) are in place. - Page 9 Assembly Instructions-Table Step 3: Turn the table upright, level the table with glides at the bottom of the table legs. Page 8 of 10...
-
Page 10: Care And Maintenance
Care and Maintenance This patio set should be cleaned on a regular basis to promote safe use and prolong product life. Wipe the frame with a smooth damp cloth and air dry. Do not use abrasive cleaners as they may damage or scratch the surface paint. -
Page 11: Warranty Information
Warranty Information This product has been manufactured under the highest standards of quality and workmanship. We warrant to the original consumer purchaser that all aspects of this product will be free of defects in material and workmanship for one year from the date of purchase.
Need help?
Do you have a question about the Beringer 164256 and is the answer not in the manual?
Questions and answers