
Related Manuals for TOOQ Ares FS20404HM-B


Summary of Contents for TOOQ Ares FS20404HM-B
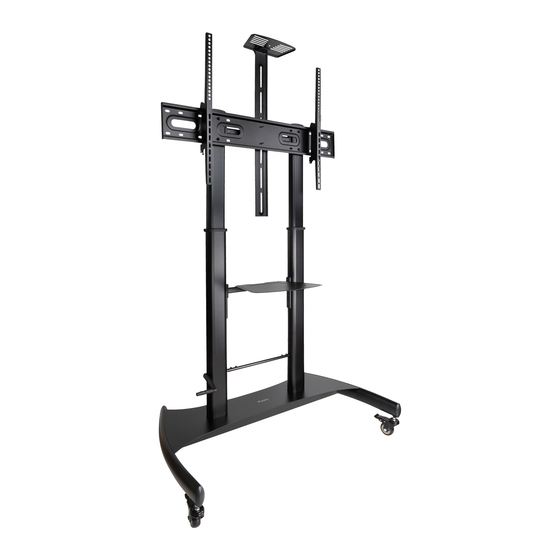
- Page 1 FS20404HM-B User manual 60”- 100” FLOOR STAND WITH WEELS FOR DISPLAYS VESA: 400x400, 600x400, 800x400, 800x600, 900x600, 1000x600 For TV For DVD For webcam...
- Page 2 Content O (x2) P (x4) R M8 x 30 Q M5x25 (x1) (x8) B (x4) C (x1) D (x2) E (x1) A (x1) S M6x25 (x4) T M6x14 (x6) U M6x8 V M8x65 (x4) (x4) Right column F (x1) G (x1) Left column (x1) H W (x4)
-
Page 3: Necessary Tools
Necessary tools Screwdriver *Tools are not included in the package. -
Page 4: Before Installation
Before installation • Read the instruction manual, if you are in any doubt about the instructions or warnings, contact your local dealer. • Make sure you have received all parts according to the components checklist for installation. If any parts are missing or defective, please contact your local distributor. - Page 5 Wheels installation Note: Each wheel must be adjusted independently. Turn the nut slightly to lower or raise the base.
- Page 6 Ajuste de las columnas The lines in the column indicate the highest position for height adjustments. Inner column...
- Page 7 Attach the driving rod to the two columns Fit the hexagonal rod by pulling both ends out about 40mm from Fit the driving rod to both columns. the drive rod. Then tighten the screws to secure it. Hexagonal bar...
- Page 8 Placing the columns on the base Attach the columns to the base using the screws. Attach the crossover bar to the columns with the appropriate screws. Tighten the screws using the appropriate Phillips screwdriver.
-
Page 9: Installing The Crossbar
Installing the crossbar Press the metal plate to lock the wheel. When the crossover bar is installed, tighten the screws at the bottom using an Allen key. - Page 10 Installing the universal plate Attach the universal plate to the columns with the appropriate bolts, washers and wing nuts. Tighten all bolts and wing nuts.
- Page 11 Adjust Use the crank handle to adjust the columns to the desired height Tighten the screws Q to secure the crank handle and prevent it securely using the appropriate screws. from loosening due to accidental height adjustment.
- Page 12 Install the adapter brackets...
- Page 13 For flat screens...
- Page 14 For screens with an uneven backside Note: Choose the appropriate screws, washers and spacers (if necessary) according to the type of display. • Position the adapter brackets as close as possible to the centre of the device. • Screw the adapter brackets to the device.
- Page 15 Attach the device to the universal plate • Attach the device to the universal plate. • Tighten the screws on the back to secure it. IMPORTANT: Make sure that the device is correctly mounted and that the screws are properly tightened before releasing the device.
- Page 16 Installing the camera rack...
- Page 17 Installing the DVD rack Attach the support bars to the columns in the desired position using the appropriate screws.
- Page 18 Installing the DVD rack Attach the DVD shelf to the support bar with the appropriate screws and wing nuts. Tighten all screws and wing nuts to secure.
- Page 19 Find out about all our news! Follow us on social media ©2024 by TooQ Technology, S.L. AII Rights Reserved. tooq.com...
Need help?
Do you have a question about the Ares FS20404HM-B and is the answer not in the manual?
Questions and answers