
Related Manuals for Bitspower CR140 Reservoir


Summary of Contents for Bitspower CR140 Reservoir
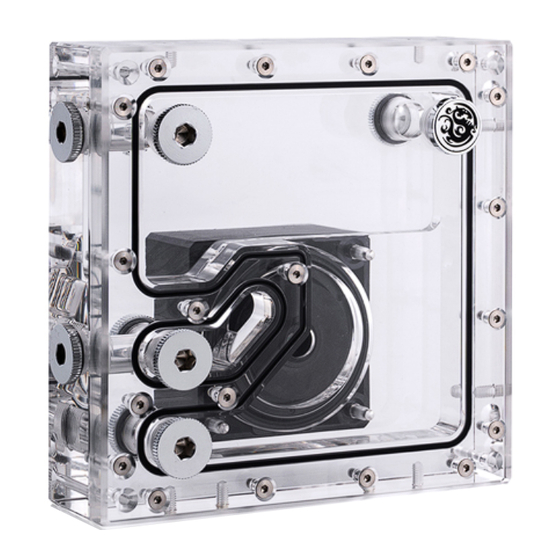
- Page 1 EN ver.4 BPM-WTCR140 Bitspower CR140 Reservoir Accessories BPM-WTCR140 1 SET Mounting bracket (short) 2 PCS Mounting bracket (long) 2 PCS M3x45mm Screw 4 PCS M3x5mm Screw 4 PCS M4x6mm Screw 4 PCS BPTA-PSC-SOC 1 PCS...
- Page 2 As such, if you feel uncomfortable with the steps involved in installing this product, please reach out to our customer support for assistance. We recommend the use of a leak tester, such as our Bitspower Digital Leak Detector, after completing the assembly of your liquid cooling loop to make sure there are no leaks prior to filling up your loop with coolant.
- Page 3 Assembly steps Installation For Mounting bracket (short) step 1 step 2 Assemble the M3x5mm screws Install the mounting bracket (short) step 3 Choose the speed what you need. Select the connector with label number J1 and color black, which will let you operate at low speed.
- Page 4 Assembly steps Dimension step 4 Installed in the chassis [ 4 ]...
- Page 5 Assembly steps Installation For Mounting bracket (long) step 1 step 2 Assemble the M3x5mm screws Install the mounting bracket (long) step 3 step 3 Choose the speed what you need. Select the connector with label number J1 and color black, which will let you operate at low speed.
- Page 6 Dimension step 4 Installed in the chassis [ 6 ]...
- Page 7 Recommend For Vertical stand(Additional purchases) Method A step 1 step 2 step 3 step 4 [ 7 ]...
- Page 8 Method B step 1 step 2 step 3 step 4 [ 8 ]...
- Page 9 Recommend For Lighting module(Additional purchases) step 1 step 2 step 3 step 4 Dimension (After installing the lighting module) 42.50 [ 9 ]...
- Page 10 The lighting module can be installed on surfaces in three different orientations. Dimension (After installing the lighting module and the vertical bracket) 61.70 PUMP SPECIFICATION Rated voltage:12V DC Power consumption:15W Maximum flow:11±15% L/min Noise:≤ 40dBA PWM:Yes MTBF:15000 hours Warranty:2 years Dimension: 62 x 62 x 46.7mm Maximum lift of the water pump: 5.5±0.5m [ 10 ]...
Need help?
Do you have a question about the CR140 Reservoir and is the answer not in the manual?
Questions and answers