Sign In
Upload
Download
Table of Contents
Contents
Add to my manuals
Delete from my manuals
Share
URL of this page:
HTML Link:
Bookmark this page
Add
Manual will be automatically added to "My Manuals"
Print this page
×
Bookmark added
×
Added to my manuals
Manuals
Brands
Bissell Manuals
Vacuum Cleaner
CleanView II
User manual
Bissell CleanView II User Manual
Hide thumbs
1
2
3
4
5
6
7
8
9
10
11
12
13
14
15
16
17
Table Of Contents
18
page
of
18
Go
/
18
Contents
Table of Contents
Troubleshooting
Bookmarks
Table of Contents
Important Safety Instructions
How to Put It Together
Attach Handle to Vacuum
Attach Vacuum Hose and Tools
Handle Positions
Height Adjustment
Transporting Cleaner
Special On-Board Tools
Power Cord Storage
Cleaning the Pre-Motor Filter
Replacing the Post-Motor Filter
Check Rotating Floor Brush and Drive Belt
Replace Drive Belt
Replace Lightbulb
Belt Cover
Troubleshooting
Limited One-Year Warranty
Advertisement
Quick Links
Download this manual
This Owner's Manual is provided and hosted by Appliance Factory Parts.
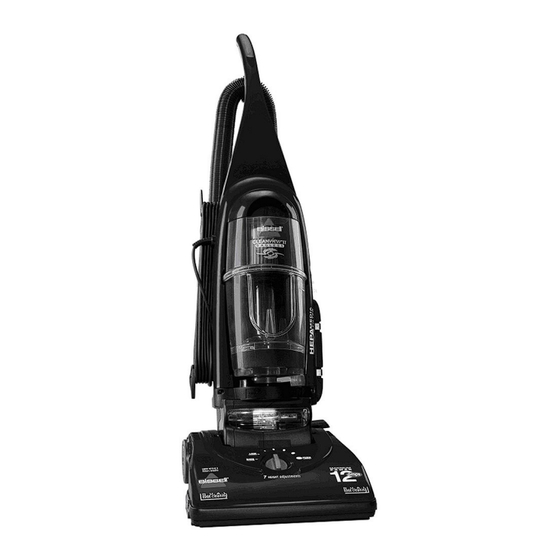
Bissell 3576
Owner's Manual
Shop genuine replacement parts for Bissell 3576
Find Your Bissell Vacuum Cleaner Parts - Select From 376 Models
-------- Manual continues below --------
Table of
Contents
Previous
Page
Next
Page
1
2
3
4
5
Advertisement
Table of Contents
Need help?
Do you have a question about the CleanView II and is the answer not in the manual?
Ask a question
Questions and answers
Related Manuals for Bissell CleanView II
Vacuum Cleaner Bissell 3574 Series User Manual
Cleanview ii bagless 3574/3576 series user's guide (17 pages)
Vacuum Cleaner Bissell CleanView Deluxe User Manual
47r5 series corded hand vacuum (8 pages)
Vacuum Cleaner Bissell CLEANVIEW 47R5 User Manual
Cleanview deluxe vacuum cleaner (9 pages)
Vacuum Cleaner Bissell CLEANVIEW User Manual
1243 series (16 pages)
Vacuum Cleaner Bissell CleanView Connect Manual
(9 pages)
Vacuum Cleaner Bissell 3590 Series User Manual
All floors vacuum (13 pages)
Vacuum Cleaner Bissell CLEANVIEW SWIVEL PET REWIND User Manual
2254 series, 2256 series (8 pages)
Vacuum Cleaner Bissell CleanView 1816 Series User Manual
(16 pages)
Vacuum Cleaner Bissell 1319 Series User Manual
(16 pages)
Vacuum Cleaner Bissell CLEANVIEW 1994 Series User Manual
(12 pages)
Vacuum Cleaner Bissell CLEANVIEW SWIVEL PET REWIND 2254 Series User Manual
(12 pages)
Vacuum Cleaner Bissell CLEANVIEW ALLERGEN LIFT-OFF PET Quick Start Manual
(8 pages)
Vacuum Cleaner Bissell CLEANVIEW ALLERGEN LIFT-OFF PET Manual
(8 pages)
Vacuum Cleaner Bissell CLEANVIEW SWIVEL PET REACH Quick Start Manual
Upright vacuum (8 pages)
Vacuum Cleaner Bissell CLEANVIEW SWIVEL REWIND PET REACH Manual
(9 pages)
Vacuum Cleaner Bissell CLEANVIEW XR PET Manual
Stick vacuum (12 pages)
This manual is also suitable for:
3574 series
73g8 series
3576 series
20q9 series
Table of Contents
Save PDF
Print
Rename the bookmark
Delete bookmark?
Delete from my manuals?
Login
Sign In
OR
Sign in with Facebook
Sign in with Google
Upload manual
Upload from disk
Upload from URL


Need help?
Do you have a question about the CleanView II and is the answer not in the manual?
Questions and answers