Advertisement
Available languages
Available languages
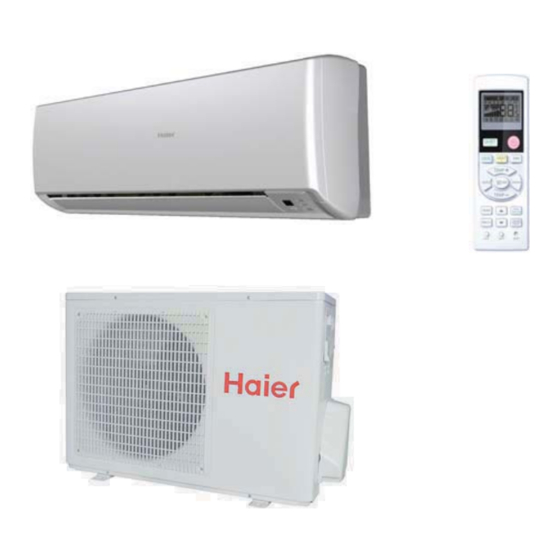
Installation Manual of Room Air Conditioner
Preparation
Necessary Tools for Installation
Hammer
Nipper
Hacksaw
Hole core drill
Spanner(17,19 and 26mm)
Gas leakage detector or
soap-and-water solution
Power Source
Before inserting power plug into receptacle, check the voltage without fail.
The power source is the same as the corresponding name plate.
Install an exclusive branch circuit of the power.
A receptacle shall be set up in a distance where the power cable can be
reached.Do not extend the cable by cutting it.
Drawing for the installation of indoor and outdoor units
The models adopt HC FC free refrigerant R410A
more than 10cm
(3 7/8)
more than 10cm
(3 7/8)
Arrangement of piping
directions
Rear left
Rear
Left
right
Right
Below
more than 20cm
The marks from
to
A
in the gure are the
G
parts numbers.
The distance between
the indoor unit and the
oor should be more
than 2m.
more than 60cm
Please be subject to the actual product purchased , the above picture is just for your reference.
Read this manual before installation
Explain suf ciently the operating means to the user according to this manual.
NO.0010536243
Torque wrench
(17mm,22mm,26mm)
Pipe cutter
Flaring tool
Knife
Measuring tape
Reamer
more than 10cm
more than 15cm
(7 7/8)
(23 5/8)
Selection of Installation Place
Indoor Unit - Select a plocation that is
Robust not causing vibration, where the body can be supported sufficiently.
Not affected by heat or steam generated in the vicinity, where inlet and outlet of the
unit are not disturbed.
Possible to drain easily, where piping can be connected with the outdoor unit.
Where cold air can be spread in a room evenly.
Nearby a power receptacle. (Refer to drawings).
Place where the distance of more than lm from televisions, radios, wireless apparatuses
and fluorescent lamps can be left.
In the case of fixing the remote controller on a wall, place where the indoor unit can
receive signals when the fluorescent lamps in the room are in use.
Outdoor Unit - Select a plocation that is
Not less affected by rain or direct sunlight and is sufficiently ventilated.
Strong enough to bear the unit, where vibration and noise are not increased.
Place, where discharged wind and noise do not cause a nuisance to the neighbors.
Q
Place, where a distance marked
Attention must be paid to
the pitch of drain hose
(3 7/8)
A
C
(5 7/8)
more than 25cm
(9 7/8)
is available as illustrated in the above figure.
Optional parts for piping
Non-adhesive tape
A
Adhesive tape
B
Saddle (L.S) with screws
C
Connecting electric cable
D
for indoor and outdoor
E
Drain hose
F
Heating insulating material
Piping hole cover
G
Floor xing dimensions of the
outdoor unit (Unit:mm / inch)
For:HSU18VCK-W
113.5
633
113.5
(4 1/2)
(24 7/8)
(4 1/2)
For:
HSU24VCK-W
184
184
580
(7 1/4)
(7 1/4)
(22 7/8)
Fixing of outdoor unit
Fix the unit to concrete or block
with bolts (10mm) and nuts rmly
and horizontally.
When tting the unit to wall
surface, roof or rooftop, x
a supporter surely with nails
or wires in consideration of
earthquake and strong wind.
If vibration may affect the
house, x the unit by attaching a
vibration-proof mat.
Advertisement
Table of Contents

Related Manuals for Haier HSU18VCK


Summary of Contents for Haier HSU18VCK
-
Page 1: Installation Manual Of Room Air Conditioner
fluorescent lamps can be left. Power Source In the case of fixing the remote controller on a wall, place where the indoor unit can receive signals when the fluorescent lamps in the room are in use. Before inserting power plug into receptacle, check the voltage without fail. -
Page 2: Indoor Unit
When connecting the cable before installing the indoor unit Ø70mm (2 3/4) Insert the cord from the back side of the unit, then pull it out on the front side. Fasten the unit wire harness to the conduit holder using the lock nut. Outdoor side... -
Page 3: Outdoor Unit
Ensure that on dirt or debris enters the pipe. The standard pipe length is 7m(27 9/16) . If it is over 7m(27 9/16), the function of the unit will be affected. If the pipe has to be lengthened, the refrigerant should be charged, according to 50 g/m(0.045 oz/inch).But the charge of refrigerant must... - Page 4 2-way valve and 3-way. Turn Less than the valve rod counterclockwise. To prevent the gas leakage, turn the service port’s cap, the valve rod’s cap for 2-way It becomes The end is imm- It waves.
-
Page 5: Fuente De Alimentación
Antes de insertar el enchufe de alimentación en la toma, compruebe que el voltaje ● Elija un lugar que permita soportar el peso de la unidad y que no amplifique el ruido no falla. La fuente de alimentación es la que figura en la placa de datos nominales. -
Page 6: Unidad Interior
Extraiga entonces la cubierta del cableado desenroscando los tornillos. z Fije una barra de montaje (se vende por separado) a la barra lateral y el dintel, y asegure la placa a la barra de montaje fijada. -
Page 7: Unidad Exterior
Asegúrese de que no penetren residuos o suciedad en el tubo. La longitud estándar del tubo es de 7m (27 9/16). Si el tubo tiene más de 7m (27 9/16), se verán afectadas las funciones de la unidad. Si es necesario alargar el tubo, deberá... - Page 8 Incorrecto 7. Para evitar fugas de gas, gire el tapón del puerto de mantenimiento y el tapón del vástago de las válvulas de 2 y 3 vías un poco por encima del punto en el que la torsión aumenta súbitamente.
- Page 9 Pince (17 mm, 22 mm, 26 mm) ● Solide sans vibration et offrant un support suffisant. ● N'est pas affecté par de la chaleur ou de la vapeur générées dans les environs et z Scie à métaux z Coupe-tube doit garantir que l'entrée et la sortie de l'unité...
-
Page 10: Unité Intérieure
● Suspendez l'unité sur les encoches supérieures de la plaque de fixation. Déplacez l'unité d'un côté vers l'autre 1. Exécutez une mise à niveau correcte de la plaque à fixer contre le mur en fonction des piliers ou des linteaux autour, puis attachez la plaque temporairement avec un pour vérifier la fixation. -
Page 11: Unité Extérieure
Assurez-vous qu'aucune impureté ni débris ne sont entrés dans le tuyau. La longueur standard du tuyau est de 7 m (27 9/16). Au delà de 7 m(27 9/16), l'unité ne fonctionnera pas correctement. S'il faut rallonger le tuyau, le réfrigérant doit être chargé... - Page 12 ● Ne pas effectuer la vidange telle qu'illustrée ci-dessous. 7. Pour empêcher toute fuite de gaz, tournez le capuchon de l'orifice d'entretien, le capuchon du robinet des vannes à 2 et 3 voies un peu au-delà du point où le couple augmente brusquement.
Need help?
Do you have a question about the HSU18VCK and is the answer not in the manual?
Questions and answers