Advertisement
INSTRUCTION MANUAL
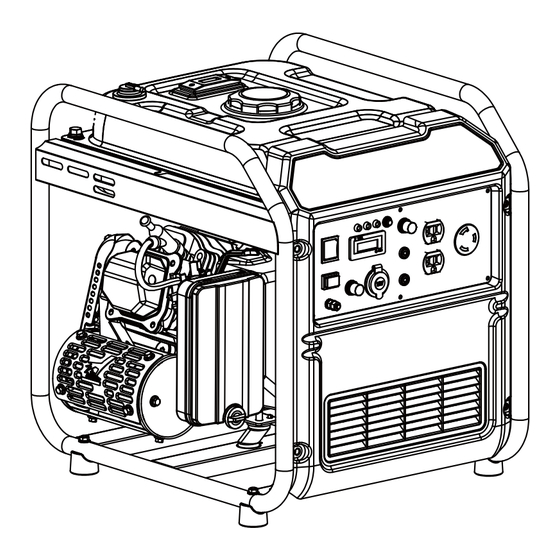
4400W FRAME INVERTER GENERATOR
Model # MB5040A
MB5040B
Have product questions or need technical support? Please scan the QR code
to enter our official website and contact us!
Website: www.powersmartusa.com
Toll free: 1-872-314-0005
Email: support@amerisuninc.com / support@powersmartusa.com
Mon-Fri 9-5 EST
Website
Advertisement
Table of Contents


Need help?
Do you have a question about the MB5040A and is the answer not in the manual?
Questions and answers