Table of Contents
Advertisement
Quick Links
Table of Contents
Introduction
Proper Care
SmartMedia Card
Batteries
Package C ontents
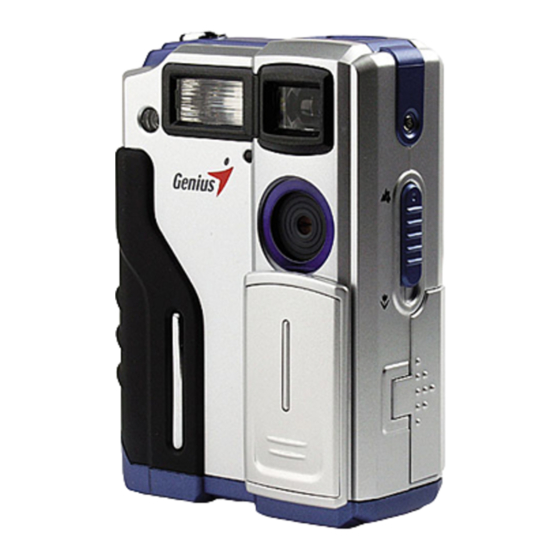
Getting to Know Your Camera
Front
Rear
Getting Your Camera Ready
Attaching the Strap
Loading the Batteries
Inserting/Removing the SmartMedia Card
Button Modes
LCD Description
Getting Started
Power On/Off
Battery Life Indicator
How to Take Pictures
Basic Operation
Movie recording
Basic/Macro Photography.
Flash Mode
Operating Modes
Exposure Settings
Image Resolution
Auto White-Balance Settings
Digital Zoom Photography
Using the S elf-Timer
Deleting Images
Switching to USB Mode
TV-OUT Operation
Connecting Your Camera to a T V
Button Description
OSD Menu
OSD Menu Items
1
1
1
1
1
2
2
2
2
2
3
3
3
3
3
3
3
4
4
4
4
4
4
4
4
5
5
5
5
Advertisement
Table of Contents

Related Manuals for Genius DSC 13M


Summary of Contents for Genius DSC 13M
- Page 1 Flash Mode Operating Modes Exposure Settings Image Resolution Auto White-Balance Settings Digital Zoom Photography Using the S elf-Timer Deleting Images Switching to USB Mode TV-OUT Operation Connecting Your Camera to a T V Button Description OSD Menu OSD Menu Items...
-
Page 2: Getting To Know Your Camera Front View
How to maintain your camera: Software CD-ROM (incl. Driver and Applications) If the lens, LCD display or the viewfinder surface is dirty, use a lens brush or a soft cloth to wipe the Carry Case surface clean. Do not touch the lens with your fingers. -
Page 3: Attaching The Strap
NOTE: The SmartMedia Card specification for this camera is: 3.3V (4/8/16/32/64/128MB). If you insert the Smart Media card in the wrong direction, it won’t fit. Insert the card gently to avoid damage. If a write-protect sticker is attached at the write-protect area, this message will be displayed on the LCD display. -
Page 4: Getting Started
Turn on the power of the camera. Press and release the shutter button to take a picture. (At this time, you will hear a beep and the LED will flash. When the flash is over, the camera is ready to take the next photo.) -
Page 5: Operating Modes
TIP: 50HZ and 60HZ modes: Two frequencies are available for this camera because of different power supply specifications for different areas. This settings prevents stripes on images under different frequency. Press Shutter to start the self- timer. The Self-Timer LED in the front of the camera will flash and beep for 10 Image Resolution seconds. -
Page 6: Tv-Out Operation
NOTE: Do not switch the mode when the camera is connected to PC. TV-OUT Operation You can use the TV cable to transfer images in the camera to a TV and play or delete images on the TV. Connecting Your Camera to TV Plug TV cable to the TV-OUT socket on the side of the camera, and plug the other end to the Video-in socket on the TV.
Need help?
Do you have a question about the DSC 13M and is the answer not in the manual?
Questions and answers