Advertisement
Quick Links
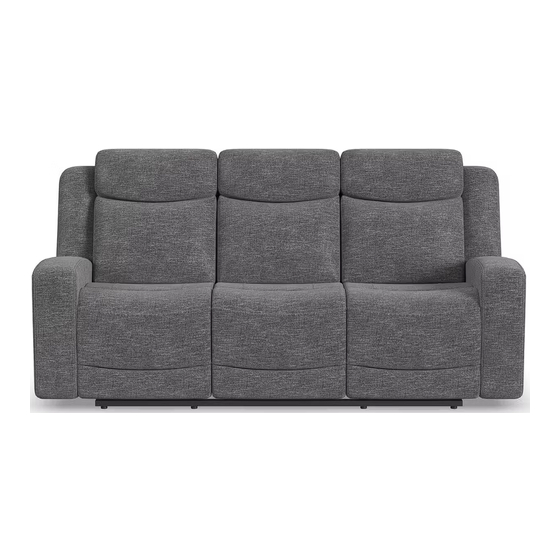
Power Reclining Sofa
with Power Headrests
IMPORTANT NOTE
Read these instructions carefully, and familiarize yourself with
each procedure before assembling the furniture. Check that you
have all the component parts, and familiarize yourself with each
part before proceeding.
Take all the fittings out of the plastic bag and separate them into
groups. Ensure you have enough space to lay out all the parts
before assembly. To prevent damage to the parts, we recommend
that you assemble the unit on a soft, level surface.
Part List
A. Back
3 pieces
A
A
Assembly Instruction
STEP 1
Detach the transformer (D) from the bottom of the Seat (B) and the wings (L/R) from the bottom of the armrests (See Figure 1)
STEP 2
Attach the Back (A) to the Seat (B). Then attach the Wings (L/R) to Back (A) . Ensure the latches fit well. (See Figure 2)
STEP 3
Zip the black fabric on bottom of Back (A) with back of Seat (B). (See Figure 3)
B Seat
1 piece
A
s
L
A
L
A
C Wing
2 pieces
B
L
D
Figure 1
Figure 2
A
A
B
Figure 2
A
A
B
Figure 3
D. Transformer
1 piece
R
R
R
D
Advertisement

Related Manuals for FLEXSTEEL Ridge 184762PH


Summary of Contents for FLEXSTEEL Ridge 184762PH
- Page 1 Power Reclining Sofa with Power Headrests IMPORTANT NOTE Read these instructions carefully, and familiarize yourself with each procedure before assembling the furniture. Check that you have all the component parts, and familiarize yourself with each part before proceeding. Take all the fittings out of the plastic bag and separate them into groups.
- Page 2 STEP 4 Flip up the back flap,connect the headrest cable to the power button control cable and place them behind the flap. (See Figure 4) Figure 4 STEP 5 Connect the transformer (D) into the power port on the back of the piece, then plug it into a nearby outlet, still making sure it is clear of the metal base.
Need help?
Do you have a question about the Ridge 184762PH and is the answer not in the manual?
Questions and answers