
Subscribe to Our Youtube Channel
Related Manuals for DELLA 048-APACI-10


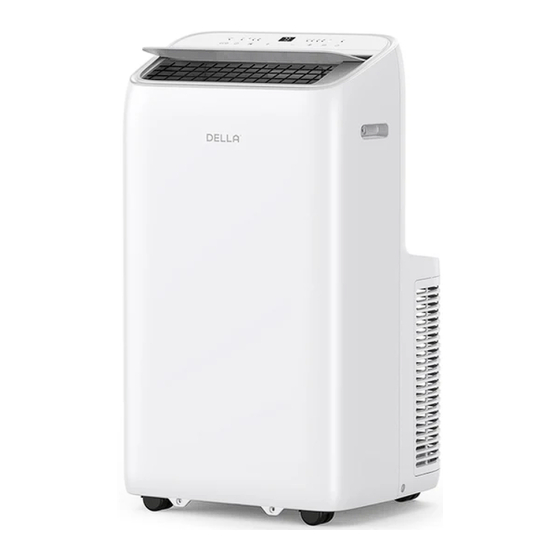
Summary of Contents for DELLA 048-APACI-10
- Page 1 048-APACI-10 Instruction Manual This manual contains the information you need to install and use your product. Keep the this manual for future reference.
-
Page 3: Table Of Contents
Table of Contents Warning and Safety ------------------------------------------------------------------------- Product Specification ---------------------------------------------------------------------- Parts Details ----------------------------------------------------------------------------------- Installation Guide ---------------------------------------------------------------------------- Control Panel ---------------------------------------------------------------------------------- Remote Control ------------------------------------------------------------------------------- Operation Instructions --------------------------------------------------------------------- WI-FI / App Connection ------------------------------------------------------------------- Care and Maintenance -------------------------------------------------------------------- Troubleshooting ------------------------------------------------------------------------------... -
Page 4: Warning And Safety
Warning and Safety *Read this guide before installation and using this appliance. Failure to follow the safety instructions may result in property damage, serious injury, or death. DANGER WARNING CAUTION Indicates an imminently Indicates a potentially Indicates a potentially hazardous situation that, if not hazardous situation that, if not hazardous situation that, if not avoided, will result in death,... - Page 5 Warning and Safety CAUTION • Do not run the power cord under the carpet or cover the cord with throw rugs, runners, or similar covering. Arrange the cord away from high traffic area to prevent tripping over it. • Only use this appliance as described in this manual. •...
-
Page 6: Product Specification
Product Specification Model 048-APACI-10 Rated Power 1200 W Rated Voltage 115 V Frequency 60 Hz Rated Current 12 A Cooling Capacity 10000 BTU / h SEERS 7.83 Operation Temperature 60°F - 90°F Instruction Manual... -
Page 7: Parts Details
Parts Details Control Panel ‣ Page 12 Air Outlet Carrying Handle Air Filter ‣ Page 24 Air Exhaust ‣ Page 09 Upper Drain Outlet Air Filter ‣ Page 24 Bottom Drain Outlet Power Plug NOTE: • The graphical representation might have slight differences than the actual product. v.01222024... - Page 8 Parts Details Window Slider Kit Foam Seal Drain Hose Instruction Manual...
-
Page 9: Installation Guide
Installtion Guide Picking a installation location ≥50cm / 19.7" ≥50cm / 19.7" • The air conditioner must be place on a flat ground. • Keep the air conditioner at least 50 cm or 19.7" away from any wall or obstacles. •... - Page 10 Installtion Guide Picking a installation location Horizontal Window Vertical Window Foam Seal Foam Seal 47cm - 130cm / 18.5" - 51" Attach foam seal to the window sash and the window frame. Adjust the length of the window slider kit and secure the position with the provided screws. Place the window slider kit between the window sach and window frame.
- Page 11 Installtion Guide • Exhaust duct should be kept to a minimum length and as straight as possible. • Stretching or bending the duct excessively will decrease cooling efficiency. v.01222024...
-
Page 12: Control Panel
Control Panel Icon Button Name Function ‣ Page 15 Power Button Power ON / OFF the air conditioner Oscillation ‣ Page 16 Enable the air outlet to oscillate Button Fan Speed ‣ Page 16 Control the fan speed Button Increase / ‣... -
Page 13: Remote Control
Remote Control Icon Button Name Function ‣ Page 15 Power Button Power ON / OFF the air conditioner ‣ Page 14 Swing Button Enable the air outlet to oscillate ‣ Page 16 Speed Button Control the fan speed Increase / ‣... - Page 14 Remote Control Changing Remote Control Battery Remove the screw on the back cover of the remote control. Remove the back cover and insert 2 new AAA 1.5v batteries. Re-install the back cover to the remote control and secure with the screw. WARNING •...
-
Page 15: Operation Instructions
Operation Instructions Power ON / OFF Press on the control panel or press on the remote control to turn on the unit. Press on the control panel or press on the remote control again to turn off the unit. Auto Mode Press on the remote control to select auto mode. - Page 16 Operation Instructions Fan Mode Press on the control panel or on the remote control to select fan mode. indicator will lights up on the control panel. indicator will lights up on the remote control display. Press on the control panel or on the remote control to adjust fan speed.
- Page 17 Operation Instructions Turn ON Timer Make sure the air conditioner is OFF. Press on the control panel or on the remote control to begin setting turn on timer. Press on the control panel or on the remote control to set the desired time. Leave the setting for 5 seconds, the air conditioner will start the timer automatically.
- Page 18 Operation Instructions Sleep Mode Press on the remote control to enable sleep mode. - The air conditioner will automatically adjust temperature and fan speed for sleep mode for 8 hours. NOTE: • Sleep mode is not accessable on the control panel. Child Lock Press on the remote control for 3 seconds to enable child lock.
- Page 19 Operation Instructions Water Drainage Bottom Drain Outlet • When the internal water tank is fullm the digital display will show “FL” and indicator will light • Carefully move the air conditioner to a drain location, then remove the bottom drain plug and drain the water.
-
Page 20: Wi-Fi / App Connection
Your application’s user interface, icons, and screen may look different from this guide due to updates and development changes. • Della+ app can be altered without notice for quality improvement and also be deleted depending on the circumstances of manufacturing firms. Instruction Manual... - Page 21 Wi-fi / App Connection User Registration Open the DELLA+ app on Tap the “Register” button your smart devices. for first time user. Tap the country menu. Select your country. Enter your email address, then read and agree to the user agreement, and get verification code.
- Page 22 Wi-fi / App Connection User Registration Enter the verification Set your password and code. tap “Done”. Instruction Manual...
- Page 23 Wi-fi / App Connection Add Device Select the appliance type Tap “Add Device” in the you want to add. center of the screen or the “+” dropdown menu from the top right corner. Enter your Wi-Fi network Follow the in-app You can see your device password, then tap “Next”.
-
Page 24: Care And Maintenance
Care and Maintenance CAUTION • Before cleaning the unit, you must shut down the machine and cut off the power supply. • Never flush the air conditioner with water. Clean the Unit Clean the heater with a soft dry cloth or a damped cloth with neutral detergent. NOTE: •... -
Page 25: Troubleshooting
Troubleshooting Problem Possible Causes Power failure / plug pulled out The appliance is nonoperational Power breaker tripped 4 minutes reset after shutting down the appliance The appliance does not start when power on Temperature setting is higher than the environment tem- perature Obstruction on the vent Dirty air filter... - Page 26 Instruction Manual...
- Page 27 v.01222024...
- Page 28 DELLA. Every effort has been made to ensure that the information in this document is accurate, DELLA is not responsible for printing or clerical errors. All trademarks, logos, and brand names are the property of their respective companies.
Need help?
Do you have a question about the 048-APACI-10 and is the answer not in the manual?
Questions and answers