
Related Manuals for Yolink YS3603-UC


Summary of Contents for Yolink YS3603-UC
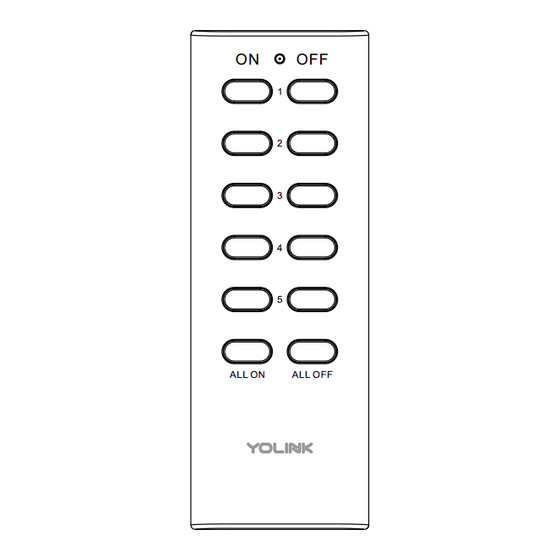
- Page 1 ALL ON ALL OFF YoLink Remote YS3603-UC Set-up & User Guide Rev 1.1...
- Page 2 Thank you for purchasing YoLink products and for entrus ng us with your smart home needs! Your 100% sa sfac on is our goal. If you experience any problems with se ng up your new YoLink Remote, please give us a chance to assist you, before returning your purchase.
-
Page 3: Table Of Contents
In the Box ······· ······················ ····· ····· ···················································· · · · ·· · ··1 Introduc on ······························································································ 2 · YoLink Control ···························································································14 Maintenance ······················································································· ····18 · Specifica ons ····················································································· ·····21 · Troubleshoo ng ················································································· ·····22 · Warning ······························································································ ····23 ·... -
Page 4: In The Box
A. In the Box A. YoLink Remote B. Quick Start Guide ALL ON ALL OFF... -
Page 5: Introduc On
B. Introduc on Yo L i n k Re m o t e i s c o m p a b l e w i t h Yo L i n k d e v i c e s t h a t a r e s u p p o r t e d Yo L i n k C o n t r o l a n d a c t a s r e s p o n d e rs . - Page 6 The LED light indicates the current status of the YoLink Remote: Blinking Red Once, then Green Once Device turned on Blinking Red And Green Alternately Restoring to Factory Defaults Blinking Green Once Trigger an ac on Fast Blinking Green Establishing Connec on with YoLink System (YoLink Control)
-
Page 7: Yolink Control
Hub or an internet connec on. (Use of YoLink Control is op onal; you can use the Automa on feature in the app OR use YoLink Control, but YoLink Control offers the benefit of opera on without the Hub or internet connec on.) One device controls another, directly. - Page 8 Press and hold the SET bu on for 5-10 seconds un l the Refer to the YoLink Relay L E D q u i c k l y b l i n k s g r e e n , t h e n...
- Page 9 C-1-2. Diagram of YoLink Control of other devices act as a Responder Pairing Opera on ON Bu on (5-10 seconds) Opened Closed SET Bu on ALL ON ALL OFF ALL ON ALL OFF ALL ON ALL OFF (5-10 seconds) Opened...
- Page 10 ALL OFF ALL ON ALL OFF ALL ON ALL OFF (5-10 seconds) Turned On Turned Off YoLink Remote In-wall Switch When Press the first ON/OFF bu on once , the In-wall Switch will turn on / turn off Pairing Opera on...
- Page 11 ALL OFF ALL ON ALL OFF ALL ON ALL OFF All On All Off YoLink Remote Smart Power Strip When Press the first ON/OFF bu on once , the Smart Power Strip will turn all on / turn all off Pairing...
- Page 12 ALL ON ALL OFF POWER Bu on (5-10 seconds) Turned On Turned Off YoLink Remote YoLink Plug Mini When Press the first ON/OFF bu on once , the YoLink Plug Mini will turn on / turn off Pairing Opera on...
- Page 13 ALL ON ALL OFF ALL ON ALL OFF ALL ON ALL OFF Ac vate Siren Silence Siren YoLink Remote Siren Alarm When Press the first ON/OFF bu on once , the Siren Alarm will activate / silence Pairing Opera on...
- Page 14 U p o n u n - p a i r i n g , t h e Y o L i n k b. SET Bu on Remote LED will stop blinking and (10-15 seconds) turn off, and the YoLink Relay LED will stop blinking and return to the previous color (green for turned on, red for turned off)
-
Page 15: Maintenance
D. Maintenance D-1. Factory Reset Factory reset will erase all of your se ngs and restore it to factory defaults Hold the ALL ON bu on of finger for 20-25 seconds un l the status light blinks red and green alternately, then, release the bu on (Hold the ALL ON bu on longer than 25 seconds will ABORT the factory reset opera on Factory reset will be complete when the status light stops blinking... - Page 16 D-2. Replacing the Ba eries Slide the ba ery cover to open the P re s s a ny b u o n to c h e c k t h e cover and remove the ba eries stat u s o f t h e re m o te a n d ve r i f y t h e stat u s L E D w i l l b l i n k o n c e I n s t a l l t w o...
-
Page 17: Specifica Ons
E. Specifica ons Voltage: 3V DC (2 - alkaline non-rechargeable AAA ba ery) Device Current Draw: ≤ 135mA opera ng ), ≤ (standby) Dimensions: 4.53 x 1.65 x 0.63 inch (L x W x D) Environment: Working Temperature: 32°F - 104°F (0°C - 40°C) Working Humidity: 10% - 90% non-condensing... - Page 18 F. Troubleshoo ng 1. Symptom: Status LED doesn’t light up: - If the ba eries got loose, please re-install the ba eries - If the condi on of the ba eries is in ques on, replace the ba eries with two premium “AAA” alkaline ba eries 2.
-
Page 19: Warning
) for the device environmental limita ons If your YoLink Remote gets dirty, please clean it by wiping it down with a clean, dry cloth. Do not use strong chemicals or detergents, which may discolor or damage the exterior and/or damage the electronics, voiding the warranty Do not use this device where it will be subjected to physical impacts and/or strong vibra on. - Page 20 Do not dispose of ba eries in fire as they may explode! Please follow local ba ery disposal procedures To avoid damaging the device, if storing the device for an extended period, remove the ba eries Please contact Customer Service before a emp ng to repair, disassemble or modify the device, any of which can void the warranty and permanently damage the device...
- Page 21 If you have any difficul es installing or using YoLink products, please contact our Customer Service department during business hours: US Live Tech Support: 1-949-825-5958 M-F 9am - 5pm PST Email: service@yosmart.com YoSmart Inc. 15375 Barranca Parkway, Ste G-105 Irvine, Irvine, CA 92618, USA...
- Page 22 FCC Statement This equipment has been tested and found to comply with the limits for a Class B digital device, pursuant to part 15 of the FCC Rules. These limits are designed to provide reasonable protec on against harmful interference in a residen al installa on. This equipment generates, uses and can radiate radio frequency energy and, if not installed and used in accordance with the instruc ons, may cause harmful interference to radio communica ons.
- Page 23 Note: The manufacturer is not responsible for any radio or TV interference caused by unauthorized modifica ons to this equipment. Such modifica ons could void the user’s authority to operate the equipment. FCC RF Radia on Exposure Statement This equipment complies with FCC RF radia on exposure limits set forth for an uncontrolled environment.
Need help?
Do you have a question about the YS3603-UC and is the answer not in the manual?
Questions and answers