Alesis MultiMix 8 USB FX - Mixer Manual
- Quick start manual (8 pages) ,
- User manual (4 pages) ,
- Quick start manual (24 pages)
Advertisement
Introduction
Box Contents
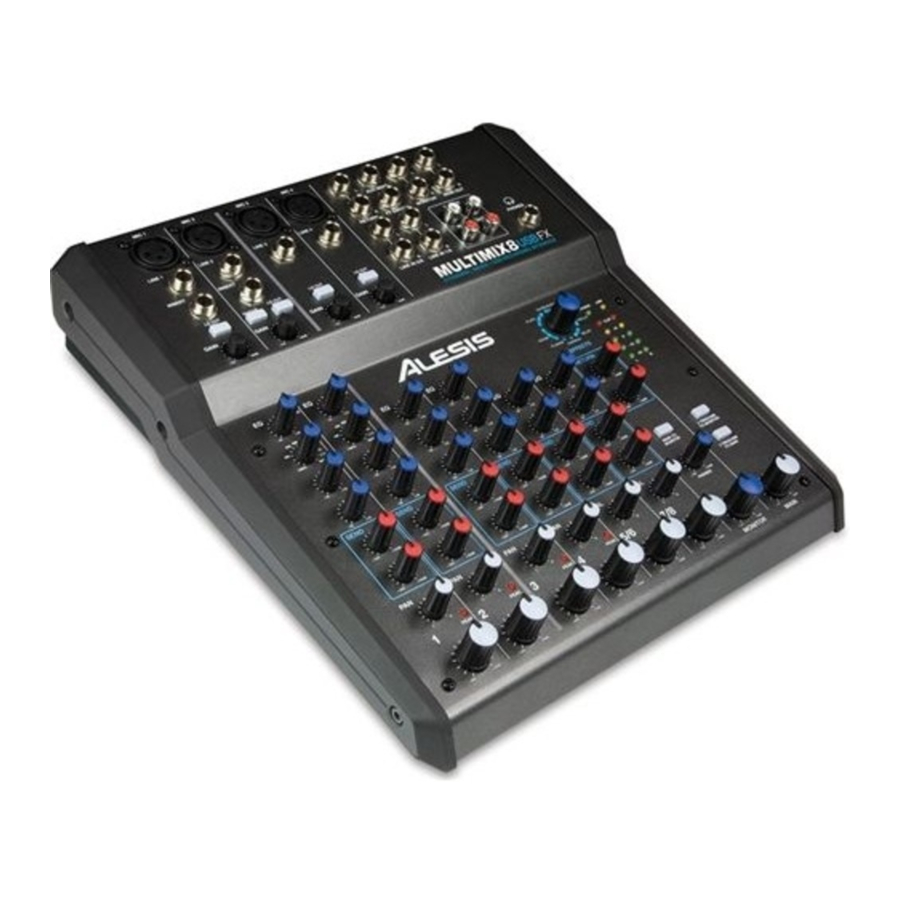
MultiMix 8 USB FX
Power Adapter
USB Cable
Software Download Card
User Guide
Safety & Warranty Manual
Support
For the latest information about this product (system requirements, compatibility information, etc.) and product registration, visit alesis.com. For additional product support, visit alesis.com/support.
Setup
Items not listed in Introduction > Box Contents are sold separately.

Notes:
- When recording a guitar or bass with an active pickup, set the MultiMix 8 USB FX's Guitar Switch to the up/raised position. If your instrument uses a passive pickup, engage the switch.
- To reduce electrical hum at high gain settings, keep the MultiMix 8 USB FX's power supply away from your guitar cable and the MultiMix 8 USB FX's channel inputs.
- You may remove the mixer's endcaps using a 3 mm hex wrench.
Audio Setup
To set MultiMix 8 USB FX as your default playback device, follow the directions below based on your computer's operating system.
Windows:
- Use the included USB cable to connect the MultiMix 8 USB FX to your computer. Press thepower switch to power on MultiMix 8 USB FX.
- In the Taskbar, locate the Volume Control "speaker" icon. Right-click the speaker and select Playback Devices.
Alternatively, go to Start Menu > Control Panel (or Settings > Control Panel in Classic View) > Hardware and Sound > Sound. - In the Windows Sound control panel select the Playback tab and select USB Audio Codec* as the default device.
- Click the Recording tab and select USB Audio Codec* as the default device.
- Click Properties in the lower right-hand corner.
- In the new window, click the Advanced tab and select 2-channel, 16-bit, 44100 Hz (CD Quality) as the default format.
- Uncheck both boxes under Exclusive Mode.
- Click OK to close the Properties window.
- Click OK to close the Sound control panel.
* If you have other USB audio devices connected to your computer, which may have identical names, you may need to try selecting each one until the MultiMix 8 USB FX is recognized.
macOS:
- Use the included USB cable to connect the MultiMix 8 USB FX to your computer. Press thepower switch to power on MultiMix 8 USB FX.
- Go to Applications > Utilities > Audio MIDI Setup.
- In the Audio Devices window, select USB Audio Codec* in the left column.
- Right-click USB Audio Codec*, and select Use this device for sound input.
- Right-click USB Audio Codec*, and select Use this device for sound output.
- Quit Audio MIDI Setup.
Features
Top Panel

- Power LED: Illuminates when the MultiMix 8 USB FX is on.
- Phantom Power LED: Lights up when phantom power is engaged.
- Main Out: Use standard 1/4" cables to connect this output to the house speaker or amplifier system. The level of this output is controlled by the Main Volume knob.
- Monitor Out: Use standard 1/4" cables to connect this output to your monitor speaker or amplifier system. The level of this output is controlled by the Monitor Volume knob.
- Phones: Connect your 1/4" headphones to this output. The Phones knob controls volume.
- Aux Send Output: You may connect the input of an external device (usually an outboard effects device) to this output with a 1/4" mono cable. This output can also be used to create a custom monitor mix for onstage musicians. You can adjust the level with the Aux Return Level knob.
- Aux Return Inputs: You may connect the outputs of an external device to these inputs with 1/4" mono cables. This is usually used for outboard effects devices but can also be used like an extra input channel for synthesizers, drum machines, etc. If your source is mono, plug it into the left jack and it will be heard on both the left and right sides.
- 2 Track Inputs: You may connect the outputs of an external recording device to these inputs using standard RCA cables. This can be used to listen to a 2-track recording you've just made, or to connect to a personal media player to play pre-recorded music before your live gig. Press the 2 TRKS/USB To Monitor button to hear this in your headphones or monitor speakers. Press the 2 TRKS/USB To Main to hear this in the house speakers.
- 2 Track Outputs: You may connect an external recording device to these outputs using standard RCA cables.
- Footswitch: When a footswitch is connected to this jack with a 1/4" TRS cable, it can be pressed to allow all channels to bypass MultiMix 8 USB FX's internal effects processor. This jack supports Boss FS-5L and FS-6 pedals or other latchingtype footswitches (not included).
- Mic Input: Connect a microphone to these inputs with an XLR cable.
- Line Input: Connect line-level devices to these inputs with 1/4" cables.
- Insert: The insert jack allows you to insert a compressor, EQ, or any other signal processor in between the MultiMix 8 USB FX's preamplifier and A/D converter. Use a standard 1/4" TRS cable when connecting a device to this insert.
When using Line Inputs 5/6, 7/8, and the Aux Returns:
- If only the left channel is used, the signal will be heard in both left and right channels and the balance will not be adjustable.
- If only the right channel is used, the signal will be heard in the right channel only.
Use standard 1/4" TRS (tip-ring-sleeve) cables when connecting devices to the Insert jacks. The signal is sent from the tip of the cable and returns on the ring.

- Lo Cut Switch: When this button is depressed, the channel's high-pass filter will engage, reducing frequencies below 80 Hz to reduce any low-level noise.
- Guitar Switch: When this switch is in the down position, Channel 2 will serve as a high-impedance input for connecting guitar or bass instruments. When the switch is in the up position, Channel 2 will accept mic or line-level signals.
- Gain: Adjusts the channel audio level (pre-fader and pre-EQ gain). Adjust this so that the Peak LED just barely lights up during the loudest parts of the song.
- Channel Volume: Adjusts the audio level on the channel.
- Peak LED: The LED will flash red if the signal is clipping. If this happens, decrease the setting of the Gain knob or Channel Volume knob.
- Channel Pan: Adjusts the (mono) channel's position in the stereo field.
- Balance (CH 5/6 & 7/8): Adjusts the balance between Channels 5 and 6 and Channels 7 and 8.
- Lo EQ (Bass): Adjusts the low (bass) frequencies of the channel.
- Mid EQ: Adjusts the mid-range frequencies of the channel.
- Mid EQ Freq: Adjusts the frequency that the Channel EQ (Mid) will boost or cut.
- Hi EQ (Treble): Adjusts the high (treble) frequencies of the channel.
- Aux Pre Send: Adjusts the channel audio (pre-EQ) level that is sent to the Aux Send output. You can use this to apply external effects to individual channels, or to create a custom monitor mix for yourself or your musicians.
- FX Post Send: Adjusts the channel audio (post-EQ) level that is sent to MultiMix 8 USB FX's internal effects processor. Turn this up for the channels that you want internal effects applied to.
- Effects Selector: Selects the effect that MultiMix 8 USB FX's internal effects processor will apply to the various channels. Each channel can send different levels of audio to the processor by adjusting their FX Post Send knobs. See the Effects section for an explanation of the available effects.
- Aux Return Level: Adjusts the volume of the Aux Return Inputs.
- FX Return Level: Adjusts the volume of the MultiMix 8 USB FX's internal effects processor.
- LED Meters: Shows the audio level of the main mix. Turn the volume down if the Clip LED lights up excessively.
- 2 TRKS/USB To Main: Routes the audio from your computer and the 2 Track Inputs to the Main Out.
- 2 TRKS/USB To Monitor: Routes the audio from your computer and the 2 Track Inputs to the Monitor Out and your headphones.
- Main To Monitor: Routes the audio heard through the Main Out to the Monitor Out and your headphones.
- Main Volume: Adjusts the volume of the Main Out.
- Monitor Volume: Adjusts the volume of the Monitor Out.
- Phones Volume: Adjusts the volume to your headphones.
When recording to your computer, make sure the 2 TRKS/USB To Main switch is in the up/raised position to avoid feedback in your recording. Alternatively, you can deactivate the "software playthrough" function in your software while recording.
Rear Panel

- Power In: Use the included power adapter to connect the MultiMix 8 USB FX to a power outlet. While the power is switched off, plug the power supply into the MultiMix 8 USB FX first, then plug the power supply into a power outlet.
- Power Switch: Turns the MultiMix 8 USB FX on and off. Turn on the MultiMix 8 USB FX after all input devices have been connected and before you turn on amplifiers. Turn off amplifiers before you turn off the MultiMix 8 USB FX.
- Phantom Power: This switch activates and deactivates phantom power. When activated, phantom power supplies +48V to the XLR mic inputs. Please note that most dynamic microphones do not require phantom power, while most condenser microphones do. Consult your microphone's documentation to find out whether it needs phantom power.
- USB Port: Use the included cable to connect the MultiMix 8 USB FX to a computer. MultiMix 8 USB FX requires a USB 1.1 or higher (e.g. USB 2.0) connection.
Effects
To hear the effects on a channel:
Turn up the FX Post Send (26) for that channel. Then, turn up the FX Return knob (29). Press the Main To Monitor button (33) to hear the mix in your headphones. Use the Effects Selector knob (27) to choose one of the effects below:
Rotating Speaker Effect
- Rotary: Fast rotary speaker simulator creates the classic, lush Doppler effect of an organ's spinning horn. Effective on guitars, vocals, keyboards and other instruments.
Reverb Effects
- Hall 1: A large, bright conce rt hall reverberation effect suitable for vocals and instruments.
- Hall 2: A large, warm concert hall reverberation effect suitable for drums, piano and other instruments.
- Room 1: A medium-sized, moderately bright reflective room reverberation effect suitable for vocals, lead guitars and other instruments.
- Room 2: A small, very reflective bright room reverberation effect suitable for drums and percussion as well as electric guitars and other instruments.
- Room 3: A large, warm room reverberation effect suitable for acoustic instruments.
- Plate 1: A lush, smooth vocal plate reverb with a long decay time and warm tonality.
- Plate 2: An emulation of vintage plate reverb with bright, slightly tinny tonality and a mediumlength decay.
- Plate 3: A short, bright plate reverb effective for creating subtle spaces.
Modulation Effects
- Chorus: A complex, 6-voice chorus ensemble effect with short delays often referred to as a "Chorus / Doubler." Discrete stereo signal path. Slow and watery.
- Flange: Classic stereo flange: a slow, slightly metallic sweep with a discrete stereo signal path.
Delay Effects
- Delay 1: A simple slap-back echo with no feedback particularly effective on vocals and rhythm guitars.
- Delay 2: Medium-length poly-rhythmic delay with crossover feedback. 3 to 4 ratio between L and R delay times (291 to 388 ms) for 3/4 vs. 4/4 feel. Useful for solo instruments where a long, trailing echo effect is desired.
Multi Effects
- Chorus – Room 1: Room reverb into a slow flanging modulation creates a spacey effect.
- Chorus – Room 2: Fast modulation provides a dramatic chorus effect in a small room for a very lush chorus + reverb sound with a discrete stereo signal path.
Bypass: Bypasses the effects processor — no effects will be heard.
Technical Specifications
| Input Channels | Mic Input Sensitivity Range: -69 dBu to -19 dBu nominal, +18 dBu maximum Line Input Sensitivity Range: -49 dBu to -+1 dBu nominal, +18 dBu maximum Mic Input / Line Input Gain Range: -∞ to +20 dB |
| Equalization | HI: 12 kHz, ±15 dB MID: 120 Hz – 4 kHz, ±15 dB LO: 80 Hz, ±15 dB |
| Aux Sends | Aux Send Gain Range: -∞ to +10 dB |
| Aux Returns | Aux Return A Gain Range: -∞ to +10 dB Effects Level / Aux Return B Gain Range: -∞ to +10 dB |
| Channel Levels | Channel Level Gain Range: -∞ to +10 dB |
| Master Levels | Main Mix / Monitor Mix Gain Range: -∞ to +10 dB |
| 1/4" Inputs | Aux Return Level: -16 dBu nominal, +18 dBu maximum |
| RCA Inputs | 2 Track In Level: -10 dBV nominal, +18 dBV maximum |
| 1/4" Outputs | Main Out / Monitor Out / Aux Send: +4 dBu nominal, +18 dBu maximum |
| RCA Outputs | 2 Track Out Level: -9 dBV nominal, +19 dBV maximum |
| USB Audio Interface | Resolution: 16-bit Sampling Rate: DAC: 32, 44.1, 48 kHz ADC: 8, 11.025, 16, 22.05, 32, 44.1, 48 kHz Interface: USB 1.1 or better |
| Power | 18 V DC, 800 mA, center-positive |
| Dimensions (Width x Depth x Height) | 10.75" x 11.1" x 2.8" 273 mm x 282 mm x 71 mm |
| Weight | 4.6 lbs. 2.09 kg |
Specifications are subject to change without notice.
Block Diagram

Documents / Resources
References
Download manual
Here you can download full pdf version of manual, it may contain additional safety instructions, warranty information, FCC rules, etc.
Advertisement


Need help?
Do you have a question about the MultiMix 8 USB FX and is the answer not in the manual?
Questions and answers