Advertisement
Owner's Guide and Installation Manual
Attach sales receipt to this card and retain as your proof of purchase
DATE OF PURCHASE:
MODEL NUMBER:
To register your fixture, please visit our website www.montecarlofans.com
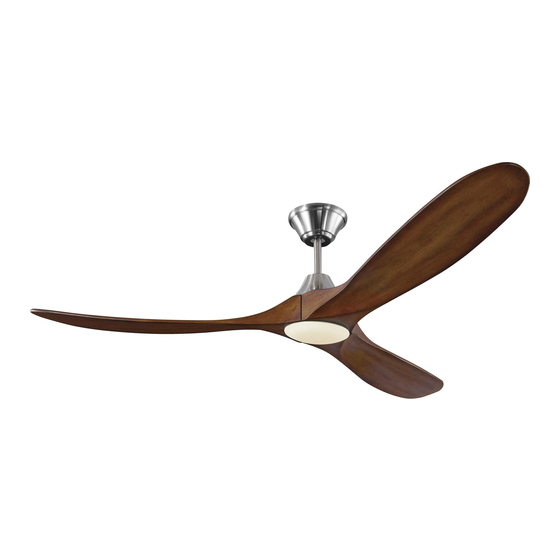
3MAVR60XXD Series Fan
CUL Model NO. : 3MAVR60XXD
RETAILER NAME:
RETAILER ADDRESS:
5.8 kgs
12.8 lbs
Total fan weight with light
Advertisement
Table of Contents

Subscribe to Our Youtube Channel
Summary of Contents for Monte Carlo Fan Company 3MAVR60BSKOAD
- Page 1 Owner’s Guide and Installation Manual 3MAVR60XXD Series Fan CUL Model NO. : 3MAVR60XXD Attach sales receipt to this card and retain as your proof of purchase DATE OF PURCHASE: RETAILER NAME: RETAILER ADDRESS: MODEL NUMBER: To register your fixture, please visit our website www.montecarlofans.com 5.8 kgs 12.8 lbs Total fan weight with light...
-
Page 2: Cautions And Warnings
Note: Suitable for use in damp locations. Tools Required for Assembly (not included): Electrical Tape, Phillips Screwdriver, Pliers, Safety Glasses, Stepladder and Wire Strippers Customer Service 800-969-3347 Customer Service Center 7400 Linder Ave. Skokie, IL 60077 www.montecarlofans.com © 2018 Monte Carlo Fan Company 10/2017... -
Page 3: Safety Cable Installation
Note: For precise installation of blade bracket with motor, the set screws are made with a little interference fit. It is a normal condition. © 2018 Monte Carlo Fan Company 10/2017... - Page 4 15º. Warning: Cross pin and keeper pin must than the cable and no stress is placed on be installed securely, failure to install them the lead wires. will result in serious injury. © 2018 Monte Carlo Fan Company 10/2018...
- Page 5 3 and then tighten all screw securely Install canopy ring onto canopy by aligning the grooves in canopy ring with the humps on canopy and snap it onto canopy. © 2018 Monte Carlo Fan Company 10/2018...
- Page 6 LED light fixture. Glass Attach glass by locating dimples in light pan with grooves on the glass and twist clockwise until tight. © 2018 Monte Carlo Fan Company 10/2018...
-
Page 7: Remote Control Setting And Operation
Setting for both transmitters must be seconds done within 1 minute of restoring power to the fan. A fan can be controlled by 2 transmitters maximum when choose Learning Mode. © 2018 Monte Carlo Fan Company 10/2018... -
Page 8: Light On/Off
5. When fan is turned on or operated forward/reverse function, it shutters & goes back & forth until it turns. It is a normal performance of this fan and it will take for few seconds to run this operation. © 2018 Monte Carlo Fan Company 10/2018... -
Page 9: Troubleshooting
5.Remove light kit and check the plug connections if they are present. 6.If this fan uses remote controller, make sure dip switches are setting properly and make CAUTION: Make sure main power is turned off before entering switch housing and/or canopy. © 2018 Monte Carlo Fan Company 10/2018... - Page 10 Nov.2018 Feb.2019 update blade assembled way Mar.2019 light fixture installation...


Need help?
Do you have a question about the 3MAVR60BSKOAD and is the answer not in the manual?
Questions and answers