Table of Contents
Advertisement
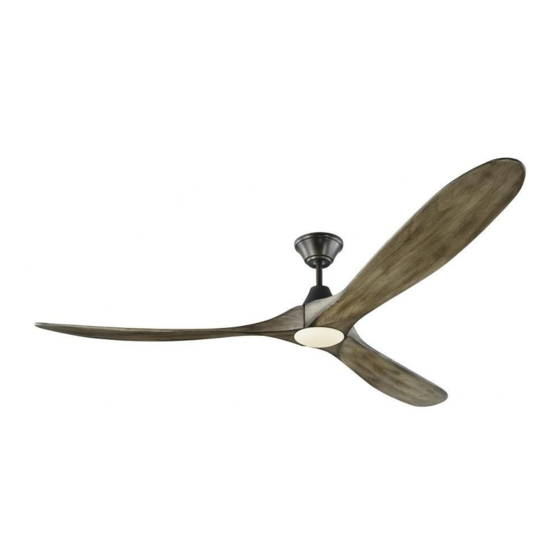
Owner's Guide and Installation Manual
Attach sales receipt to this card and retain as your proof of purchase
DATE OF PURCHASE:
MODEL NUMBER:
To register your fixture, please visit our website www.montecarlofans.com
3MAVR70XXD Series Fan
CUL Model NO. : 3MAVR70XXD
RETAILER NAME:
RETAILER ADDRESS:
6 kgs
13.2 lbs
Total fan weight with light
Advertisement
Table of Contents

Related Manuals for Monte Carlo Fan Company Maverick 3MAVR70D


Summary of Contents for Monte Carlo Fan Company Maverick 3MAVR70D
- Page 1 Owner’s Guide and Installation Manual 3MAVR70XXD Series Fan CUL Model NO. : 3MAVR70XXD Attach sales receipt to this card and retain as your proof of purchase DATE OF PURCHASE: RETAILER NAME: RETAILER ADDRESS: MODEL NUMBER: To register your fixture, please visit our website www.montecarlofans.com 6 kgs 13.2 lbs Total fan weight with light...
-
Page 2: Cautions And Warnings
Note: Suitable for use in damp locations. Tools Required for Assembly (not included): Electrical Tape, Phillips Screwdriver, Pliers, Safety Glasses, Stepladder and Wire Strippers Customer Service 800-969-3347 Customer Service Center 7400 Linder Ave. Skokie, IL 60077 www.montecarlofans.com © 2018 Monte Carlo Fan Company 10/2017... -
Page 3: Safety Cable Installation
Safety Cable in the U.S., Do Not Remove process for remaining blades. Knockouts In The Outlet Box. Tighten all set screws securely after all the blades are installed to motor. Caution: Make sure the blade rubber plug is in position. © 2018 Monte Carlo Fan Company 10/2017... - Page 4 15º. Warning: Cross pin and keeper pin must than the cable and no stress is placed on be installed securely, failure to install them the lead wires. will result in serious injury. © 2018 Monte Carlo Fan Company 10/2018...
- Page 5 3 and then tighten all screw securely Install canopy ring onto canopy by aligning the grooves in canopy ring with the humps on canopy and snap it onto canopy. © 2018 Monte Carlo Fan Company 10/2018...
- Page 6 Twist clockwise till lock. Reinstall the screw removed in step 17. Tighten all screws securely. Glass Attach glass by locating dimples in light pan with grooves on the glass and twist clockwise until tight. © 2018 Monte Carlo Fan Company 10/2018...
-
Page 7: Remote Control Setting And Operation
Setting for both transmitters must be seconds done within 1 minute of restoring power to the fan. A fan can be controlled by 2 transmitters maximum when choose Learning Mode. © 2018 Monte Carlo Fan Company 10/2018... -
Page 8: Light On/Off
5. When fan is turned on or operated forward/reverse function, it shutters & goes back & forth until it turns. It is a normal performance of this fan and it will take for few seconds to run this operation. © 2018 Monte Carlo Fan Company 10/2018... -
Page 9: Troubleshooting
5.Remove light kit and check the plug connections if they are present. 6.If this fan uses remote controller, make sure dip switches are setting properly and make CAUTION: Make sure main power is turned off before entering switch housing and/or canopy. © 2018 Monte Carlo Fan Company 10/2018... - Page 10 Nov.2018...
Need help?
Do you have a question about the Maverick 3MAVR70D and is the answer not in the manual?
Questions and answers