Table of Contents
Advertisement
Quick Links
Advertisement
Table of Contents

Related Manuals for YitaHome TLCFLS-5003


Summary of Contents for YitaHome TLCFLS-5003
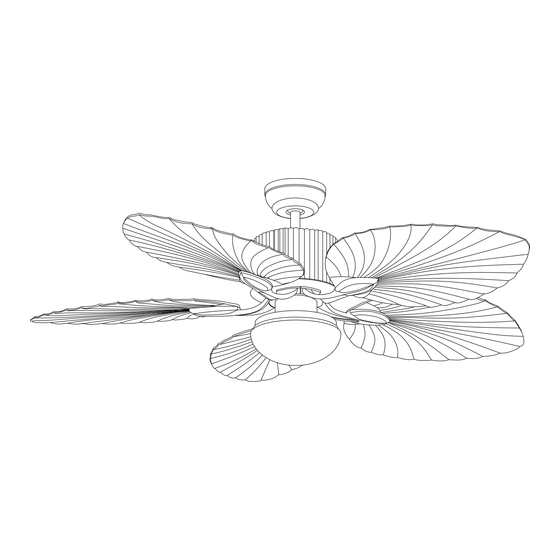
- Page 1 HZDQ TLCFLS-5003 TLCFLS-5014...
- Page 2 Thank you for selecting this product. Before use,please carefully read this operation manual to understand the correct use of this product. Special attention should be paid to important safety warnings and the operation manual should be kept for reference.Note : our company reser ves the right to improve the product and instructions contained therein which may be changed without notice.
-
Page 3: Safety Guidelines
SAFETY GUIDELINES 1. To avoid possible electric shock , turn off the electricity in the main fuse box or on the circuit panel before you begin the fan installation, maintain the fan or install any accessories. 2. Read all instructions and safety guidelines carefully before installing your fan and follow all the instructions. -
Page 4: Product Instruction
BEFORE YOU START Tools and Materials Required are not good at performing electrical work. It’ s the licensed electrician who installs the fan, if required by the local code. Do not use the fan with a dimmer switch. Turn o External Hexagonal Wire Stripper Phillips... -
Page 5: Installing The Fan
INSTALLING THE FAN Tools required: phillips screwdriver, a pair of pliers, straight slot screwdriver, adjustable wrench, step ladder, and wire cutters. INSTALLING THE MOUNTING BRACKET The ceiling fan must be installed in the location where there is 12"(300mm) spacing from the tips of all blades to the nearest objects or walls. -
Page 6: Installing The Blade
4. For installing the outlet box, secure it directly to the building structure. Use appropriate fasteners and building materials. The outlet box and its support must be able to fully bear the moving weight of the fan (at least 100lbs). Use a UL listed metal outlet box instead of plastic ones. - Page 7 5.Align the installed blade fork with the corresponding hole on the host, and lock it with screws 6.Repeat the above work to install the remaining four fan blades on the fan host...
- Page 8 INSTALLING THE DOWNROD 1.Take Downrod apart. 1).Remove the two screws and the whole green line from the hemisphere 2).Push the hemisphere down to expose the crossbar and remove it 3).Remove the hemisphere from the down rod 4).Pull out the “R” clip, then remove the lower crossbar Then you can also replace the 5 "short rod with a 10"...
- Page 9 INSTALLING THE DOWNROD 2.Install Downrod on the fan bady. 1).Pass the lower rod through the wire and place it on the connector 2).Pass the lower bar through the large hole and lock the ”R“clip 3).Lock the two screws 4).Pass the Coupling Cover through the downrod...
- Page 10 INSTALLING THE DOWNROD 5).Put the Hanging head cover through the downrod 2.Install hemisphere on downrod 1).Pass the hemisphere through downrod 2).Push the crossbar through the large hole, then pull the hemisphere up to snap the crossbar into the slot 3).Finally, install the two screws and the green ground wire back into place and lock them...
-
Page 11: Installing The Light Kit
INSTALLING THE FAN TO MOUNTING BRACKET ON CEILING WARNING: To avoid possible electrical shock , be sure the electricity is turned off in the main fuse box before wiring. Carefully lift the fan assembly onto mounting bracket and rotate the fan until the notch on downrod ball “A" engages the ridge on the mounting bracket “B". -
Page 12: Make The Electric Connections
MAKE THE ELECTRIC CONNECTIONS WARNING: To avoid possible electrical shock , be sure the electricity is turned off in the main fuse box before wiring. 1.Connect the fan to the remote control. The fan’s 3P plug should insert into the remote control’s 3P plug. 2.Connect the light to the remote control. -
Page 13: Installing The Canopy
INSTALLING THE CANOPY Loosen the 2 screws on the bottom of mounting bracket but do not remove them. Raise the canopy up and align the keyholes on the bottom of the canopy with the 2 screws on the bottom of mounting bracket. Rotate the canopy until both screws from the mounting bracket drop into the slot recesses. -
Page 14: Remote Control Setting And Operation
REMOTE CONTROL SETTING AND OPERATION 1. Restore electricity to the outlet box by turning the electricity on at the main fuse box. 2. Remove the batter y cover from the remote control transmitter, install the batter y, and replace the cover. Note: 1). -
Page 15: Maintenance And Cleaning
HOW TO USE BALANCING KITS NOTE: ceiling fans tend to move during operation due to the fact that they are mounted on a Sponge cushion. if the fan was mounted rigidly to the ceiling, it would cause excess vibration, movement of a few centimeters is quite acceptable and does not suggest any problems TO REDUCE FAN WOBBLE: PLEASE CHECK THAT ALL SCREWS WHICH SECURE THE MOUNTING BRACKET AND DOWNROD ARE SECURE... -
Page 16: Troubleshooting
TROUBLESHOOTING Your fan may occasionally jerk for ward or backward upon starting up. This is normal and does not affect the fan operation. Tr y these troubleshooting steps before contacting customer ser vice. SYMPTOM POSSIBLE SOLUTIONS 2. Check the functionality of circuit breaker or fuse panel and wall switch. The fan 3.
Need help?
Do you have a question about the TLCFLS-5003 and is the answer not in the manual?
Questions and answers