Table of Contents
Advertisement
Advertisement
Table of Contents

Subscribe to Our Youtube Channel
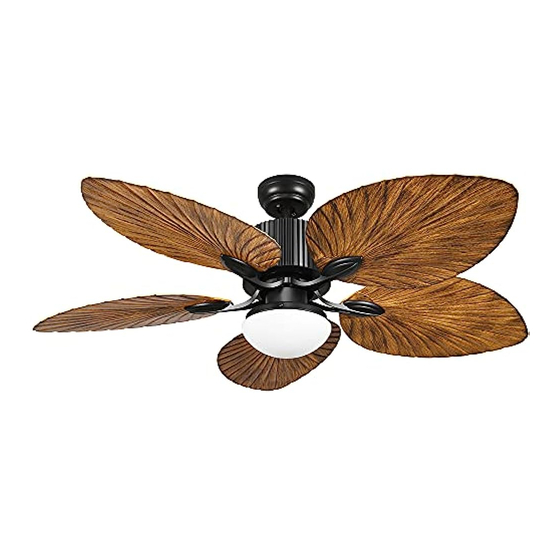
Related Manuals for YitaHome TLCFLS-1002


Summary of Contents for YitaHome TLCFLS-1002
- Page 1 ASSEMBLY INSTRUCTIONS TLCFLS-1002 CEILIN G FA N WI T H L I GH T...
- Page 2 ASSEMBLY INSTRUCTIONS CONTACT US: If you have any questions about the installation of YITAHOME products, just contact us from Monday to Friday 8:00 AM - 4:30 PM PST, and Saturday 8:00 AM - 12:00 PM PST. : 888-717-8084 : after-sale.cs@hotmail.com Alternative method to contact us (amazon.com orders only)
-
Page 3: Safety Guidelines
ASSEMBLY INSTRUCTIONS SAFETY GUIDELINES 1. To avoid possible electric shock, turn off the electricity in the main fuse box or on the circuit panel before you begin the fan installation, maintain the fan or install any accessories. 2. Read all instructions and safety guidelines carefully before installing your fan and follow all the instructions. 3. - Page 4 ASSEMBLY INSTRUCTIONS BEFORE YOU START Tools and Materials Required Contact a licensed electrician if you are not good at performing electrical work. It’ s the licensed electrician who installs the fan, if required by the local code. Do not use the fan with a dimmer switch.
-
Page 5: Installing The Fan
ASSEMBLY INSTRUCTIONS INSTALLING THE FAN Tools Required: Phillips screwdriver, a pair of pliers, straight slot screwdriver, adjustable wrench, step ladder, and wire cutters. INSTALLING THE MOUNTING BRACKET The ceiling fan must be installed in the location where there is 12"(300mm) spacing from the tips of all blades to the nearest objects or walls. -
Page 6: Installing The Blade
ASSEMBLY INSTRUCTIONS 4.Refer to the Fig. on the right to mount when the ceiling is angled (Max. 15°). NOTE: The hanger must be able to withstand the weight of 100lbs (45kgs) or more after the installation INSTALLING THE BLADE Before installing fan blades, remove the motor’ s fastener that is only used to protect the motor from damages in transit. 1) Attach blade brackets to blades with the blade bracket screws and metal or fabric washers. - Page 7 ASSEMBLY INSTRUCTIONS INSTALLING THE DOWNROD REMEMBER to turn off the power before hanging the fan. Follow the steps below to hang your fan properly: 1) Remove the hair clip pin “1” and clevis pin “2” on the fan motor’ s downrod joint, then withdraw half of the screw “3”...
-
Page 8: Make The Electric Connections
ASSEMBLY INSTRUCTIONS MAKE THE ELECTRIC CONNECTIONS WARNING: To avoid possible electrical shock, be sure the electricity is turned off in the main fuse box before wiring. 1. Connect the fan to the remote control. The fan’s 4P plug should insert into the the remote control’s 4P plug. 2. -
Page 9: Installing The Light Kit
ASSEMBLY INSTRUCTIONS INSTALLING THE LIGHT KIT 1.Remove 3 mounting screws from the light kit. 2.Find the Molex connector from the motor and the Molex connector from the light kit. Slide them together. 3.Install 3 screws to the motor’s junction box and light kit tightly. 4.Carefully install the glass shade into the main body and turn clockwise to lock. -
Page 10: Operating Your Fan
ASSEMBLY INSTRUCTIONS OPERATING YOUR FAN Turn on the power and check the operation of the fan. The fan pull chain controls the fan speed as follows: 1 pull-High, 2 pulls-Medium, 3 pulls-Low, 4 pulls-Off The appropriate speed settings of warm or cool weather depend on many factors such as the room size, ceiling height, and the number of fans. -
Page 11: Remote Control Setting And Operation
ASSEMBLY INSTRUCTIONS REMOTE CONTROL SETTING AND OPERATION 1. Restore electricity to the outlet box by turning the electricity on at the main fuse box. 2. Remove the battery cover from the remote control transmitter, install the battery, and replace the cover. Note: 1). -
Page 12: Maintenance And Cleaning
ASSEMBLY INSTRUCTIONS HOW TO USE BALANCING KITS NOTE: CEILING FANS TEND TO MOVE DURING OPERATION DUE TO THE FACT THAT THEY ARE MOUNTED ON A RUBBER CROMMET. IF THE FAN WAS MOUNTED RIGIDLY TO THE CEILING, IT WOULD CAUSE EXCESS VIBRATION, MOVEMENT OF A FEW CENTIMETERS IS QUITE ACCEPTABLE AND DOES NOT SUGGEST ANY PROBLEMS TO REDUCE FAN WOBBLE: PLEASE CHECK THAT ALL SCREWS WHICH SECURE THE MOUNTING BRACKET AND DOWNROD ARE SECURE... -
Page 13: Troubleshooting
ASSEMBLY INSTRUCTIONS TROUBLESHOOTING Your fan may occasionally jerk forward or backward upon starting up. This is normal and does not affect the fan operation. Try these troubleshooting steps before contacting customer service. SYMPTOM POSSIBLE SOLUTIONS 1. Make sure the fan is getting power. 2. - Page 14 Pure & Easy...
Need help?
Do you have a question about the TLCFLS-1002 and is the answer not in the manual?
Questions and answers