
Subscribe to Our Youtube Channel
Related Manuals for Morris AC100-22JRL


Summary of Contents for Morris AC100-22JRL
- Page 1 OWNER’S MANUAL AIR COOLER Model: AC100-22JRL READ AND SAVE THESE INSTRUCTIONS Attention: Pictures in the IM are for reference only.
-
Page 2: Important Safety Instructions
IMPORTANT SAFETY INSTRUCTIONS Caution Read Rules for Safe Operation and Instructions Carefully. WARNING 1. If the supply cord is damaged, it must be replaced by manufacturer, its service agent or a similarly qualified person in order to avoid a hazard. 2. -
Page 3: Safety Instructions
IMPORTANT SAFETY INSTRUCTIONS WARNING 13. After the water tank is filled with water, do not tilt or collide with the unit when placing or moving it. To move the unit body, please drive it slowly from the side to prevent water overflow. - Page 4 IMPORTANT SAFETY INSTRUCTIONS WARNING 25. Be aware that high humidity levels may encourage the growth of biological organisms in the environment. Do not permit the area around the appliance to become damp or wet. If dampness occurs, turn the output of the appliance down. If the appliance output volume cannot be turned down, use the appliance intermittently.
- Page 5 IMPORTANT SAFETY INSTRUCTIONS WARNING 31. Do not leave the fan running unattended. 30. Do not leave the fan running unattended. 32. Keep electrical appliances out of reach from children or 31. Keep electrical appliances out of reach from children or infirm persons.
-
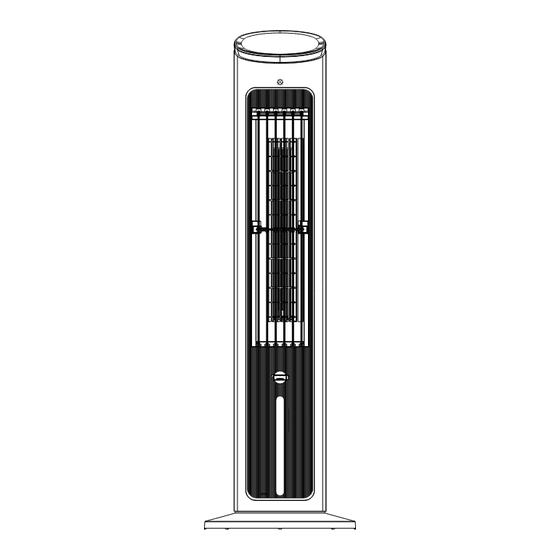
Page 6: Product Introduction
PRODUCT INTRODUCTION Notice Pictures in the manual are for reference only, and real objects within the packaging box will prevail in the end. Parts name Control part Ice crystal box Water tank buckles Water tank... -
Page 7: Installation Instructions
INSTALLATION INSTRUCTIONS 1 Take the two parts of the base out of the box, align the centers of the two bases and place them crosswise, then rotate one of the bases to align the holes and snap them together. 2 Align the fuselage clip line with the base clip line, and press the fuselage into the base, you can fix it with screws at the mark of the base. - Page 8 INSTRUCTIONS Guidance on feeding water and disassemble & washing of the water tank Pull the water tank buckle to 2 Pull out the water tank completely, the horizontal state. place it on a stable place, add water and push the water tank into the fuselage. Unscrew the rotary knob in "—"...
- Page 9 INSTRUCTIONS Guidance on feeding water and disassemble & washing of the water tank Push the water tank inside slowly, and stir the water tank buckle to lock it up. Usage of the ice crystal box Notice ① The ice crystal box can be frozen repeatedly and recycled; You can also choose not to use it based on the temperature.
- Page 10 INSTRUCTIONS Operating instructions of the machine body COOLER TIMER MODE SPEED Button Function description Product starts or stops. Touch this button to start/stop the swing. Short press this button to switch wind speed, low , medium , high SPEED Short press this key to choose from three wind types:Normal wind (3 gears, wind speed indicator light on),Sleep wind (2 gears, sleep wind indicator light on), MODE...
-
Page 11: Remote Control Button Description
INSTRUCTIONS Remote control button description Notice The remote control should be normally used within 5 meters of the front of the product and 30 degrees of the deviation angle. The battery contains many heavy metals, acids and bases, etc., which may threaten human's health; Waste batteries should be recycled separately. -
Page 12: Troubleshooting
CLEANING AND MAINTENANCE Replace water After stopping the cool wind function for 2 minutes, it's applicable to pull out the water tank to replace water, as water in the pipeline and wet curtain flows Stop the cool wind back to the water tank. function for 2 minutes. - Page 13 MAINTENANCE INSTRUCTION The fan requires little maintenance. Do not try to fix it by yourself. Refer it to qualified service personnel if service is needed. 1. Before cleaning and assembling, fan must be unplugged. 2. To ensure adequate air circulation to the motor, keep vents at the rear of the motor free of dust.
Need help?
Do you have a question about the AC100-22JRL and is the answer not in the manual?
Questions and answers