Sennheiser ASA 1 Instruction Manual
Antenna splitter
Hide thumbs
Also See for ASA 1:
- Instruction manual (22 pages) ,
- Instrution manual (25 pages) ,
- Instruction manual (21 pages)
Table of Contents
Advertisement
Advertisement
Table of Contents

Related Manuals for Sennheiser ASA 1


Summary of Contents for Sennheiser ASA 1
- Page 1 Antenna Splitter ASA 1 Instruction manual...
-
Page 3: Table Of Contents
Sennheiser a world-leading company in this field. Please take a few moments to read these instructions carefully, as we want you to enjoy your new Sennheiser products quickly and to the fullest. -
Page 4: Important Safety Instructions
• WARNING: To reduce the risk of fire or electric shock, do not use the device near water and do not expose it to rain or moisture. - Page 5 • using the device within the operating conditions and limitations described in this instruction manual. “Improper use” means using the ASA 1 other than as described in this instruction manual, or under operating conditions which differ from those described herein.
-
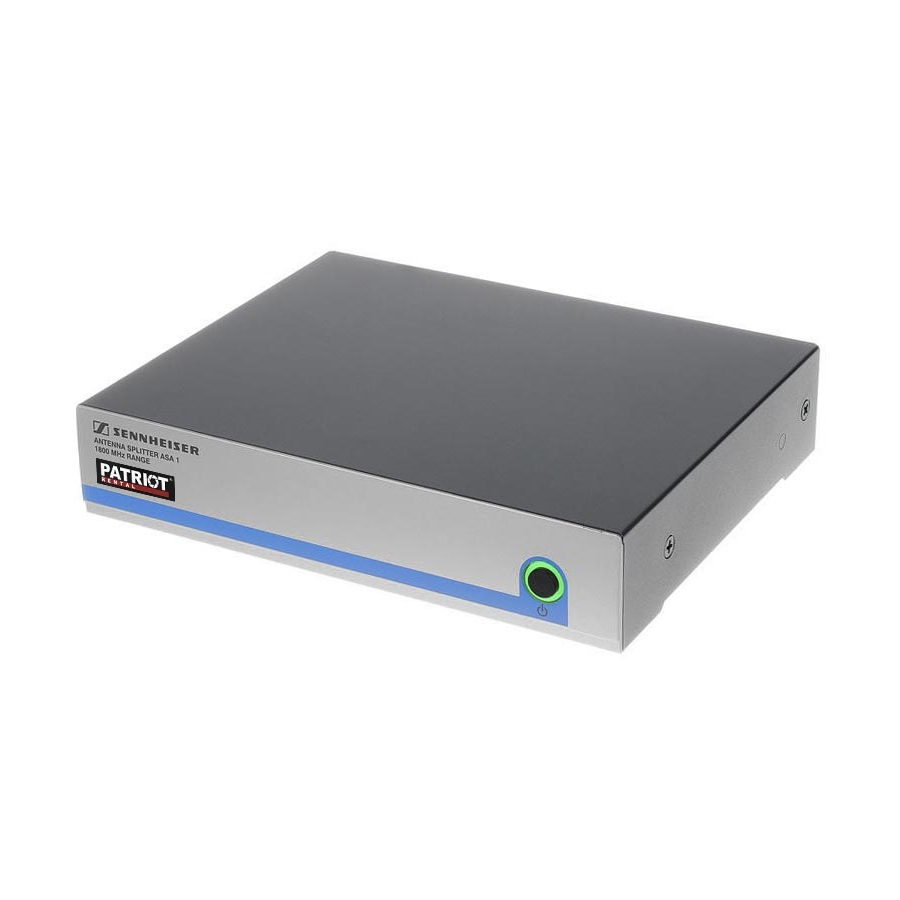
Page 6: The Asa 1 Active Antenna Splitter
By linking two ASA 1, an 8-channel diversity system can be operated with only two antennas. Using the GA 3 rack adapter, two ASA 1 or one ASA 1 and one stationary receiver (e.g. EM 100 G3, EM 300 G3 or EM 500 G3) can be mounted into a 19”... -
Page 7: Operating Elements
NT 1-1 mains unit BNC socket RF OUT A RF output only for connection of an additional ASA 1 (to create a 1-to-8 diversity splitter) Four BNC sockets RF outputs of diversity section A for connection of the receivers Each of these RF outputs can power one receiver. - Page 8 Operating elements Block diagram The below block diagram (also depicted on the base of the device) shows the signal flow in the device.
-
Page 9: Putting The Asa 1 Into Operation
Putting the ASA 1 into operation Preparing the ASA 1 for use For table-top use, fix the device feet to the base of the ASA 1. Do not fit the device feet when mounting the ASA 1 into a 19” rack. - Page 10 Putting the ASA 1 into operation Stacking several ASA 1 You can stack the ASA 1 and the receivers on top of each other. CAUTION! Danger of injury due to toppling stacks! High stacks can easily topple over. Place the stack on an absolutely flat surface.
- Page 11 As a remedy, ground the rack via an additional ground connection. For rack mounting the ASA 1, you require (see “Accessories and spare parts” on page 17): • the GA 3 19“ rack adapter...
- Page 12 If you want to front mount the antennas: Use the optional AM 2 antenna front mount kit (see “Accessories and spare parts” on page 17). If you want to use remote antennas (see “Accessories and spare parts” on page 17): Connect the remote antennas.
- Page 13 Putting the ASA 1 into operation Rack mounting Place the two devices (e.g. the ASA 1 and a stationary two devices into receiver) side by side upside-down onto a flat surface: the same 19” slot Secure the jointing plate to the devices using six recessed head screws (M 3x6).
-
Page 14: Connecting Devices To The Asa 1 And Switching The Asa 1 On
Connecting the receivers You can connect up to four stationary receivers (e.g. EM 100 G3, EM 300 G3 or EM 500 G3) to the ASA 1. The splitter also incorporates DC distribution for powering the receivers. Connect one of the receiver’s antenna inputs to one of the BNC sockets . - Page 15 ASA 1 from the mains. To disconnect the ASA 1 from the mains: Unplug the mains unit from the wall socket. The operation indicator goes off. The ASA 1 is switched...
-
Page 16: Making An 8-Channel System Using The Asa 1
Putting the ASA 1 into operation Making an 8-channel system using the ASA 1 There are two ways to link two ASA 1 together to create a 1-to-8 diversity splitter: First possibility: Two antennas supply an 8-channel system ASA 1... - Page 17 Putting the ASA 1 into operation Second possibility: Linking two 4-channel systems ASA 1 ASA 1 AB 3* AB 3* * AB-3 antenna boosters are only required for longer antenna cables (from approx. 10 m).
-
Page 18: Cleaning The Asa 1
If a problem occurs that is not listed in the above table or if the problem cannot be solved with the proposed solutions, please contact your local Sennheiser partner for assistance. -
Page 19: Accessories And Spare Parts
Accessories and spare parts Accessories and spare parts The following ASA 1 accessories are available from your Sennheiser partner: Cat. No. Accessory/spare part 503158 NT 1-1 EU Mains unit for powering the ASA 1, four receivers and two antenna boosters,... -
Page 20: Specifications
Operating voltage 13.8 V DC (with NT 1-1 mains unit) Total current consumption max. 2.0 A with 4 receivers and 2 antenna boosters Supply voltage of antenna boosters at ANT RF IN A and ANT RF IN B 12 V, 130 mA Supply voltage of receivers at A1 ... -
Page 21: Manufacturer Declarations
Before putting the device into operation, please observe the respective country-specific regulations. Statements regarding FCC and industry Canada This device complies with Part 15 of the FCC Rules and with RSS-210 of Industry Canada. Operation is subject to the following two conditions:... - Page 22 Sennheiser electronic GmbH & Co. KG Printed in Germany Am Labor 1, 30900 Wedemark, Germany Publ. 01/09 www.sennheiser.com 532034/A01...
Need help?
Do you have a question about the ASA 1 and is the answer not in the manual?
Questions and answers