
Subscribe to Our Youtube Channel
Related Manuals for Viking VCCC115


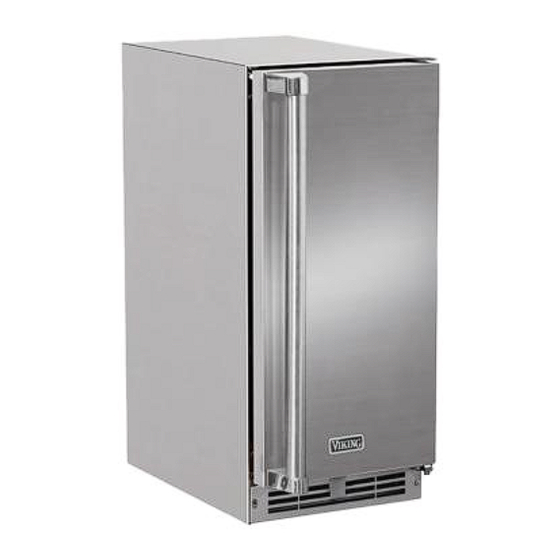
Summary of Contents for Viking VCCC115
- Page 1 QUICK START GUIDE ® Viking Commercial Ice • VCCC115 • 15” Craft Ice Machine 30708 Rev_A...
- Page 2 Looking for additional information on your product? User Guides, Spec Sheets, and Product Warranty information are available online at vikingrange.com/commercial. PROPERTY DAMAGE / INDUSTRY CONCERNS In the unlikely event property damage or personal injury is suspected related to a Viking Commercial product, please take the following steps: 1. Customer Care must be contacted at +1.616.754.5601 2.
-
Page 3: Table Of Contents
QUICK START GUIDE This Quick Start Guide covers the basics of installation and general use of your product. CONTENTS Safety and Warning Environmental Requirements Electrical Water Hookup Door Adjustments Door Swing General Installation Integrated Panel Installation Control Operation First Use Airflow &... -
Page 4: Safety And Warning
QUICK START GUIDE USER GUIDE u-line.com Safety and Warning DANGER NOTICE This unit contains R600a (Isobutane) which is a Please read all instructions before installing, flammable hydrocarbon. It is safe for regular operating, or servicing the appliance. use. Do not use sharp objects to expedite defrosting. -
Page 5: Environmental Requirements
USER GUIDE QUICK START GUIDE USER GUIDE Environmental Requirements Electrical This model is intended for indoor/interior applications only WARNING and is not to be used in installations that are open/ exposed to natural elements. SHOCK HAZARD — Electrical Grounding Required. Never attempt to repair or perform This unit is designed to operate between 50°F (10°C) and maintenance on the unit until the electricity has 100°F (38°C). -
Page 6: Water Hookup
QUICK START GUIDE Water Hookup WATER SUPPLY CAUTION Observe and follow all local building codes when installing this appliance. This ice machine must be connected to a potable cold water supply line. delivering water pressure between a minimum of 20 psi and a maximum of 120 psi. Use 1⁄4”... - Page 7 QUICK START GUIDE USER GUIDE u-line.com Drain Air Gap (Optional Hook-Up) DRAIN CONNECTION CAUTION The floor drain must be large enough to Waste accommodate drainage from all attached drains. Follow these guidelines when installing drain Cold Water lines to prevent water from flowing back into Water Shut-Off...
-
Page 8: Door Adjustments
QUICK START GUIDE USER GUIDE u-line.com Door Adjustments With a Phillips screwdriver, remove the bushing screw and hing pin from the bottom hinge. REVERSING THE DOOR Location of the unit may make it desirable to mount the Closer door on the opposite side of the cabinet. The hinge hardware will be removed and reinstalled on the opposite side of the cabinet. -
Page 9: Door Swing
USER GUIDE QUICK START GUIDE USER GUIDE u-line.com Door Swing Using a 5/8" socket, remove the toe kick from the door and attach it to the opposite side. Toe Kick 3 ⁄ ” (79 mm) Minimum Reversal Clearance Needed 90 Door Swing Reinstall the door. -
Page 10: General Installation
QUICK START GUIDE USER GUIDE u-line.com General Installation INSTALLATION Plug in the power/electrical cord. LEVELING INFORMATION Gently push the unit into position. Be careful not Use a level to to entangle the cord or water and drain lines, if confirm the unit is applicable. -
Page 11: Integrated Panel Installation
QUICK START GUIDE USER GUIDE u-line.com Integrated Panel Installation With bar clamps or “C” clamps, secure the panel to the door Cut and prepare panels according to the information provided in the Integrated Panel Dimensions section. Clamp CAUTION It is important to use the factory provided grille that came Door/Drawer with the product to assure proper air flow is maintained through the condenser. -
Page 12: Control Operation
QUICK START GUIDE USER GUIDE USING YOUR ELECTRONIC CONTROL Control Operation USING YOUR ELECTRONIC CONTROL Hidden Button Electronic control Control Function Guide Electronic control Function Command Notes Control Function Guide ON/OFF Press and release. Unit will immediately turn ON or OFF. Function Command Notes... -
Page 13: Ice
QUICK START GUIDE USER GUIDE Evaporator Plate Front Grid Splash Panel Cutter Your ice machine is unique in how it forms ice with Shield fractional freezing to form a slab of ice that is clear and has less dissolved solids than the water from which it is produced. -
Page 14: Cleaning
QUICK START GUIDE USER GUIDE Cleaning To Clean Your Ice Machine: Homes with poor water quality or high clear ice usage Turn the ice machine off by pressing and holding the might require more frequent cleaning. “ON/OFF” icon for 3 seconds. To clean your ice machine you will need to purchase a Remove all ice from the ice maker including from the “nickel safe”... - Page 15 QUICK START GUIDE USER GUIDE Replace the splash shield if removed. After the cleaning cycle is completed, verify that all build-up has been removed. If not, repeat the clean cycle procedure. Pour cleaning solution slowly onto Evaporator the front edge of evaporator plate plate behind the grid cutter.
-
Page 16: Warranty
Five Year Sealed System Limited Warranty For five years from the date of original purchase, Viking will repair or replace the following parts, labor not included, that prove to be defective in materials or workmanship: compressor, condenser, evaporator, drier, and all connecting tubing. All service provided by Viking under the above warranty must be performed by a Viking factory authorized servicer, unless otherwise specified by Viking.
Need help?
Do you have a question about the VCCC115 and is the answer not in the manual?
Questions and answers