Table of Contents
Advertisement
Quick Links
Gebrauchs- und Montageanweisung
Induktions-Glaskeramik-Kochfeld
Instructions for fitting and use
Glass ceramic induction hob
Instructions de montage et d'utilisation
Table de cuisson vitrocéramique à induction
Gebruiks- en montage-instructies
Keramische inductiekookplaat
Istruzioni per uso e montaggio
Piano di cottura ad induzione in vetroceramica
Instrucciones para el uso y montaje
Encimera vitrocerámica per inducción
Instruções de uso e de montagem
Placa de cozinhar de indução em vitrocerâmica
225783 N91
Advertisement
Table of Contents

Related Manuals for Smeg SE644ID


Summary of Contents for Smeg SE644ID
- Page 1 Table de cuisson vitrocéramique à induction Gebruiks- en montage-instructies Keramische inductiekookplaat Istruzioni per uso e montaggio Piano di cottura ad induzione in vetroceramica Instrucciones para el uso y montaje Encimera vitrocerámica per inducción Instruções de uso e de montagem Placa de cozinhar de indução em vitrocerâmica...
-
Page 2: Table Of Contents
Instead it must be handed Please keep this manual in a safe place and pass it on to new over to a collection point for the recycling of owners for their information and safety. -
Page 3: Safety Instructions
Customer Service. allowed to operate it under supervision. Small children must • If the hob cannot be switched off due to a defect in the sensor always be kept away from the hob. Never allow them to play control immediately disconnect your appliance and call with the appliance. -
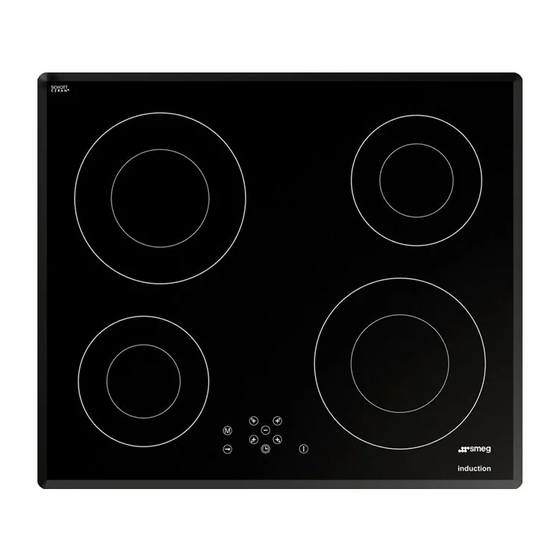
Page 4: Appliance Description
4. Induction cooking zone front right ON/OFF key (13) 5. Touch-control operating panel This key is used to switch the entire hob on and off. It is, as it 6. Glass ceramic hob were, the main switch. 7. STOP key Select/Plus key, e.g. -
Page 5: Operation
(induction) (mm) base of a pot (mm) If the hob is used at full power for a longer period, it will not be possible to cool down the electronics system as required at a high room temperature. In order to ensure that no excessive temperatures occur in the electronics system the power of the cooking zones may be reduced automatically. -
Page 6: Cookware For Induction Hobs
Only use pots with a base suitable for induction. • The base of your cooking pots should be the same size as the cooking zone. Suitable cookware Unsuitable cookware •... -
Page 7: Operating The Keys
As long as no metal cooking pot is placed onto the cooking zone, will power be supplied. Repeat items 2 to 4 in order to cook on other cooking zones at the same time. Select/Plus key stand-by dot Switching off a cooking zone 5. -
Page 8: Lock /Child Safety Device
Only the ON/OFF key can be used to switch the hob off. The lock can be activated both when the hob is switched on and when it is switched off. An activated lock will remain activated even if the hob is switched off! The lock hence also serves as a child safety device in order to prevent the hob from being operated unintentionally or intentionally. -
Page 9: Automatic Boost Function
The automatic boost function is suitable for dishes which are cold initially and are then heated up at high power. These dishes do not need to be constantly monitored when simmering (e.g. boiling meat for soups). -
Page 10: Cleaning And Care
Then dry again as described under Item 2. the hob with a clean dry cloth to ensure that there is no detergent left on the surface of the hob. Grains of sand which may get onto the hob when you peel... -
Page 11: What To Do If Trouble Occurs
Lock key illuminated? the fuse immediately and call Customer Service. • Are the sensor keys partly covered by a damp cloth, fluid or a metallic object? Please rectify. • Are you using unsuitable cookware? See the section on... -
Page 12: Instructions For Assembly
• The hob must under no circumstances be sealed with silicone sealant! This would make it impossible to remove the • The back wall of the bottom cabinet must be open in the area hob at a later date without damaging it. - Page 13 (a), align it (b) and insert the clips (c). • Screws may be used to fasten the clips. Important! There is a risk of breakage if the hob is canted or subjected to stress during installation! Minimum distance to adjacent walls...
-
Page 14: Electrical Connection
3 mm. Line-protecting switches, fuses or contactors are Hob total ....kW 7.4 suitable cut-out devices.
Need help?
Do you have a question about the SE644ID and is the answer not in the manual?
Questions and answers