Advertisement
Quick Links
Advertisement

Related Manuals for indusigns Looka


Summary of Contents for indusigns Looka
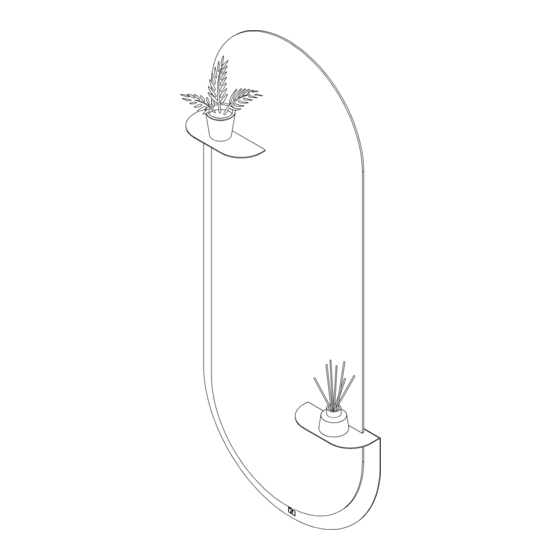
- Page 1 Design Mirror Looka Installation Manual...
- Page 2 Contents Screw Plug Magnet Supplies - Pencil - Level M4 countersunk - Impact drill screw with M4 nut - Masonry drill Ø6mm - Screwdriver - Socket wrench Mounting plate...
- Page 3 01| Install mounting plate Mount the mounting plate to the steel base. Use the countersunk screw with M4 nut. Insert the bolt from the rear into the countersunk hole and attach the mounting plate by tightening the M4 nut.
- Page 4 02| Positioning Position the steel base at the desired location on the wall. Make sure the line, as shown in the drawing, is level. Mark the holes. Remove the steel from the wall and pre-drill the marked holes with a 6mm (stone) drill.
- Page 5 03| Plugs Place the supplied plugs in the pre-drilled holes.
- Page 6 03| Attachment Attach the steel base to the wall with the supplied screws.
- Page 7 05| Install mirror Tilt the mirror and place it into the slots. Continue until the mirror is upright. NB! Make sure that the two positioning stickers remain just below the two shelves. See red marking. Lower the mirror onto the mounting plate.
- Page 8 04| Placement magnets Place the two magnets next to the marking and press them behind the mirror. Remove the tape.
- Page 9 Thank you for your purchase! Have fun with your mirror Looka...
Need help?
Do you have a question about the Looka and is the answer not in the manual?
Questions and answers