Advertisement
Advertisement
Table of Contents

Related Manuals for indusigns Rupin


Summary of Contents for indusigns Rupin
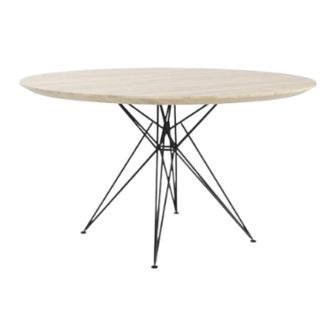
- Page 1 Hairpin Table Frame | Rupin Installation manual...
- Page 2 Contents Supplies 12st Felt pads - Pencil 12st Rubber washer - Long ruler - Tape measure or measuring 12st Metal washer tape - Wood drill Ø3mm 12st Wood screw - Phillips screwdriver...
- Page 3 01| Determine position Use a soft surface during installation to avoid damage Place the tabletop upside down on a soft surface (e.g. a rug) to prevent scratches. Draw a center line and the center point on the sheet. Then position the hairpin table frame on it and measure again whether it is exactly in the middle.
- Page 4 02| Drill holes in the tabletop Mark the holes on the table top and remove the hairpin frame from the table top. Pre-drill the holes at the marked positions with a Ø3mm wood drill bit. Remove the sawdust from the holes. Add some felt pads to the top of the hairpin frame and to the legs.
- Page 5 03| Fix table top Place the frame with the mounting plate on the table top again and align it with the holes. When the frame is positioned correctly, it can be fixed with the supplied fasteners. Tighten the screws well, but never overtighten them. If they are stuck it is enough. If you hear wood creaking while screwing, remove the screw and drill the hole a little further.
- Page 6 03| Turn table Flip the table. Do this with several people to prevent any damage. The installation is now complete and the table is ready for use.
- Page 7 Thank you for your purchase! Have fun with your Hairpin Table Frame | Rupin...
Need help?
Do you have a question about the Rupin and is the answer not in the manual?
Questions and answers