Advertisement
Quick Links
Advertisement

Related Manuals for indusigns Hover


Summary of Contents for indusigns Hover
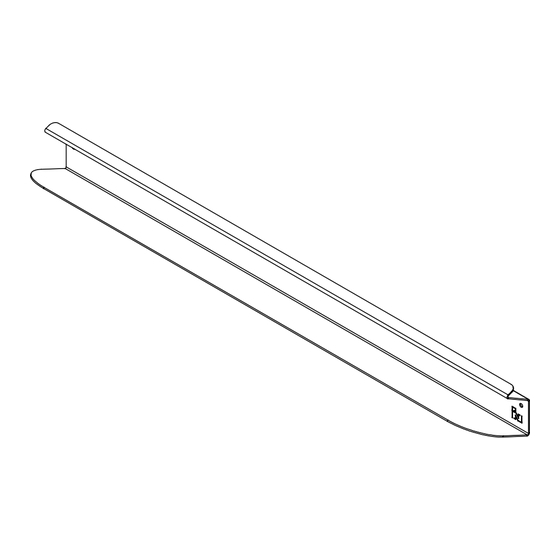
- Page 1 Shoe rack | Hover Installation manual...
- Page 2 Contents Wood thread bolt Supplies - Pencil - Level Multi plug - (inpact) drill - (masonry) dril Ø6 mm - Socket wrench 6.5 Cover cap...
- Page 3 01| Preparation Optioneel +/- 15 cm +/- 30 cm Determine the desired height for the shoe rack. Mount at +/- 30cm from the floor. When installing a second shoe rack, maintain a distance of at least 15 cm. Hold the shoe rack against the wall at the desired height and make sure it is level.
- Page 4 02| Wall attachment Drill the holes at the marked positions Ø6mm. And drive the plugs in the wall.
- Page 5 02| Wall attachment 0.5 CM Screw the wood threaded bolts into the wall, making sure that there is approximately 0.5 cm space remaining between the wall and the plug. Slide the shoe rack over the bolts and tighten the bolts completely.
- Page 6 Thank you for your purchase! Have fun with your shoe rack | Hover...
Need help?
Do you have a question about the Hover and is the answer not in the manual?
Questions and answers