Advertisement
Quick Links
Advertisement

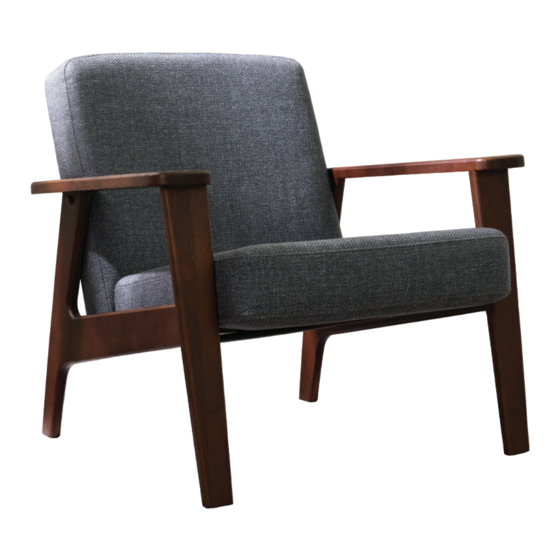
Summary of Contents for cozey NAOS
- Page 1 NAOS Assembly guide for accent chair...
-
Page 2: Need Help
NAOS Assembly guide for accent chair Scan the QR code to watch the assembly video. Need help? support@cozey.com +1(888) 828-8371... - Page 3 What’s in your Cozey box Naos Accent Chair Legs (x2) Seat (x1) Back (x1) Hardware envelope (x1) Legend Hand Screw M6 Screw Wood Plug (x6) (x2) (x2) Allen Key Floor Protectors (x1) (x4)
- Page 4 Empty the box.
- Page 5 Screw the seat into the back using two hand screws. PRO TIP Align the seat’s holes with the back’s threaded holes. Use the hand screws to secure the seat to the back. Use the Allen key to tighten the hand screws.
- Page 6 Screw the first leg onto the seat using two hand screws. PRO TIP Align the leg’s holes with the seat’s threaded holes. Use the hand screws to secure the leg to the seat. Secure the hand screws without fully tightening them.
- Page 7 Screw the first leg to the back using one M6 screw. PRO TIP Align the leg’s hole with the back’s threaded hole. Use the screw to secure the leg to the back. Use the Allen key to tighten the screw. Use the Allen key to tighten the seat’s hand screws.
- Page 8 Flip the assembled structure and screw the second leg onto the seat using two hand screws. PRO TIP Align the leg’s holes with the seat’s threaded holes. Use the hand screws to secure the leg to the seat. Secure the hand screws without fully tightening them.
- Page 9 Screw the second leg to the back using one M6 screw. PRO TIP Align the leg’s hole with the back’s threaded hole. Use the screw to secure the leg to the back. Use the Allen key to tighten the screw. Use the Allen key to tighten the seat’s hand screws.
- Page 10 Put the floor protectors under each leg. Flip the chair on its upright position.
- Page 11 Insert the wooden plugs into the side hole of each leg. Enjoy your Naos Chair! IMPORTANT NOTE: IT MAY NEED A SHORT BREAK-IN PERIOD TO ATTAIN OPTIMAL COMFORT CONSIDERING THE HIGH- PERFORMANCE FOAM.
- Page 12 Share your creation with us !


Need help?
Do you have a question about the NAOS and is the answer not in the manual?
Questions and answers