Sign In
Upload
Download
Table of Contents
Contents
Add to my manuals
Delete from my manuals
Share
URL of this page:
HTML Link:
Bookmark this page
Add
Manual will be automatically added to "My Manuals"
Print this page
×
Bookmark added
×
Added to my manuals
Manuals
Brands
Vax Manuals
Vacuum Cleaner
Blade 5
User manual
Vax Blade 5 User Manual
Cordless vacuum
Hide thumbs
1
2
3
4
5
6
7
8
9
10
11
12
13
14
15
16
17
18
19
20
21
22
23
24
25
26
Table Of Contents
27
page
of
27
Go
/
27
Contents
Table of Contents
Troubleshooting
Bookmarks
Table of Contents
Quick Start
Registration and Support
Warranty
Getting Started
Charging the Battery
Operation
Digital Display
Cleaning and Maintenance
Emptying the Dirt Container
Checking for Blockages
Troubleshooting
Advertisement
Quick Links
Download this manual
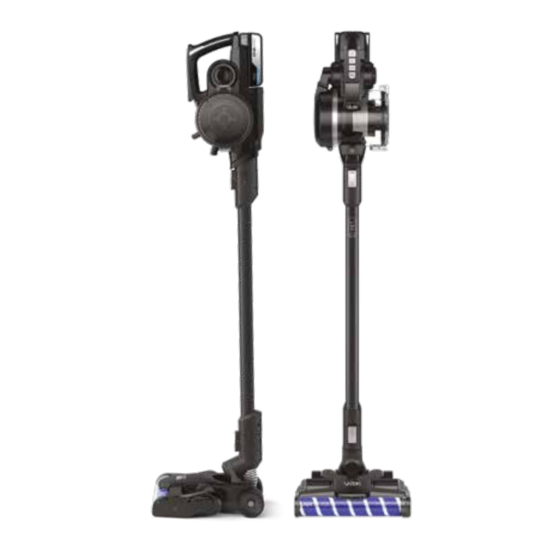
VAX Blade 5
Cordless Vacuum
CLSV-B5DP
CLSV-B5DC
User Guide
CLSV-B5KP
CLSV-B5DC
Table of
Contents
Previous
Page
Next
Page
1
2
3
4
5
Advertisement
Table of Contents
Need help?
Do you have a question about the Blade 5 and is the answer not in the manual?
Ask a question
Questions and answers
Related Manuals for Vax Blade 5
Vacuum Cleaner VAX bliss Bagged Cylinder User Manual
Bagged cylinder (7 pages)
Vacuum Cleaner Vax 27000 User Manual
Bagged cylinder bliss (7 pages)
Vacuum Cleaner Vax Blade 2 Max User Manual
(17 pages)
Vacuum Cleaner Vax VX82 User Manual
(16 pages)
Vacuum Cleaner Vax ONE PWR CORDLESS BLADE 4 Series User Manual
Cordless (14 pages)
Vacuum Cleaner Vax BLADE 4 PET User Manual
Cordless vacuum (15 pages)
Vacuum Cleaner Vax Blade 2 User Manual
(16 pages)
Vacuum Cleaner Vax Bagged Cylinder User Manual
Bagged cylinder (10 pages)
Vacuum Cleaner Vax Blade TBT3V1B1 Let's Get Started
Cordless slim vac with detachable handheld (21 pages)
Vacuum Cleaner Vax WASH Vax V-020 Series Instruction Manual
Carpet washer washvax (9 pages)
Vacuum Cleaner Vax 6140 Pet Vax Easy Manual
(11 pages)
Vacuum Cleaner Vax Cordless Blade Pet Slimvac VX66 Manual
(13 pages)
Vacuum Cleaner Vax PowerMax VRS5W Instruction Manual
Carpet washer (13 pages)
Vacuum Cleaner Vax RAPID POWER Series Manual
(21 pages)
Vacuum Cleaner Vax V027 User Manual
Parts checklist (19 pages)
Vacuum Cleaner Vax Air Lift 2 User Manual
Corded vacuum (19 pages)
This manual is also suitable for:
Clsv-b5kp
Clsv-b5dc
Table of Contents
Print
Rename the bookmark
Delete bookmark?
Delete from my manuals?
Login
Sign In
OR
Sign in with Facebook
Sign in with Google
Upload manual
Upload from disk
Upload from URL


Need help?
Do you have a question about the Blade 5 and is the answer not in the manual?
Questions and answers