Advertisement
Quick Links
THIS PRODUCT IS SUPPLIED AS A CUSTOMER SELF ASSEMBLY PRODUCT. Please follow the
step by step instructions carefully to assist you in assembling this product correctly. Please note that, as
a self assembly product, this item cannot be returned once assembled or part assembled.
PLEASE NOTE: MUST BE ASSEMBLED BY TWO PERSONS
Step 1
. BEFORE DISPOSING OF ANY PACKAGING
parts supplied as listed below.
Box 1
1 x Assembling instruction
2 x Sides
2 x Back Panels
2 x Doors
1 x Back centre rail
Box with fittings 1/2
6 x Hinges
12 x Screw 3x20 for hinges
Box with fittings 2/2
6 x Plate for hinges
12 x Screw-in dowel
4 x Shelf support
2 x Handle
2 x Screw 3x16 for hanging
rail support
2 x Hanging rail support
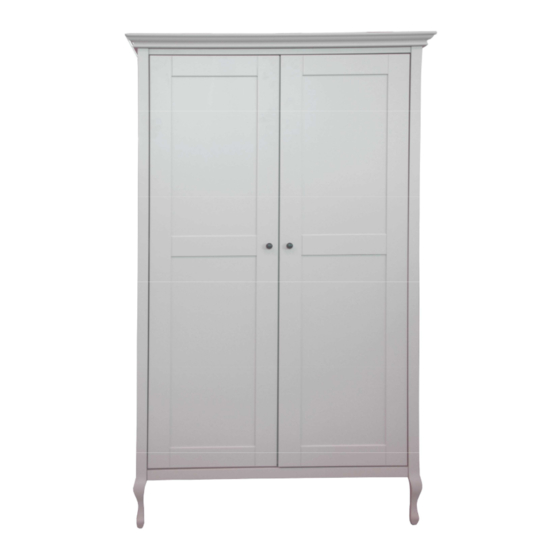
The Rosalind Wardrobe
check that you have the correct fittings &
,
Box 2
1 x Top cornice
1 x Top panel
1 x Hanging rail
1 x Shelf
1 x Bottom panel
Tools required
Hammer
Male screwdriver
2 x Screw for handle
56 x Screw 3x16 for back panel
4 x Screw for allen key 6,4x50
1 x Allen key
7 x Bolt M6x60
4 x Magnetic catches
page 1/8
page 2/8
Advertisement

Subscribe to Our Youtube Channel
Related Manuals for Laura Ashley Rosalind


Summary of Contents for Laura Ashley Rosalind
- Page 1 1/8 The Rosalind Wardrobe THIS PRODUCT IS SUPPLIED AS A CUSTOMER SELF ASSEMBLY PRODUCT. Please follow the step by step instructions carefully to assist you in assembling this product correctly. Please note that, as a self assembly product, this item cannot be returned once assembled or part assembled.
- Page 2 Step 2. Locate the bolts for hinges through the hinges into predrilled holes in both sides and tighten. PLEASE NOTE POSITION OF LOCK SCREW Step 3. Locate the screw-in dowels into the predrilled holes in both sides as shown below and tighten. Step 4.
- Page 3 Locate the magnetic catches into the predrilled holes in both top and bottom panel Step 5. Locate panels on one side and tighten cam screws PLEASE NOTE: NEEDS TWO PERSONS Locate second side and tighten cam screws age 4/8...
- Page 4 Step 6. Attach wardrobe back centre support rail Step 7. Once centre support is attached place wardrobe on its back Put the cornice on the top of the wardrobe and attach 7 assembly bolts with allen key as shown page 5/8...
- Page 5 Step 8. Ensure that wardrobe is lifted onto its legs and not rolled to prevent damage to legs PLEASE NOTE DO NOT ATTEMPT TO STAND WARDROBE WITH ONE PERSON. THIS COULD RESULT IN INJURY OR BREAKAGE. Locate back panels and tighten 3x16 screws page 6/8...
- Page 6 Step 9. Locate the hinges into the predrilled holes in both doors as shown below and tighten the screws Step 10. Ensure hinges are slid onto the brackets so that the pin on the hinge locates fully Hinges can be adjusted once wardrobe is located in a final position page 7/8...
- Page 7 Step 11 Attach handles Step 12. Locate shelf supports into predrilled holes in both sides inside the wardrobe and put the shelf page 8/8...
- Page 8 Step 13. Locate hanging rail support into predrilled holes in both sides inside the wardrobe and put the rail In unlikely event of there being fittings missing from your product please ring Laura Ashley Customer services on 0870 5622116 LAURA ASHLEY...
Need help?
Do you have a question about the Rosalind and is the answer not in the manual?
Questions and answers